TC002 Web Connection Guide
Welcome to Ulanzi Studio. This guide explains how to connect Ulanzi TC002 and configure it through the web interface.
Ulanzi Clock web interface
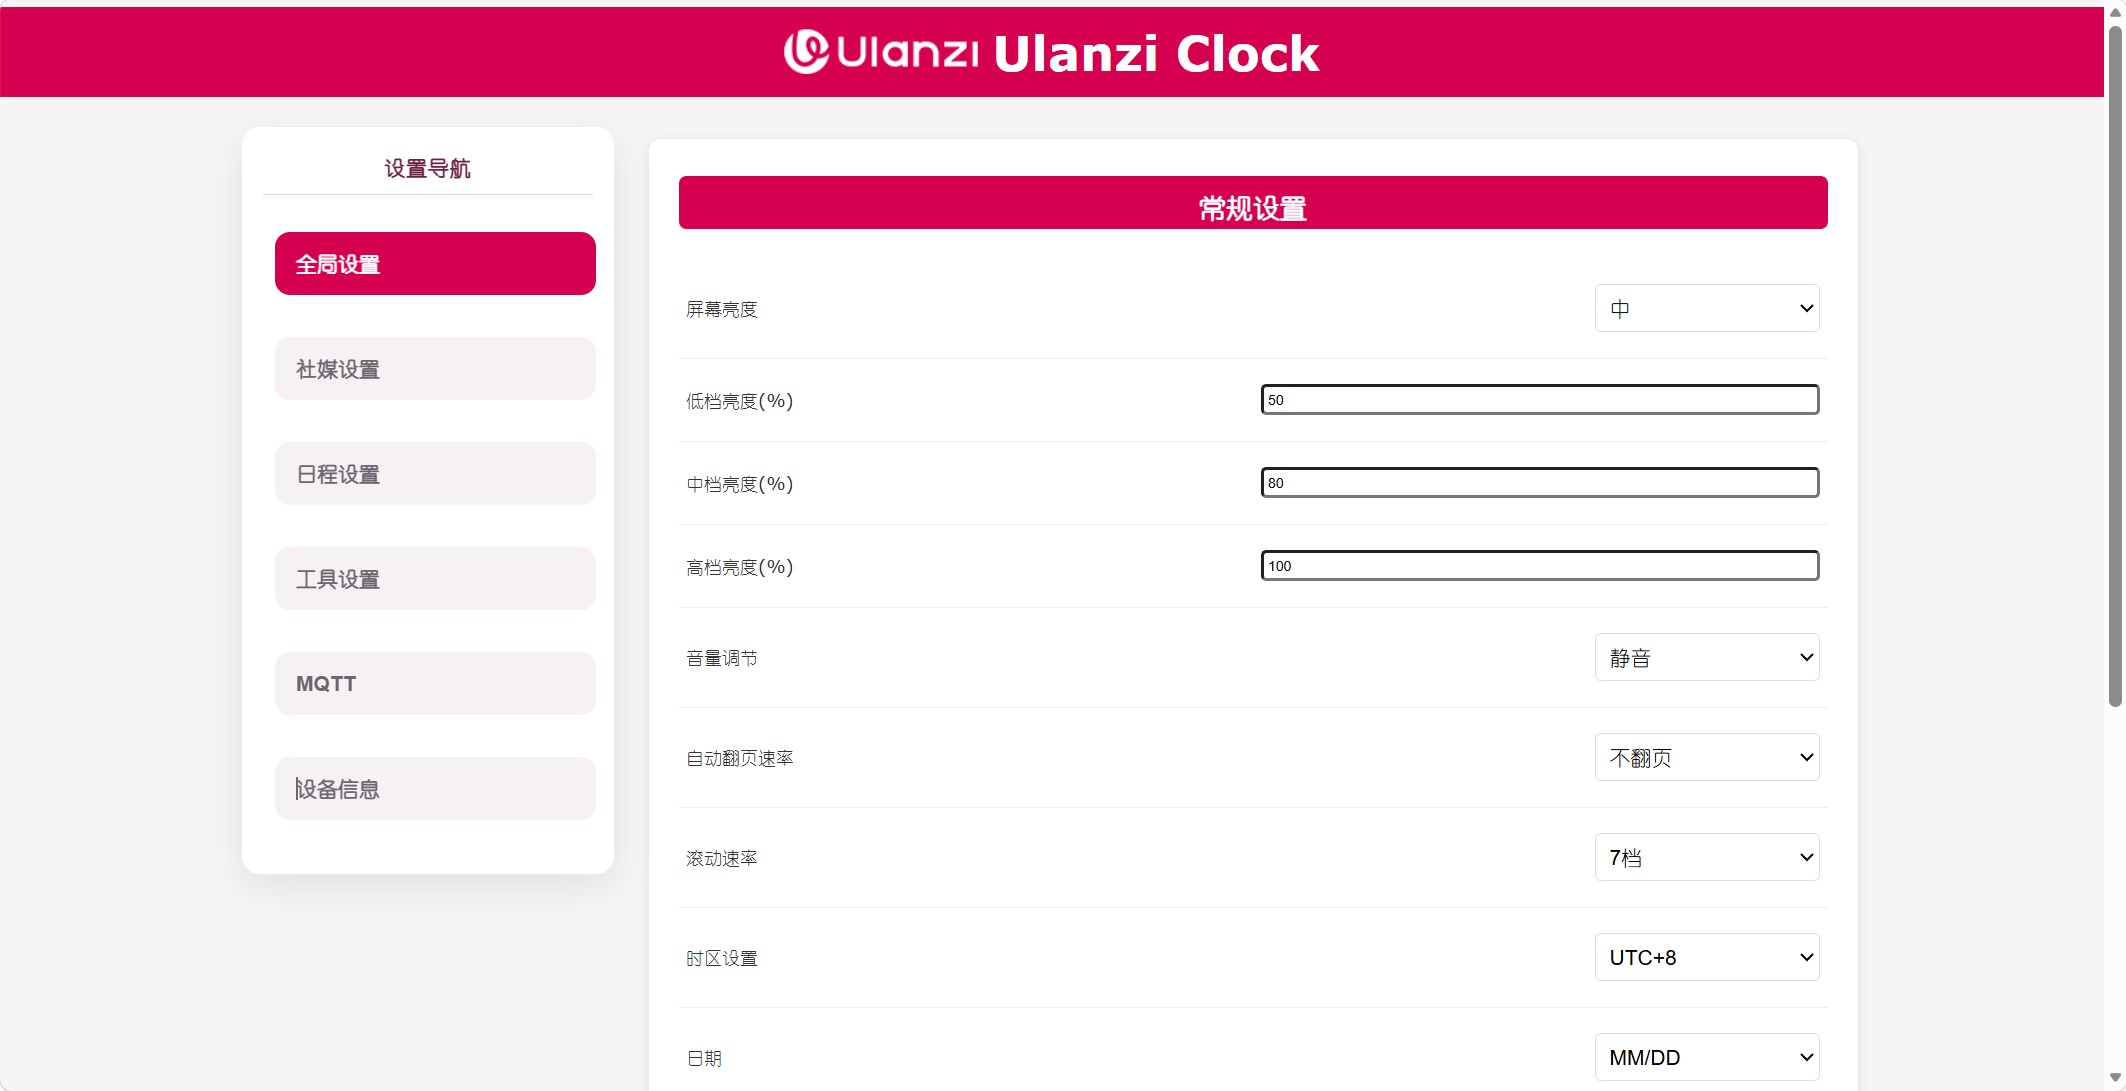
Ulanzi Clock is the web software for TC002. When your computer, phone, or tablet is on the same network as the device, you can open the device IP address without Bluetooth and configure its software and hardware features.
- Supported device: Ulanzi TC002
Quick start
Device requirements
A phone, tablet, or computer with Wi-Fi.
Add a TC002
Step 1: Turn on TC002
Turn on TC002 and wait for the CONNECT screen.



Step 2: Connect to the device hotspot
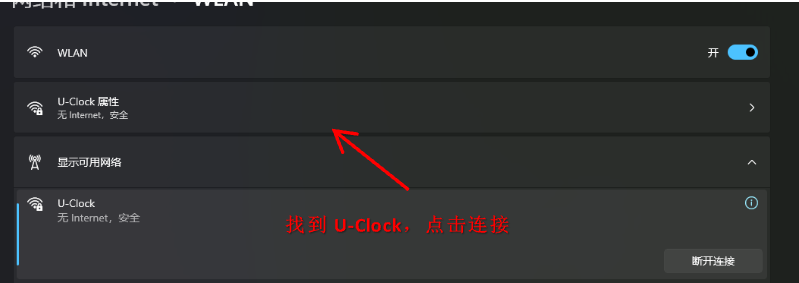
On your phone, tablet, or computer, connect to the following Wi-Fi hotspot:
- Network:
U-Clock - Password:
12345678

After the connection succeeds, open a browser and go to the default device address 192.168.100.1. On the external Wi-Fi setup page, enter the network name under SSID, enter its password under Password, and click Save.
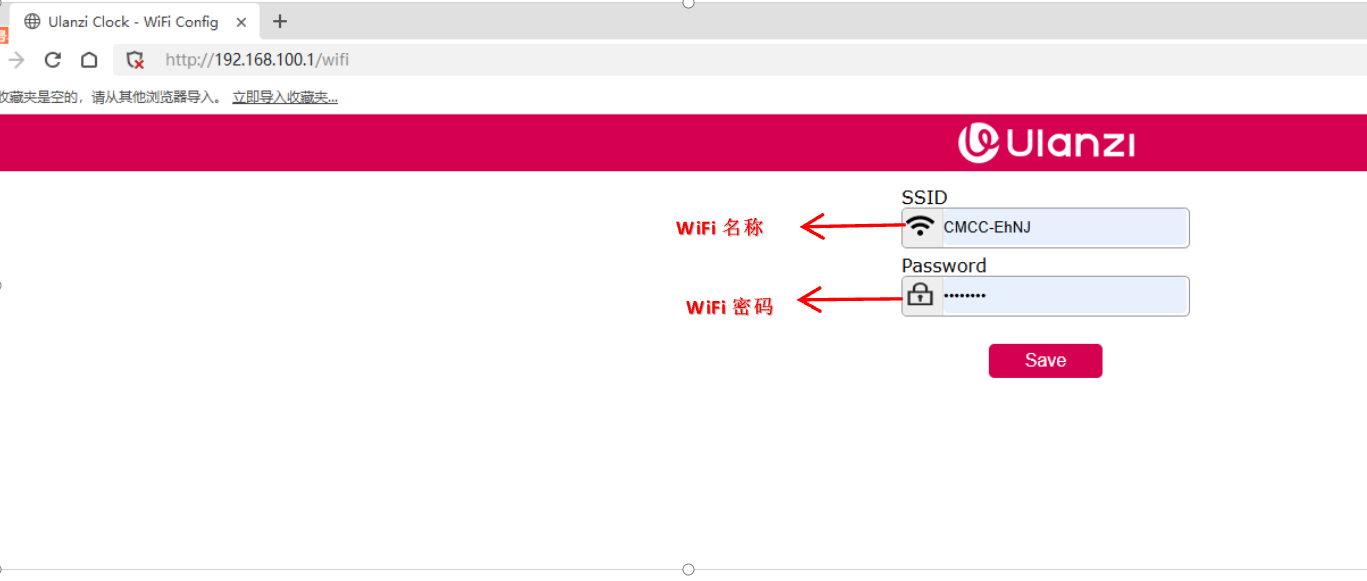
The external Wi-Fi network must use the 2.4 GHz band.
Step 3: Wait for the external Wi-Fi connection
TC002 displays CONNECT while pairing. After the connection succeeds, the white Wi-Fi indicator changes from flashing to steady, the screen displays READY, and the device opens 4 - Tools - Pixel Clock.



Step 4: Open the web interface
The external Wi-Fi router assigns TC002 an IP address. Connect your phone, tablet, or computer to the same Wi-Fi, enter that IP address in a browser, and press Enter.
Find the address on 4 - Tools - IP Address. Rotate the knob to switch between tool pages.
Feature list
| Main app | Included apps | How to use |
|---|---|---|
| 1 - Social | Bilibili, Douyin, Weibo, YouTube, Instagram, and more | Configure an account, then rotate the knob to switch platforms and show follower counts. |
| 2 - Calendar | Feishu, DingTalk, WeCom, iCloud, Google, and more | Configure a calendar, then rotate the knob to switch services and show events. |
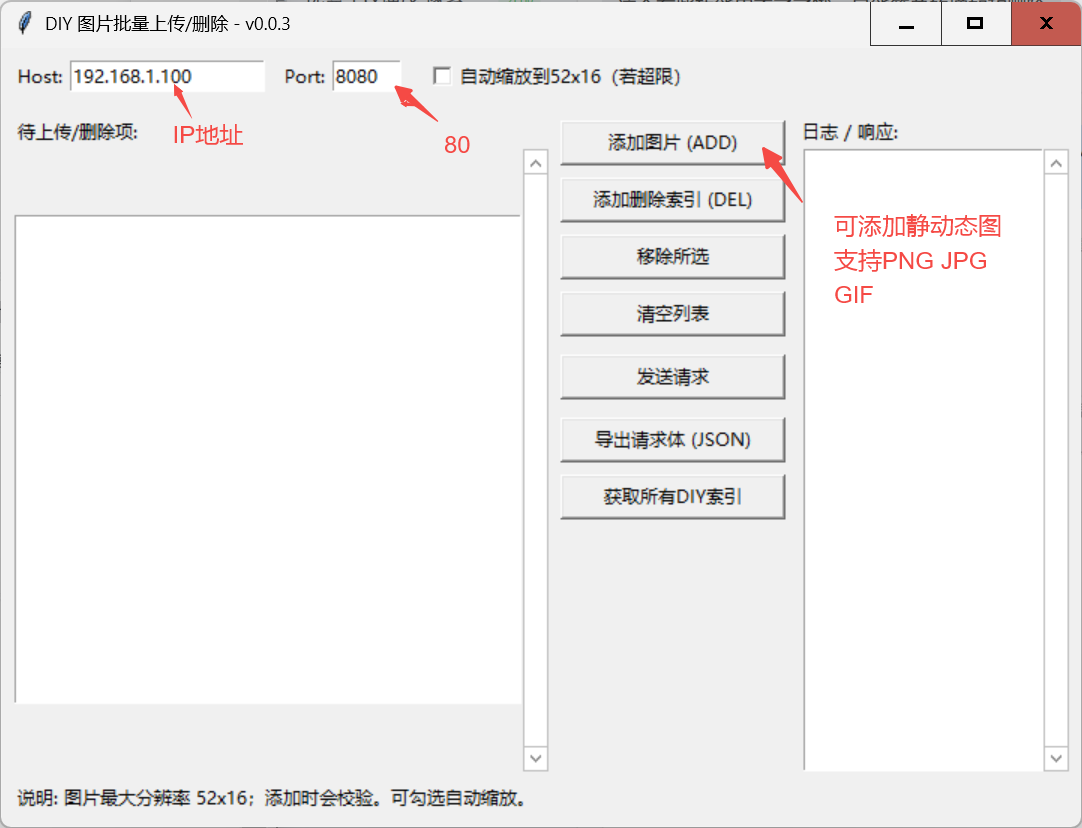
| 3 - DIY | Image display and MQTT | Configure the feature, then rotate the knob to switch apps and show the content. |
| 4 - Tools | Busy Clock, Pomodoro, Weather, Scoreboard, Stopwatch, Sound-Reactive Light, and more | Rotate the knob to switch apps. Press and hold the knob to open an app. |
Tool controls:
- Scoreboard: press Left to add 1 to red; double-click Left to subtract 1; press Right to add 1 to blue; double-click Right to subtract 1; press and hold the center button to reset.
- Busy Clock: press the center button to start or stop.
- Stopwatch and Pomodoro: press the center button to start or stop; press and hold it to reset.
Uploading DIY images from the web interface requires the upload plug-in.
Basic controls
Knob
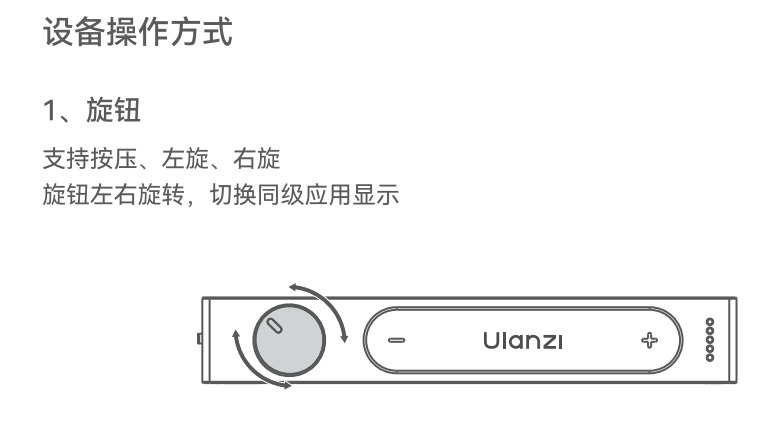
The knob supports pressing and rotation in both directions.
- Rotate left or right to switch apps at the current level.
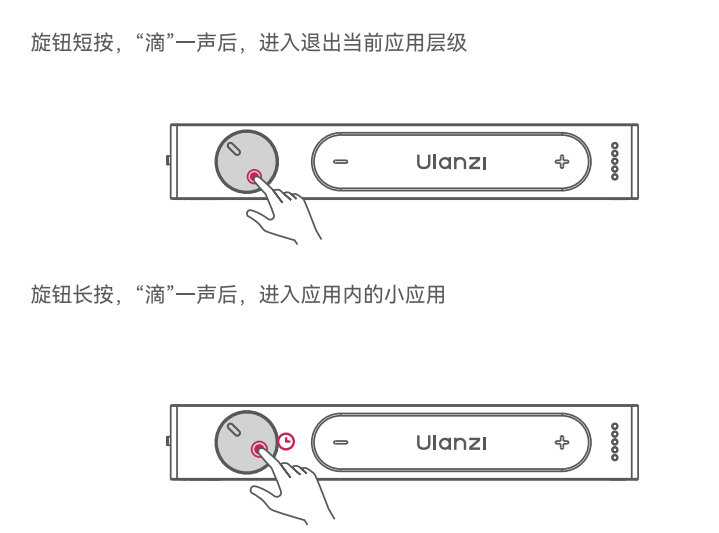
- Press once. After a beep, the device enters or exits the current app level.
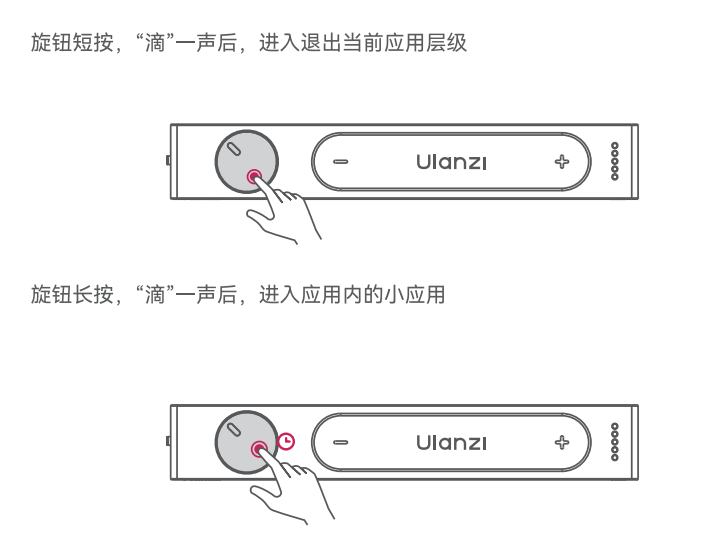
- Press and hold. After a beep, the device enters the selected sub-app.
Buttons
The device has three buttons:
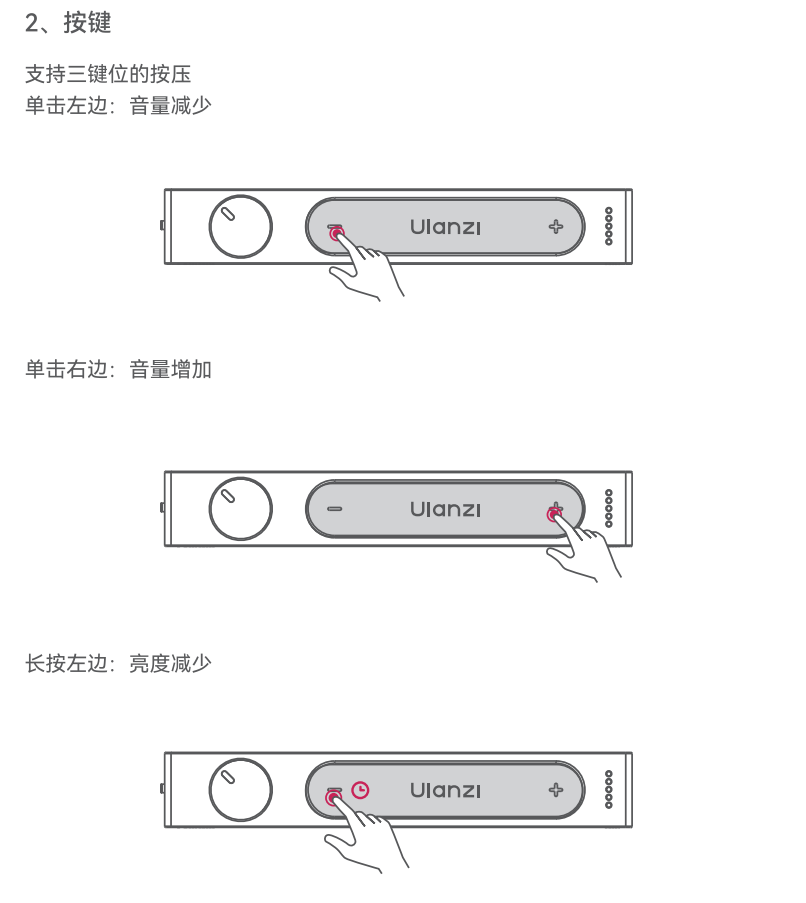
- Press Left to lower the volume.
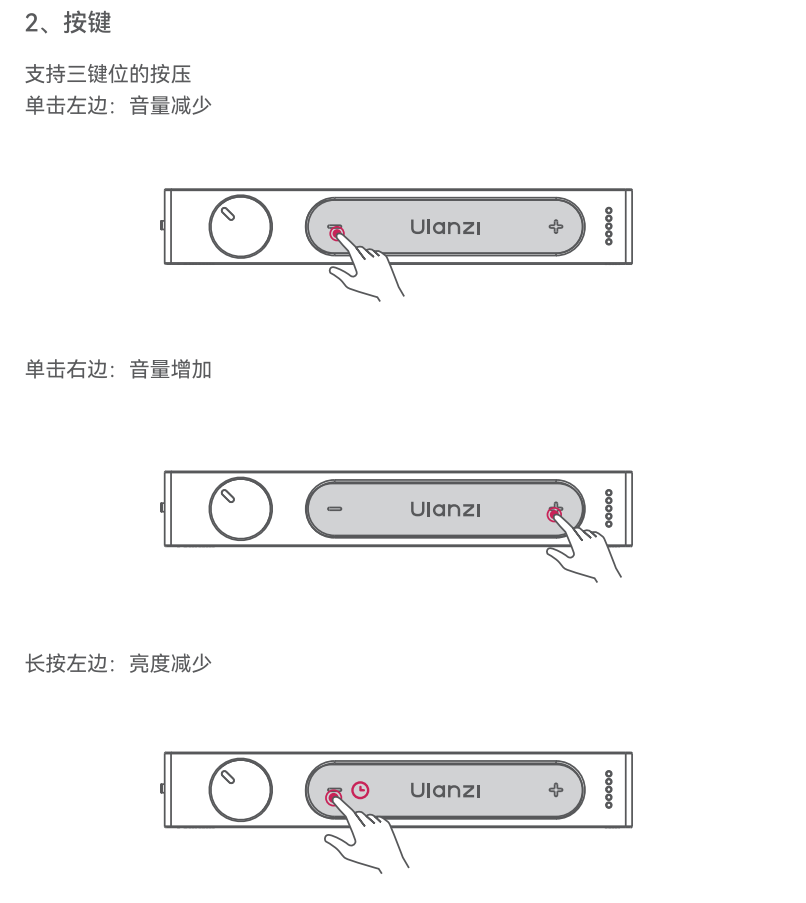
- Press Right to raise the volume.
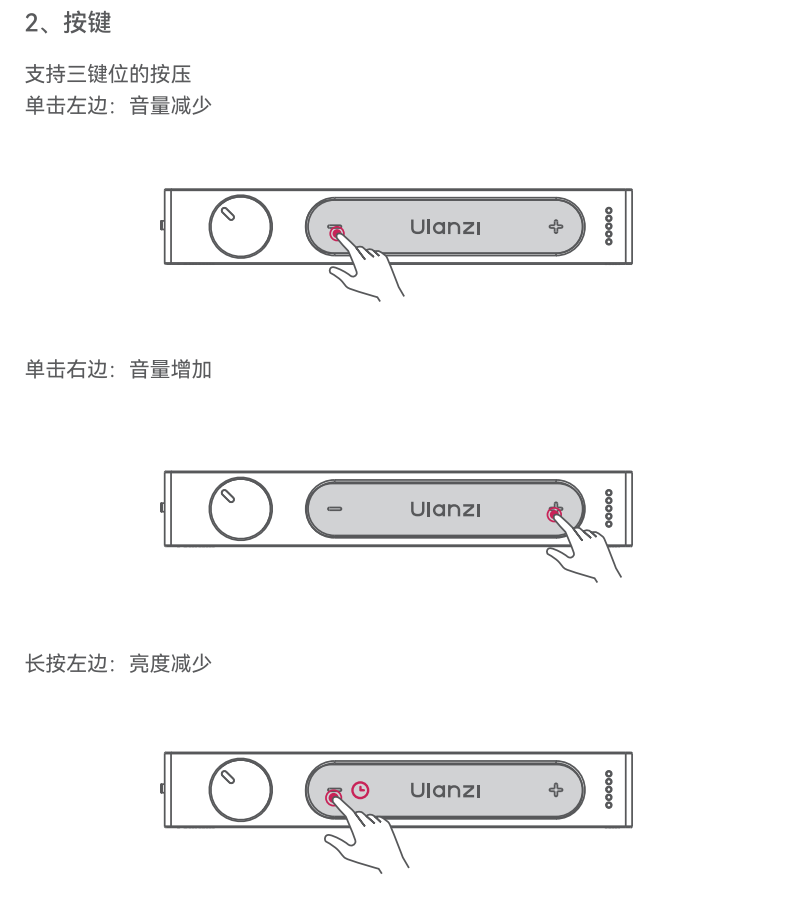
- Press and hold Left to lower the brightness.
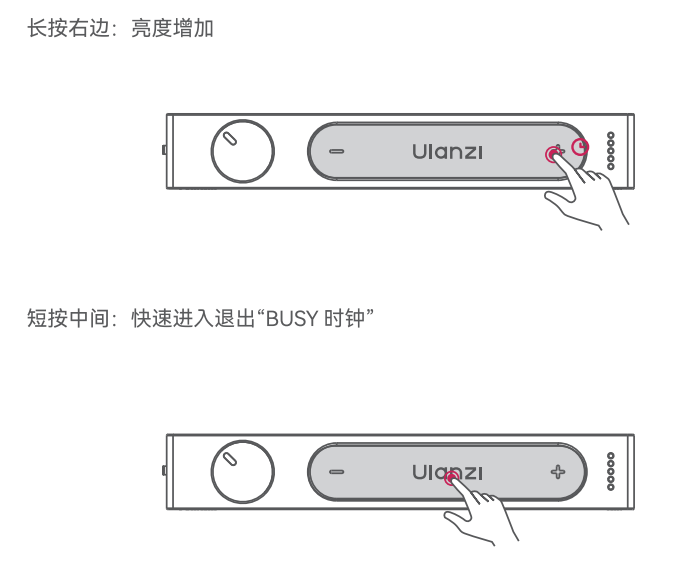
- Press and hold Right to raise the brightness.
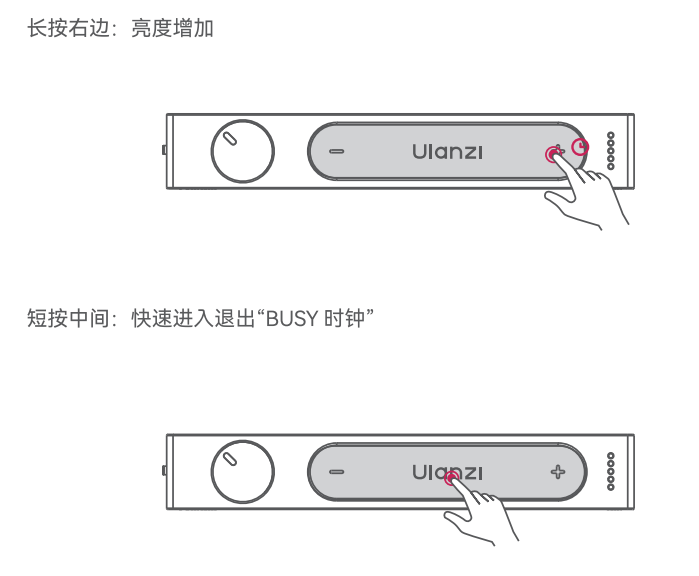
- Press the center button to quickly enter or exit Busy Clock.