Ulanzi Studio V3.1.0 Guide for TC002
Welcome to Ulanzi Studio V3.1.0. This guide introduces Ulanzi TC002, connects it to the software, and explains its main features.
1. About Ulanzi TC002
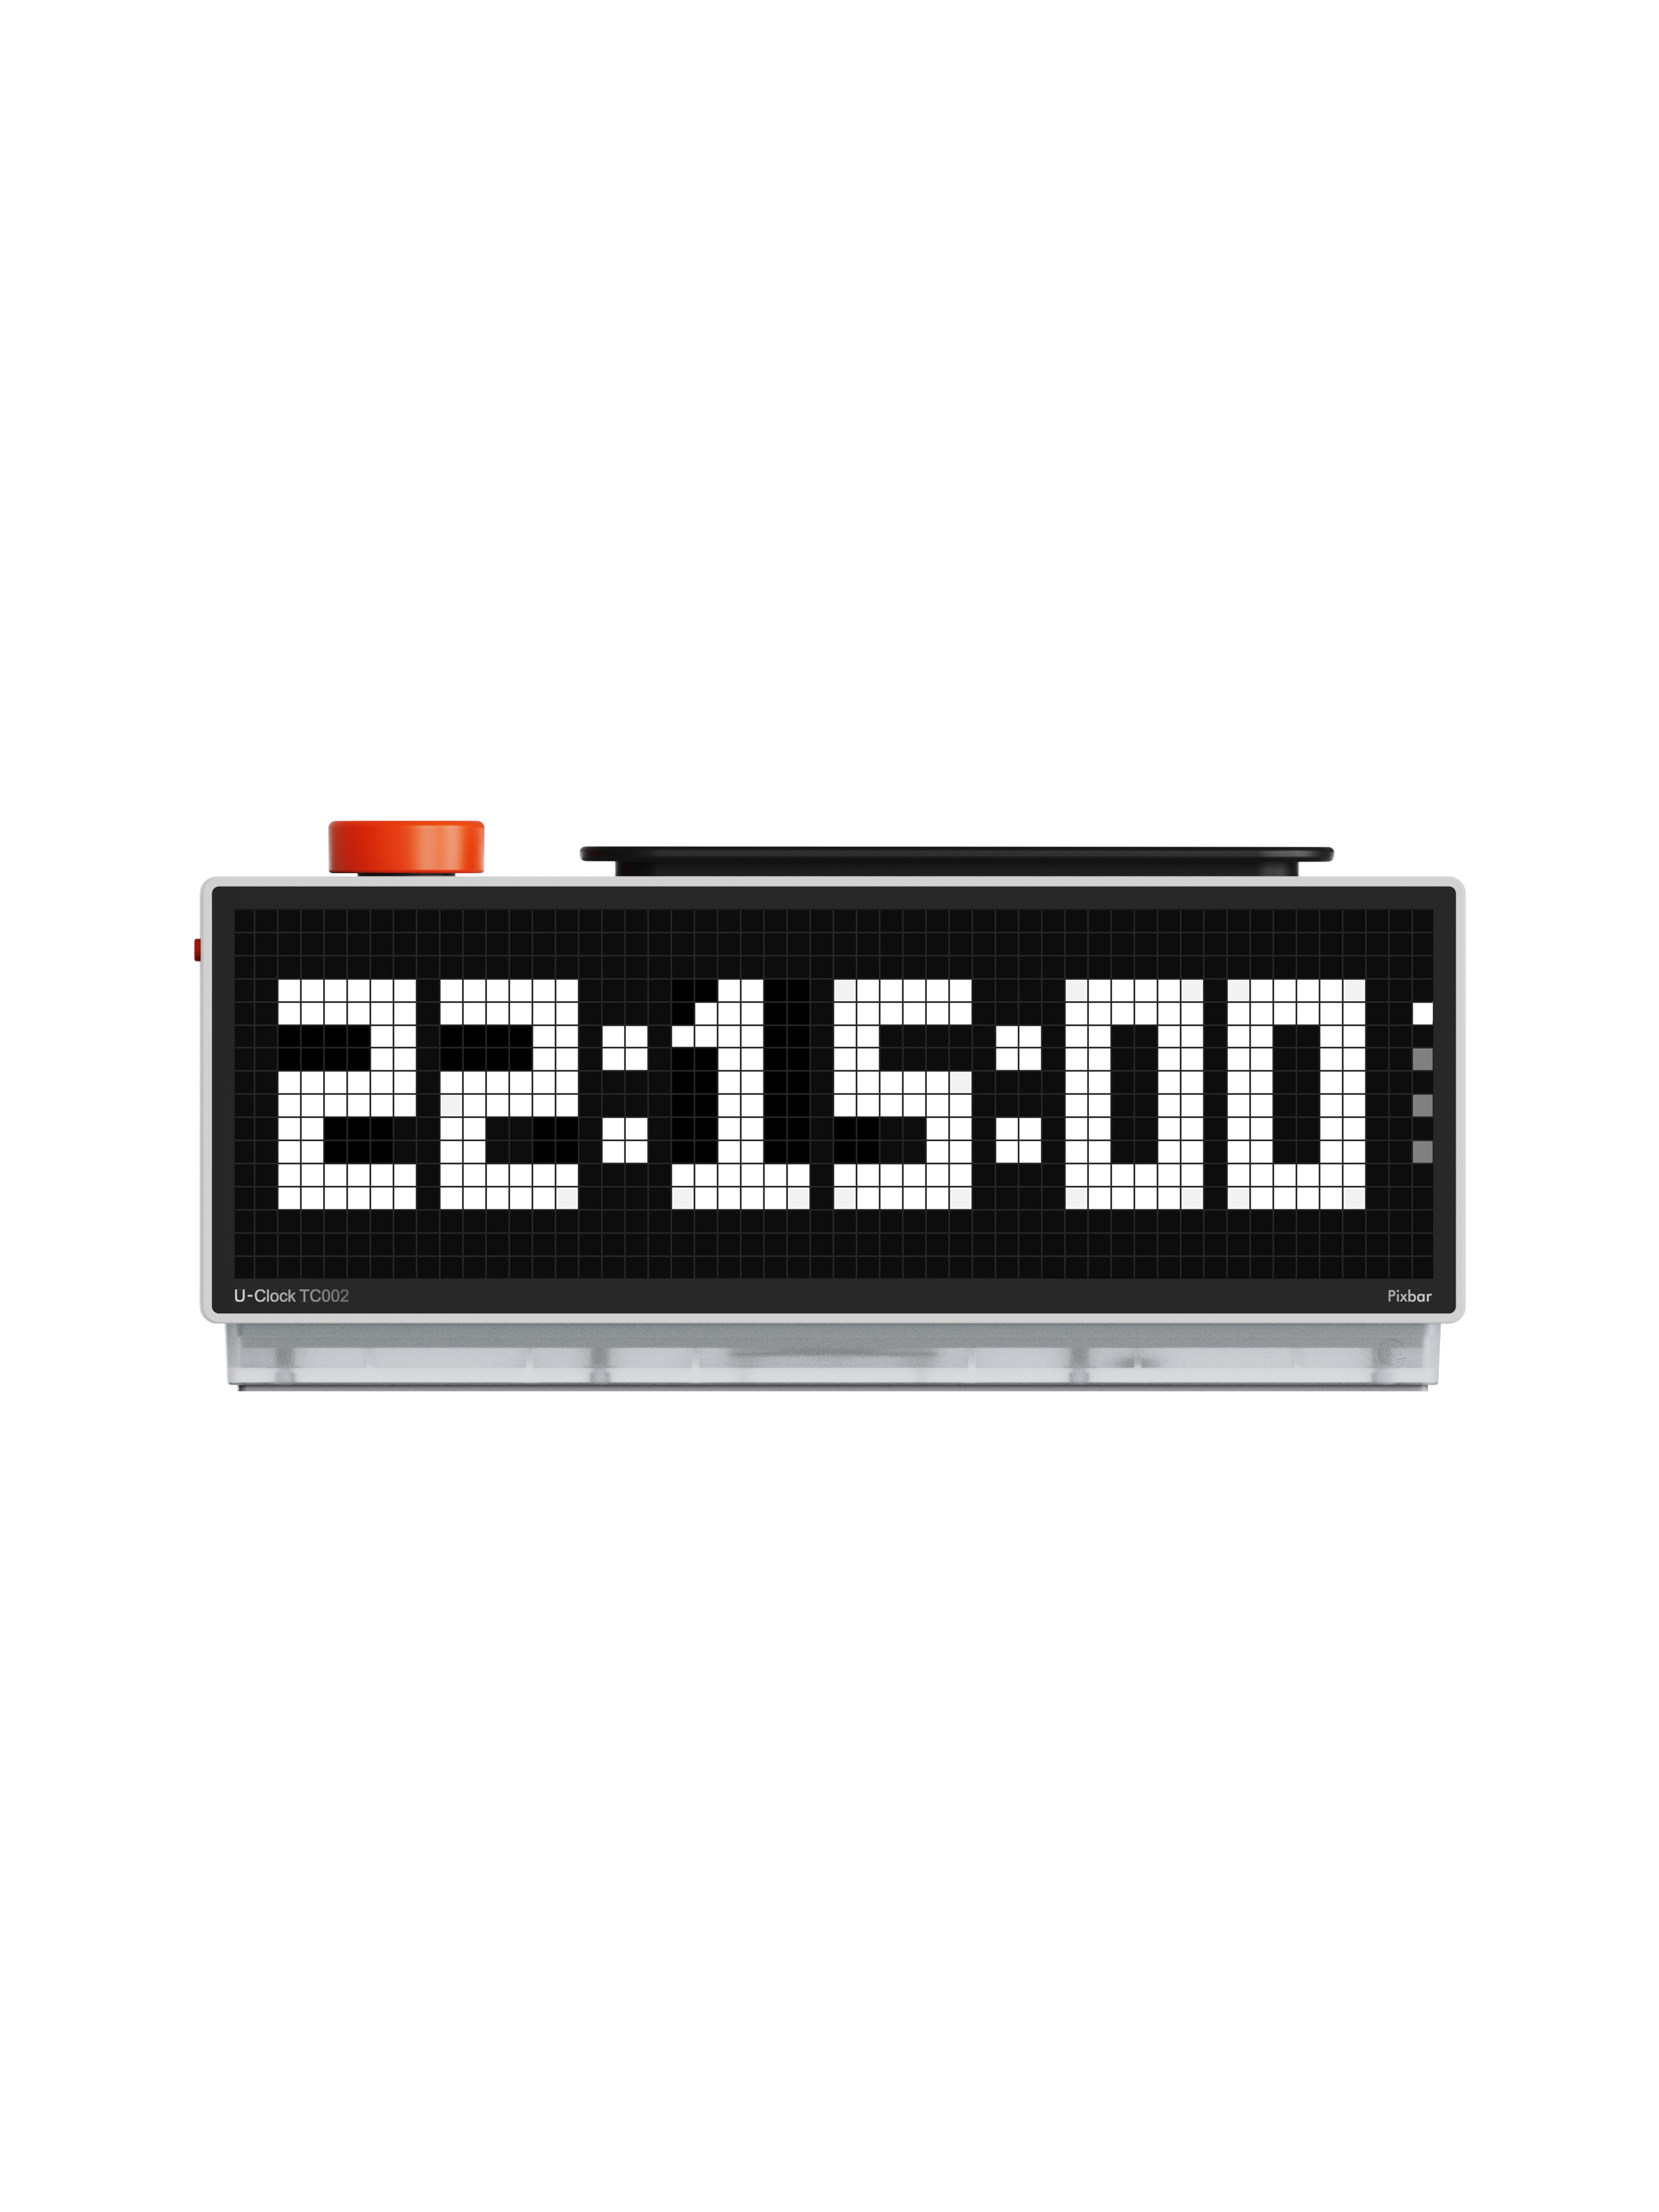
- Product: Pixel Clock 2
- Model: TC002
- Display: 16 × 52 RGB pixel matrix with brightness control
- Connectivity: USB power, Wi-Fi OTA firmware updates, and MQTT integration
- Customization: custom display content, pixel artwork, live pixel drawing, and scrolling text
TC002 combines Calendar, Tools, Social Media, and DIY apps in a compact pixel display. It can serve as a desktop clock, productivity display, ambient light, creative gift, or pixel-art learning tool.
2. About Ulanzi Studio
Ulanzi Studio Desktop is a configurable control-panel application for creators, streamers, office users, and smart-home enthusiasts.
Key capabilities:
- Integrates commonly used tools and platforms.
- Supports configurable layouts and behavior.
- Runs on Windows and macOS.
- Supports Ulanzi D200, D200H, D100H, D200X, and TC002.
System requirements
| Platform | Requirement |
|---|---|
| Windows | Windows 10 or later |
| Mac with Apple silicon | macOS 12.0 or later |
| Mac with Intel processor | macOS 12.0 or later |
Download
Download and install the Ulanzi Studio version for your operating system.
3. Connect TC002
- Open Ulanzi Studio.
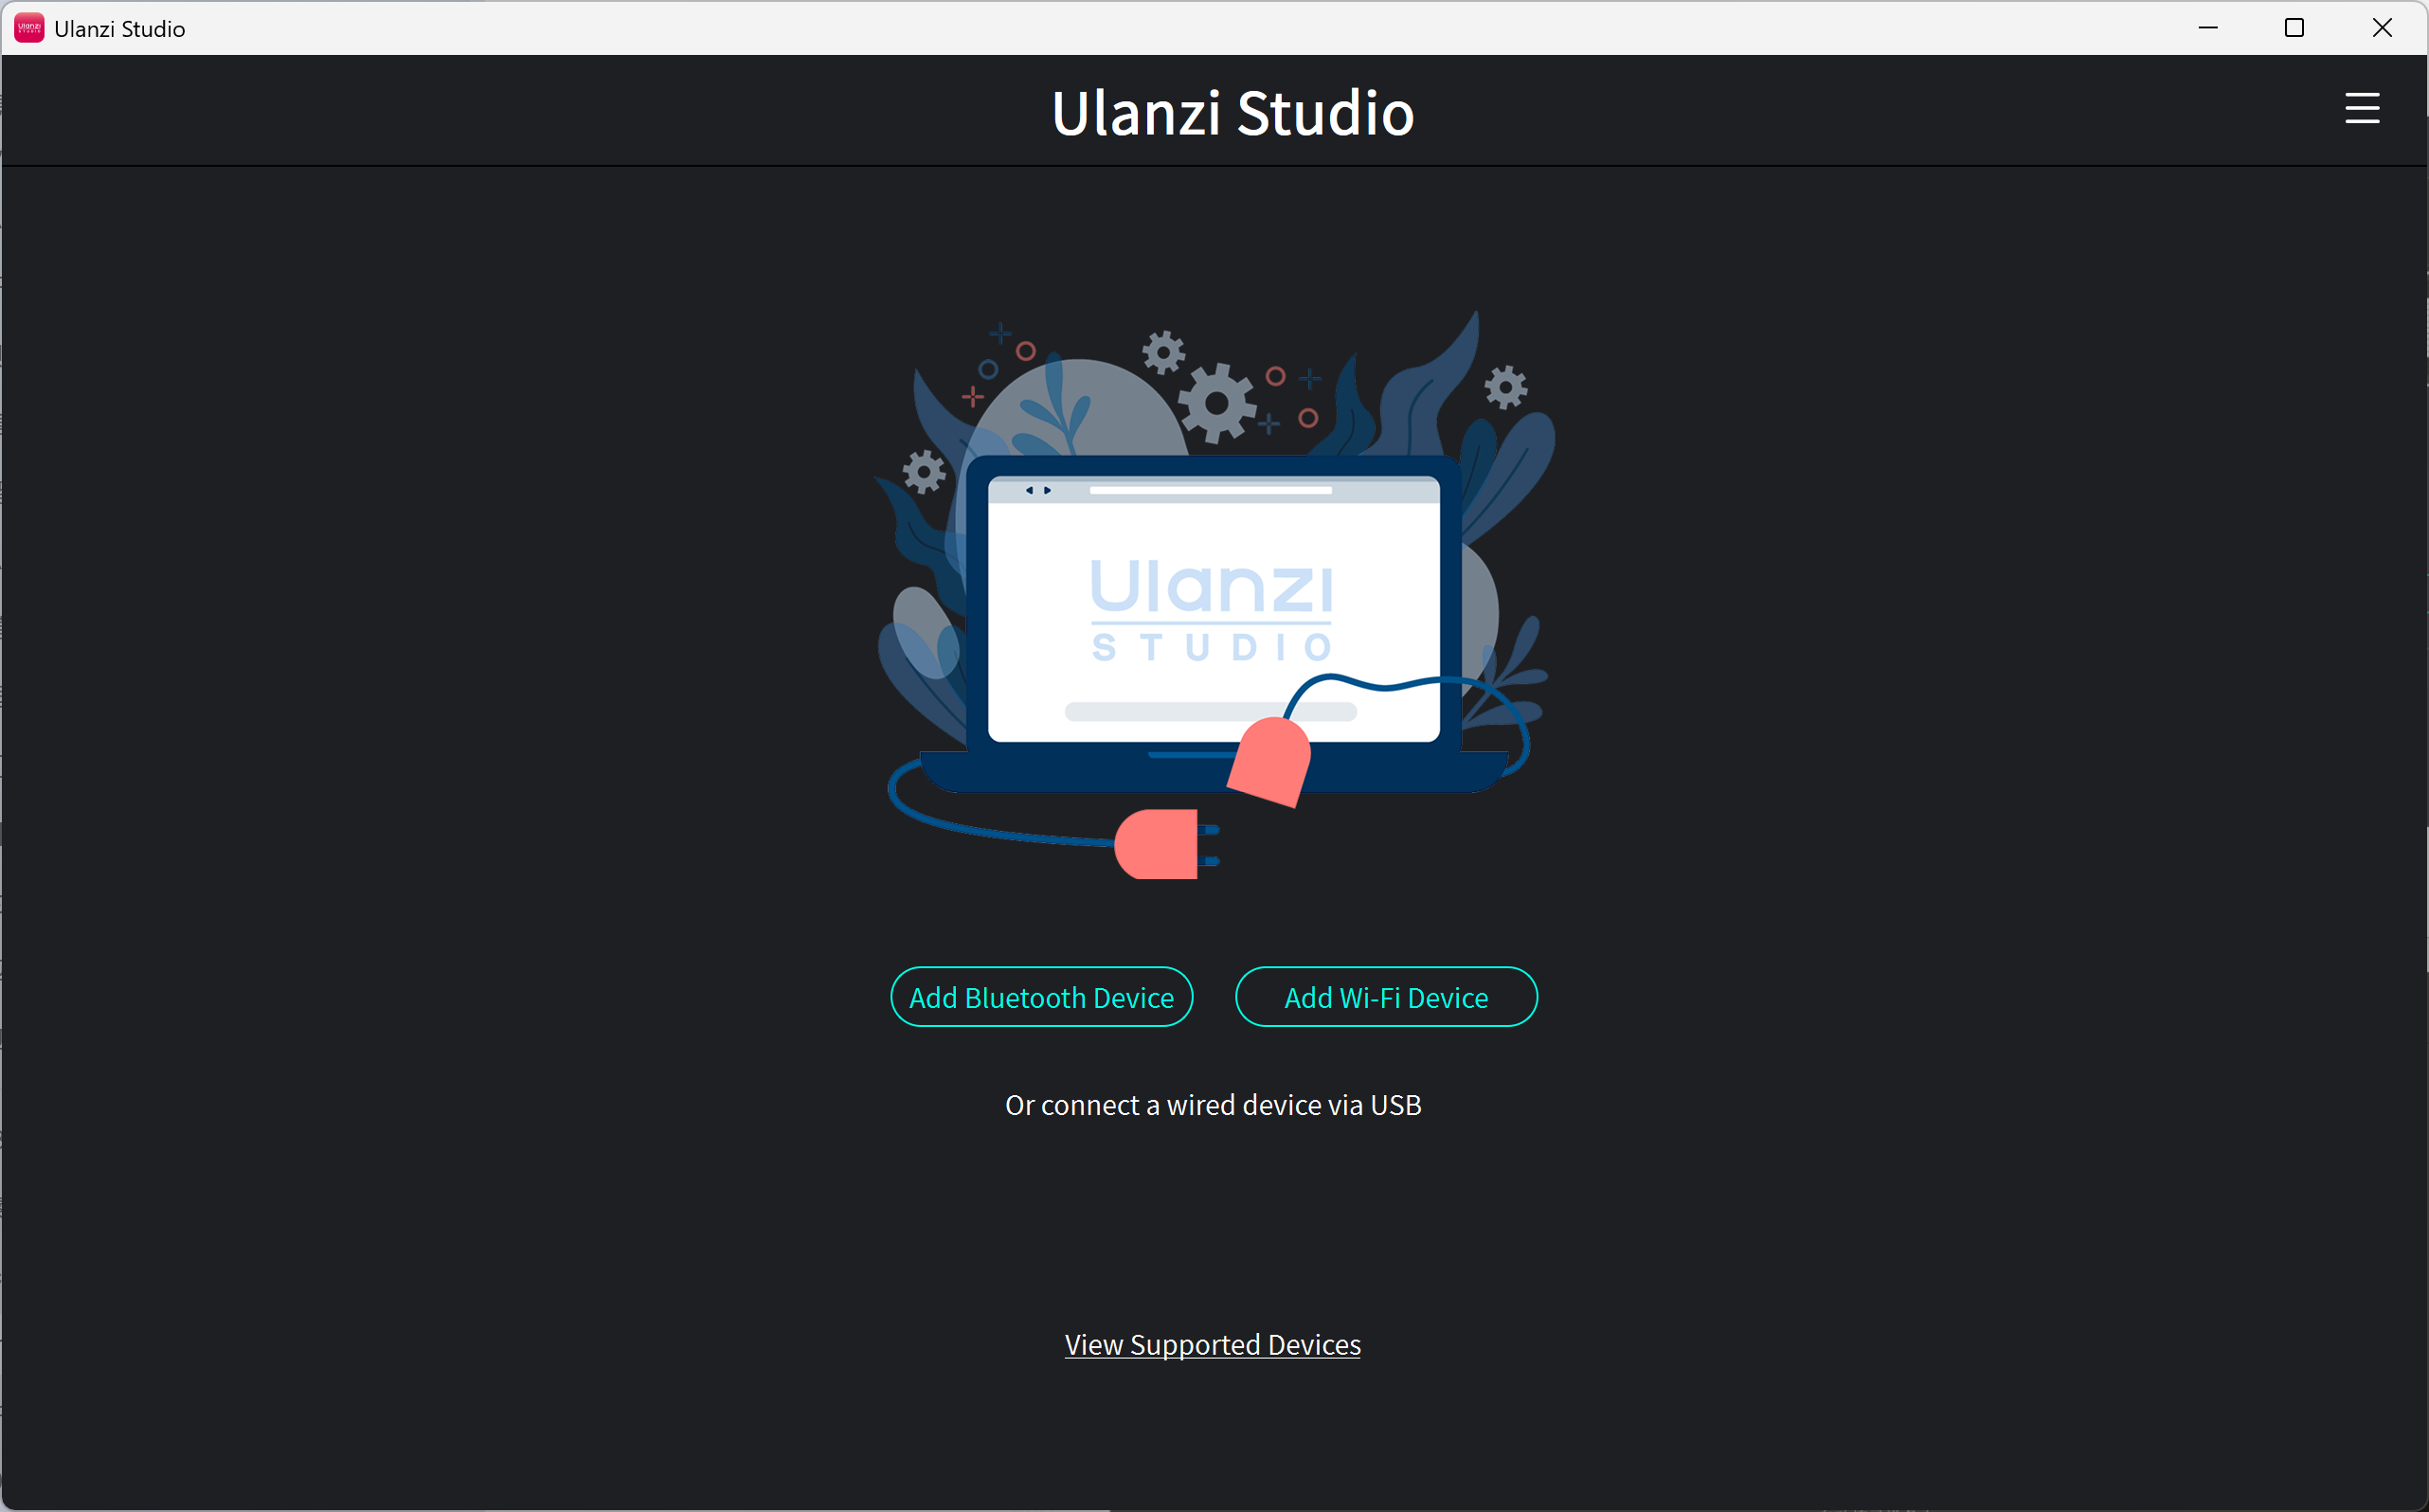
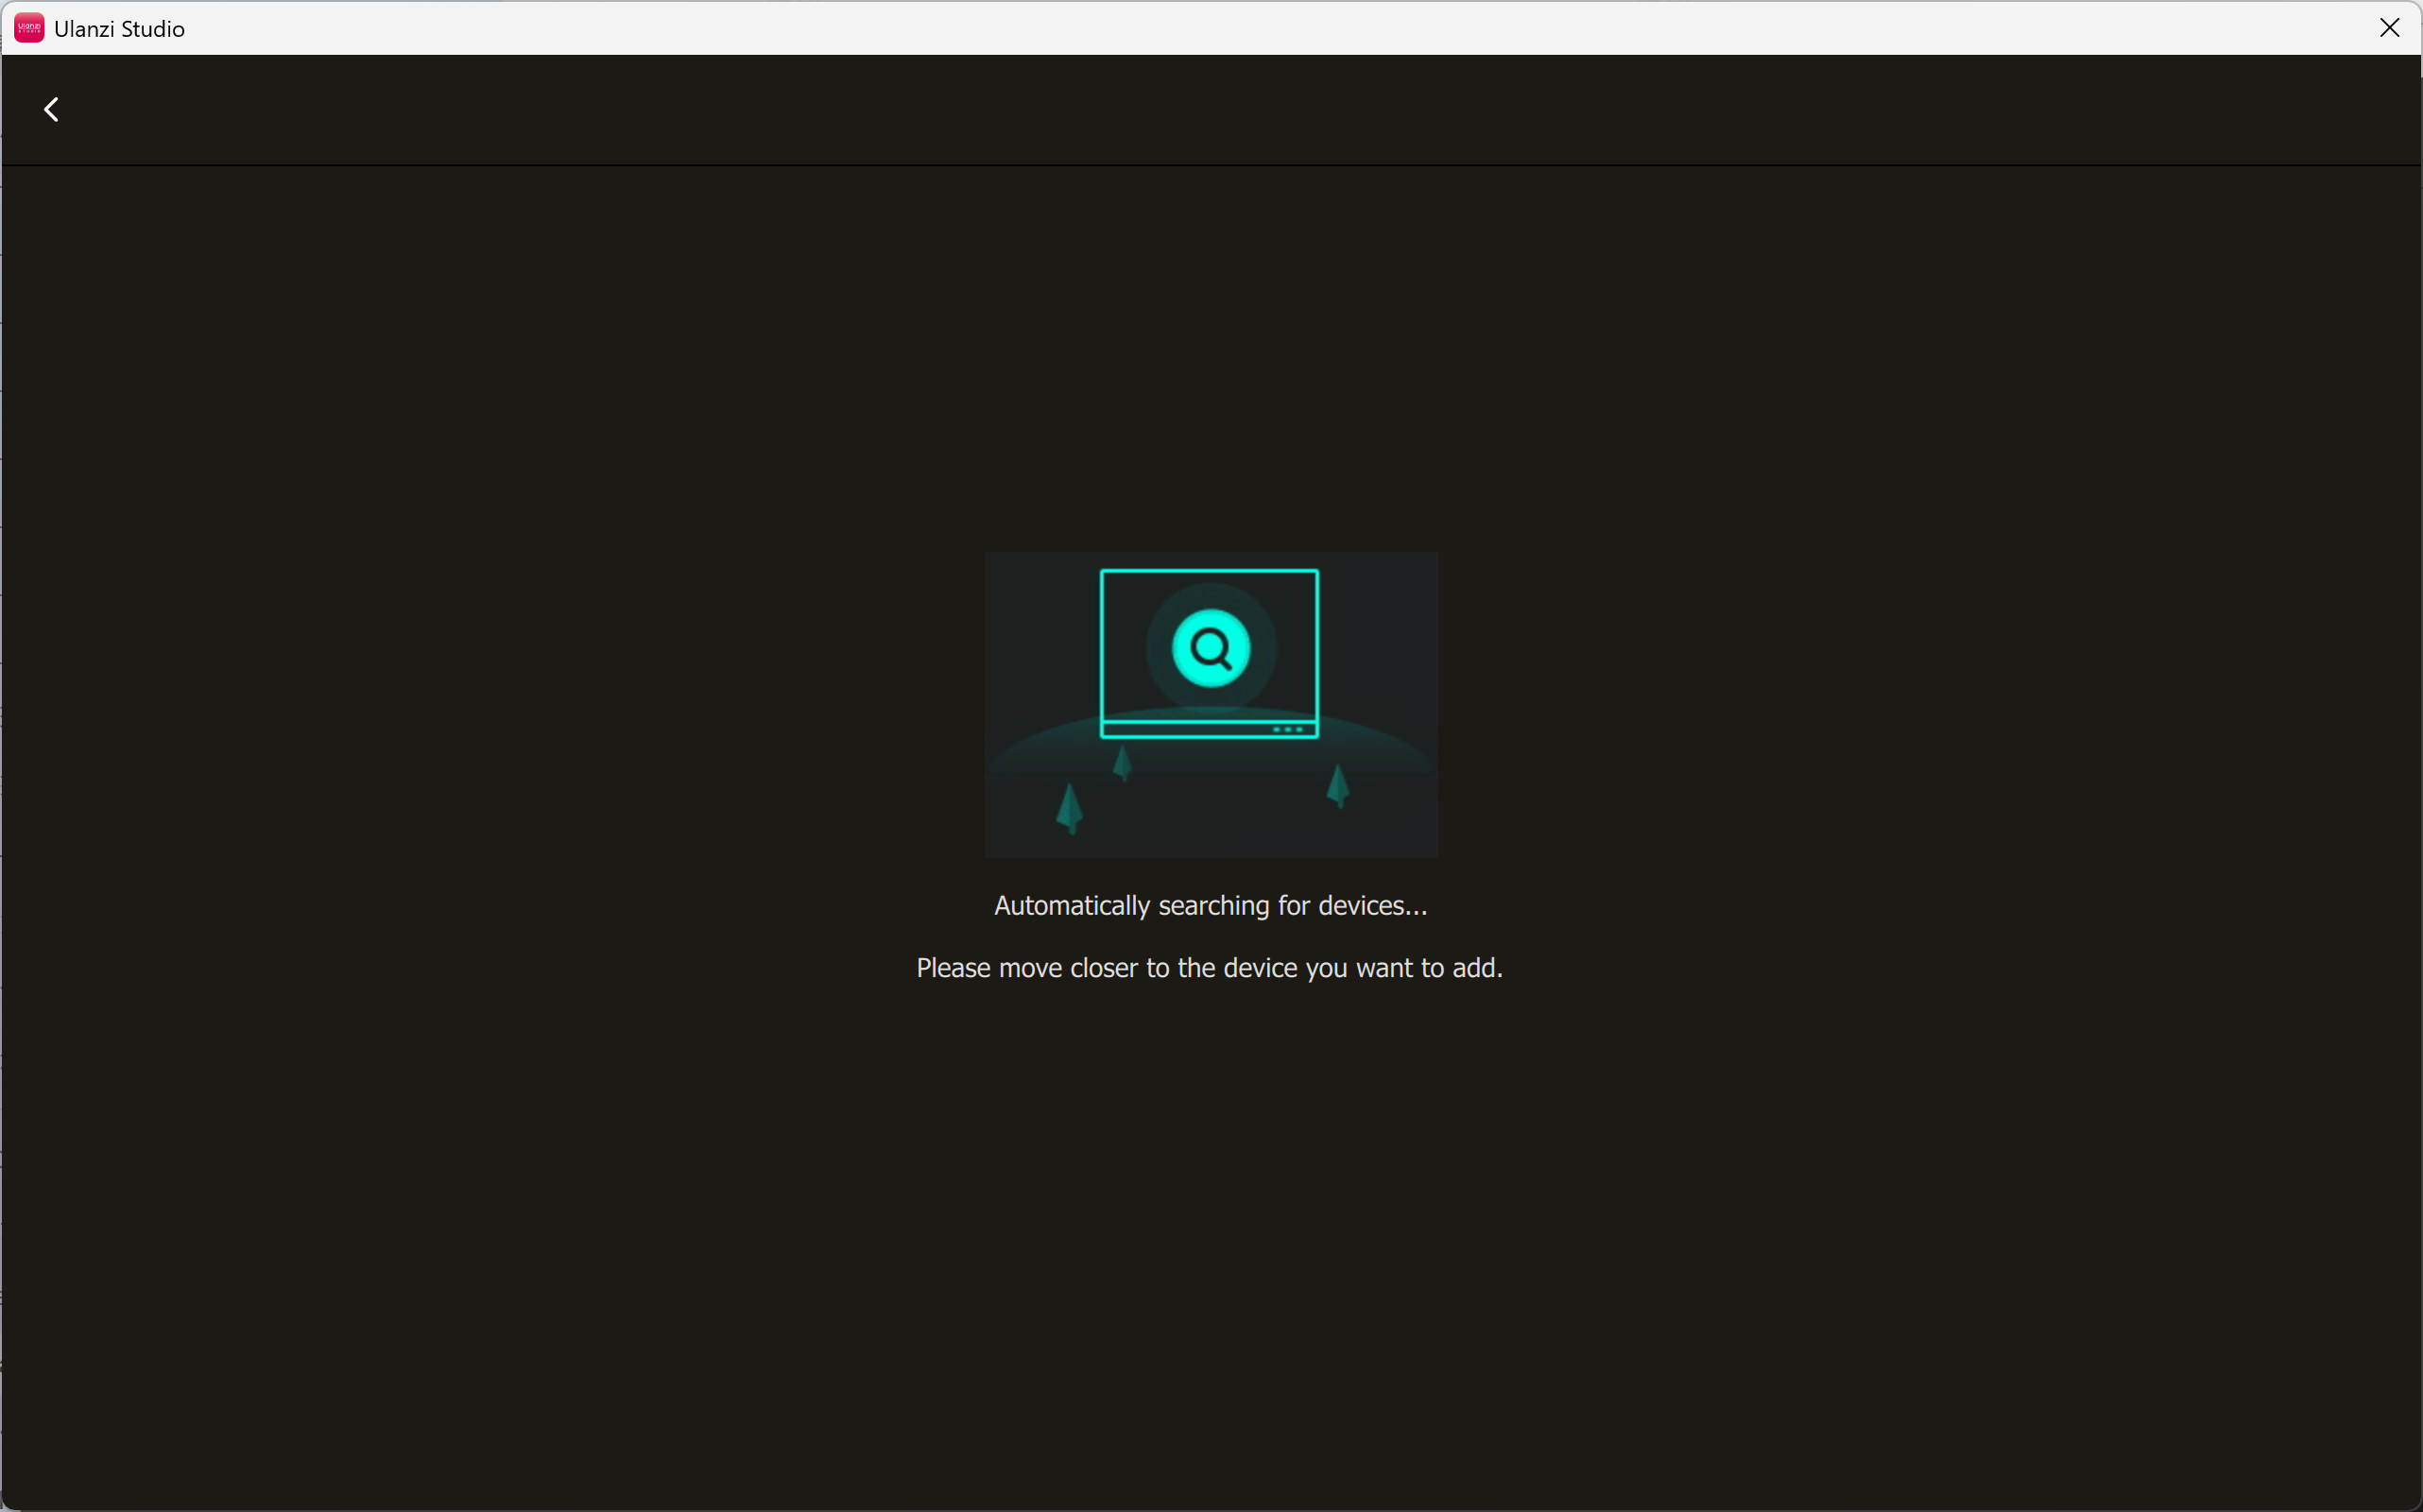
- Click Add Wi-Fi Device and scan for nearby devices.
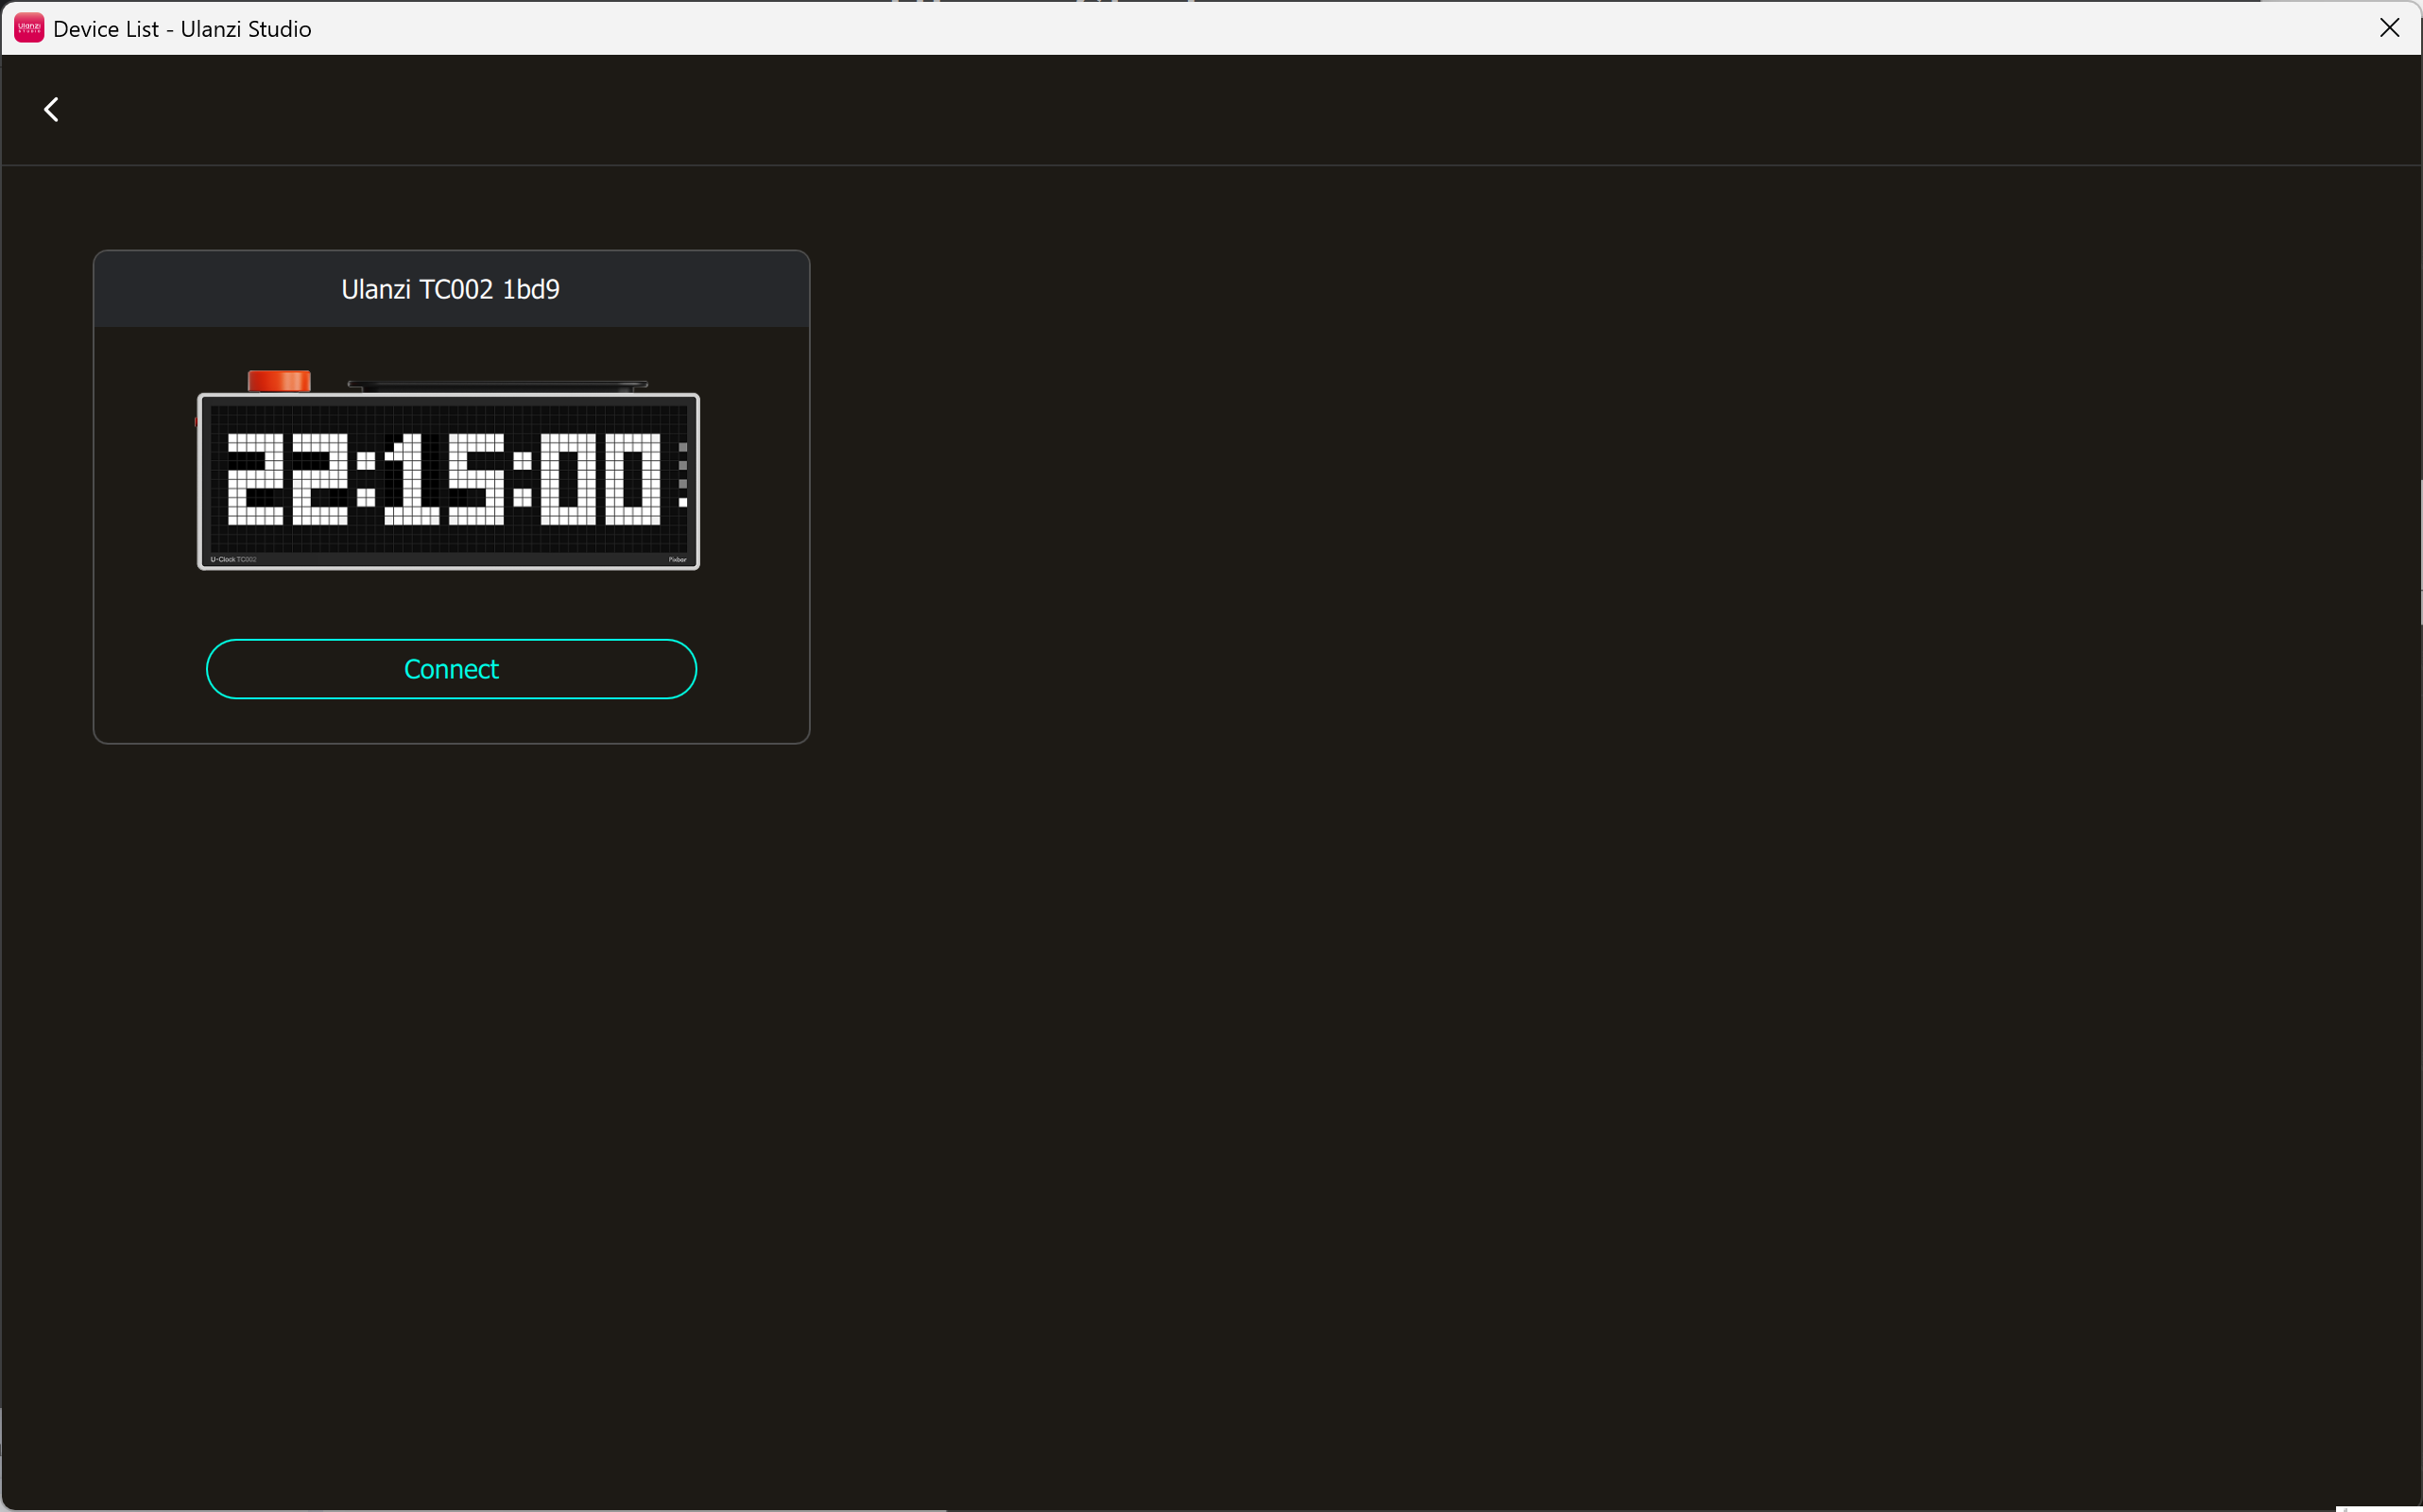
- Select TC002 and click Connect.
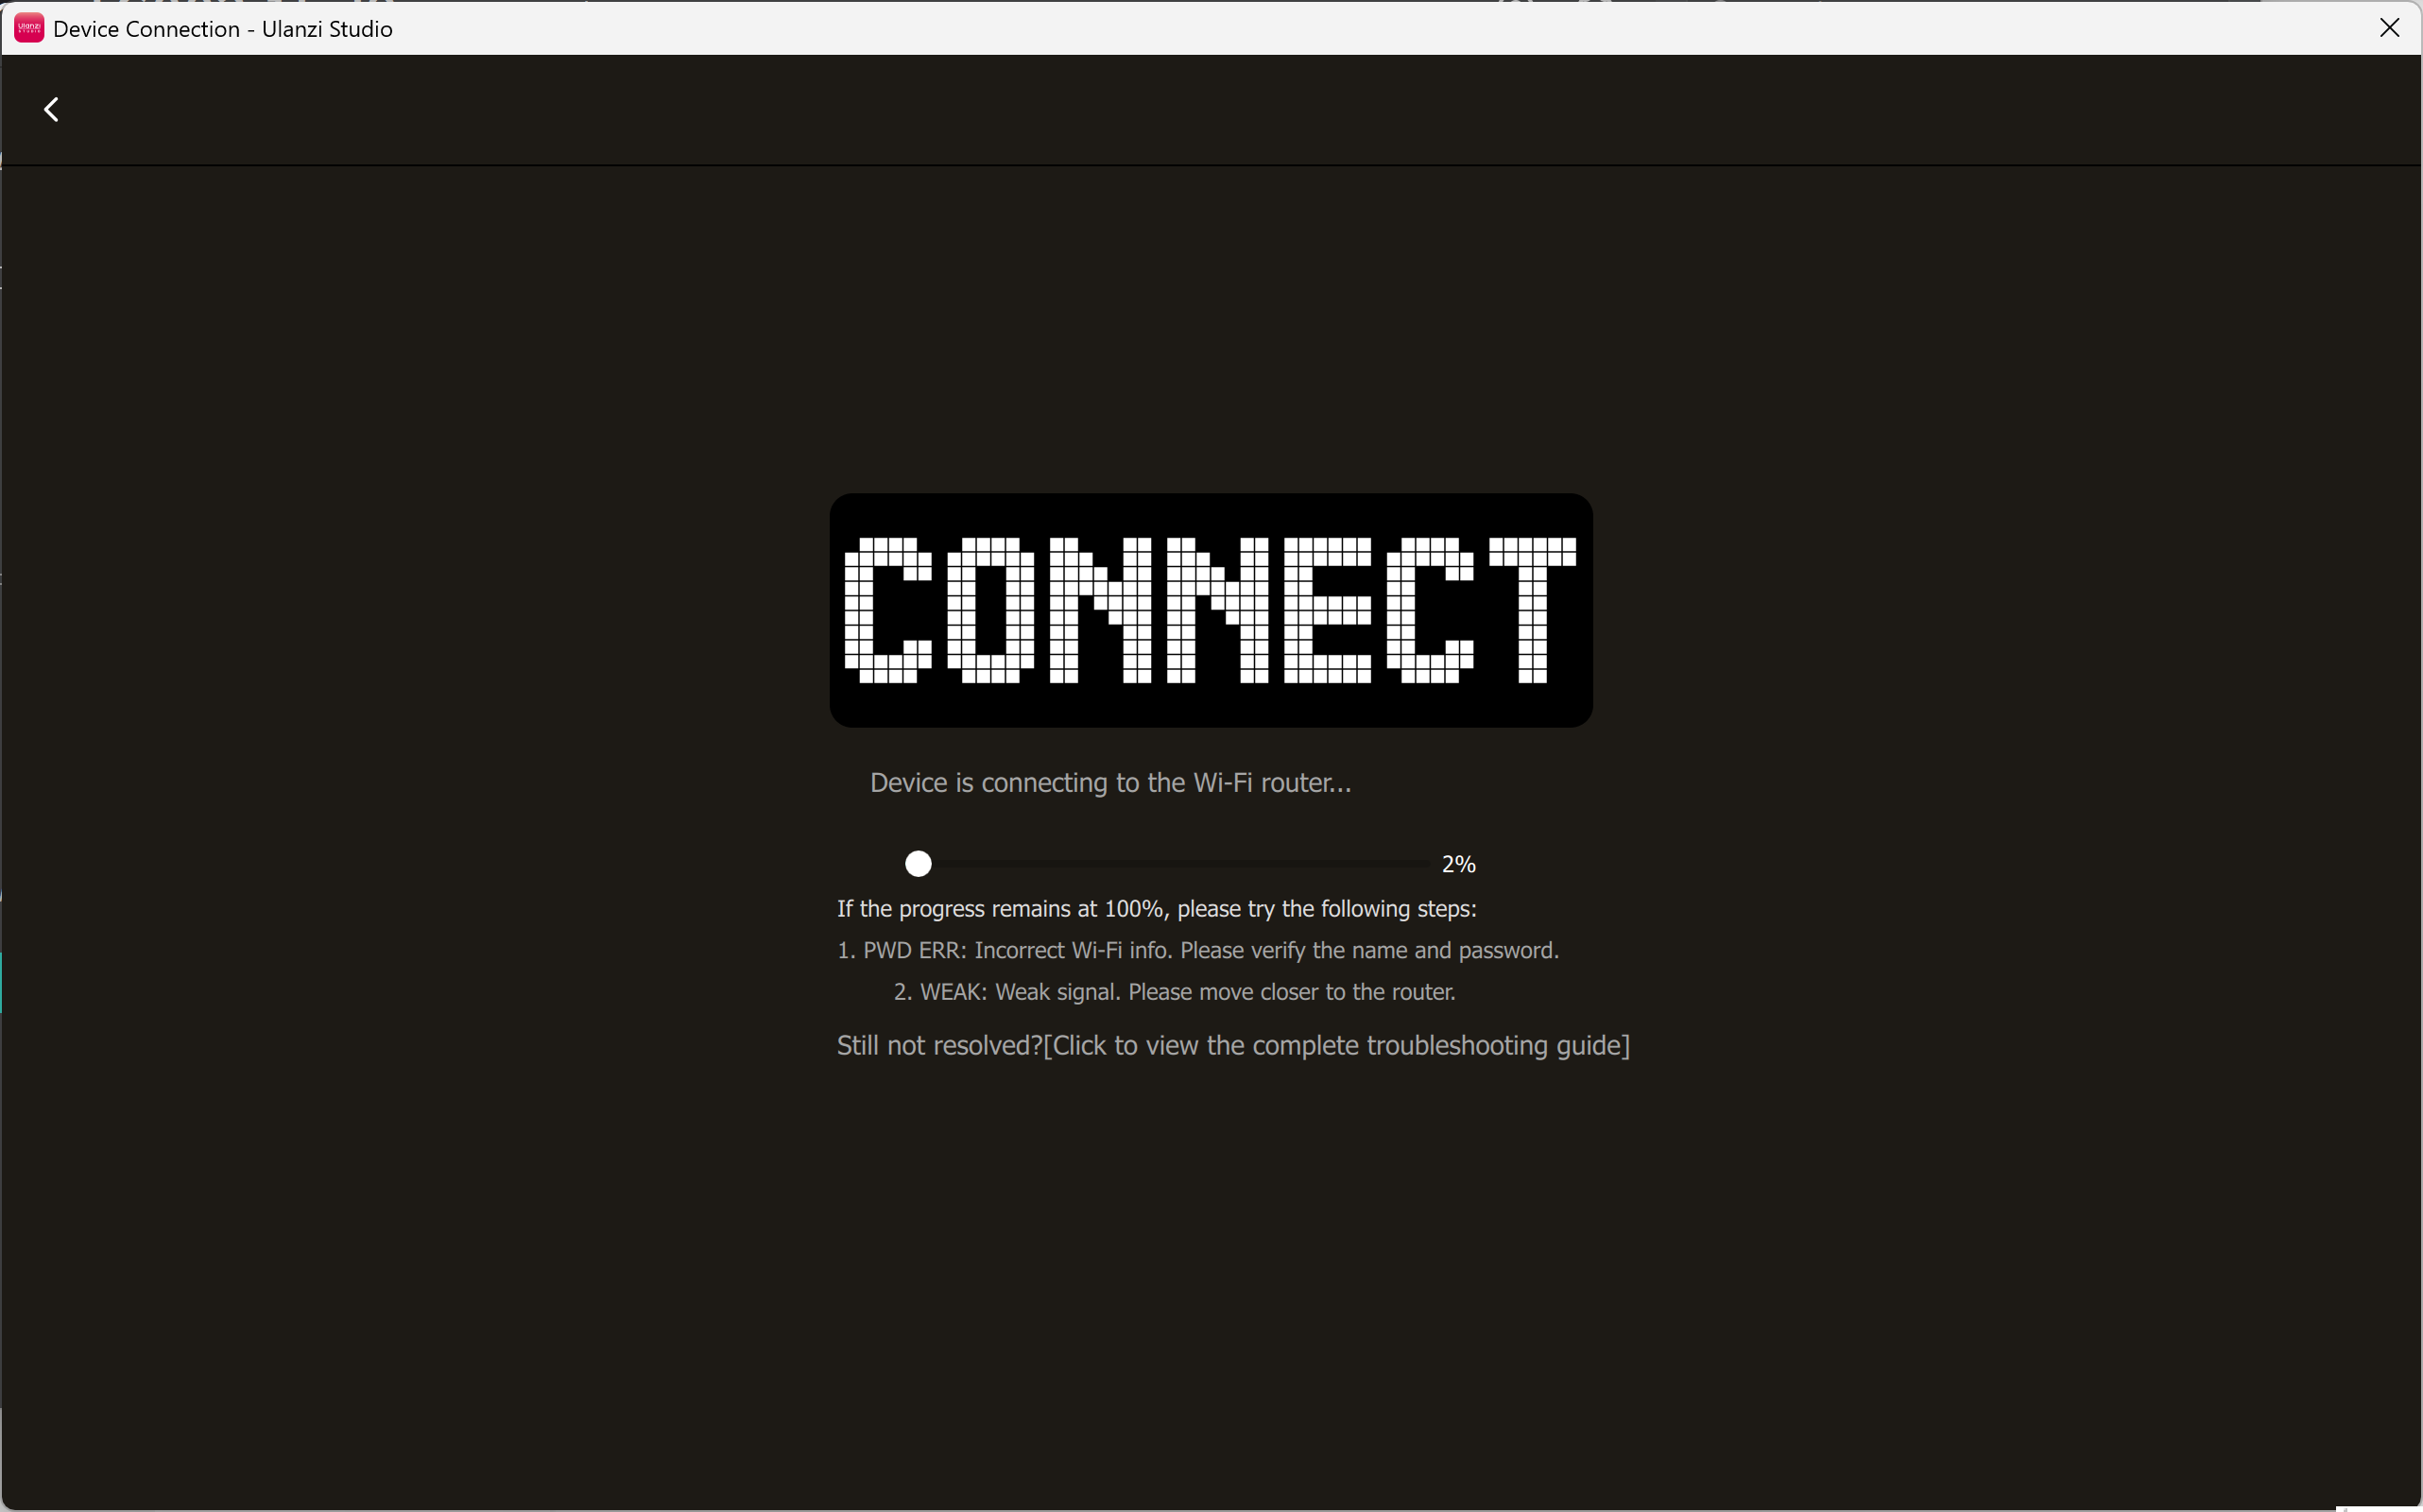
- Wait while Ulanzi Studio checks the network setup state.
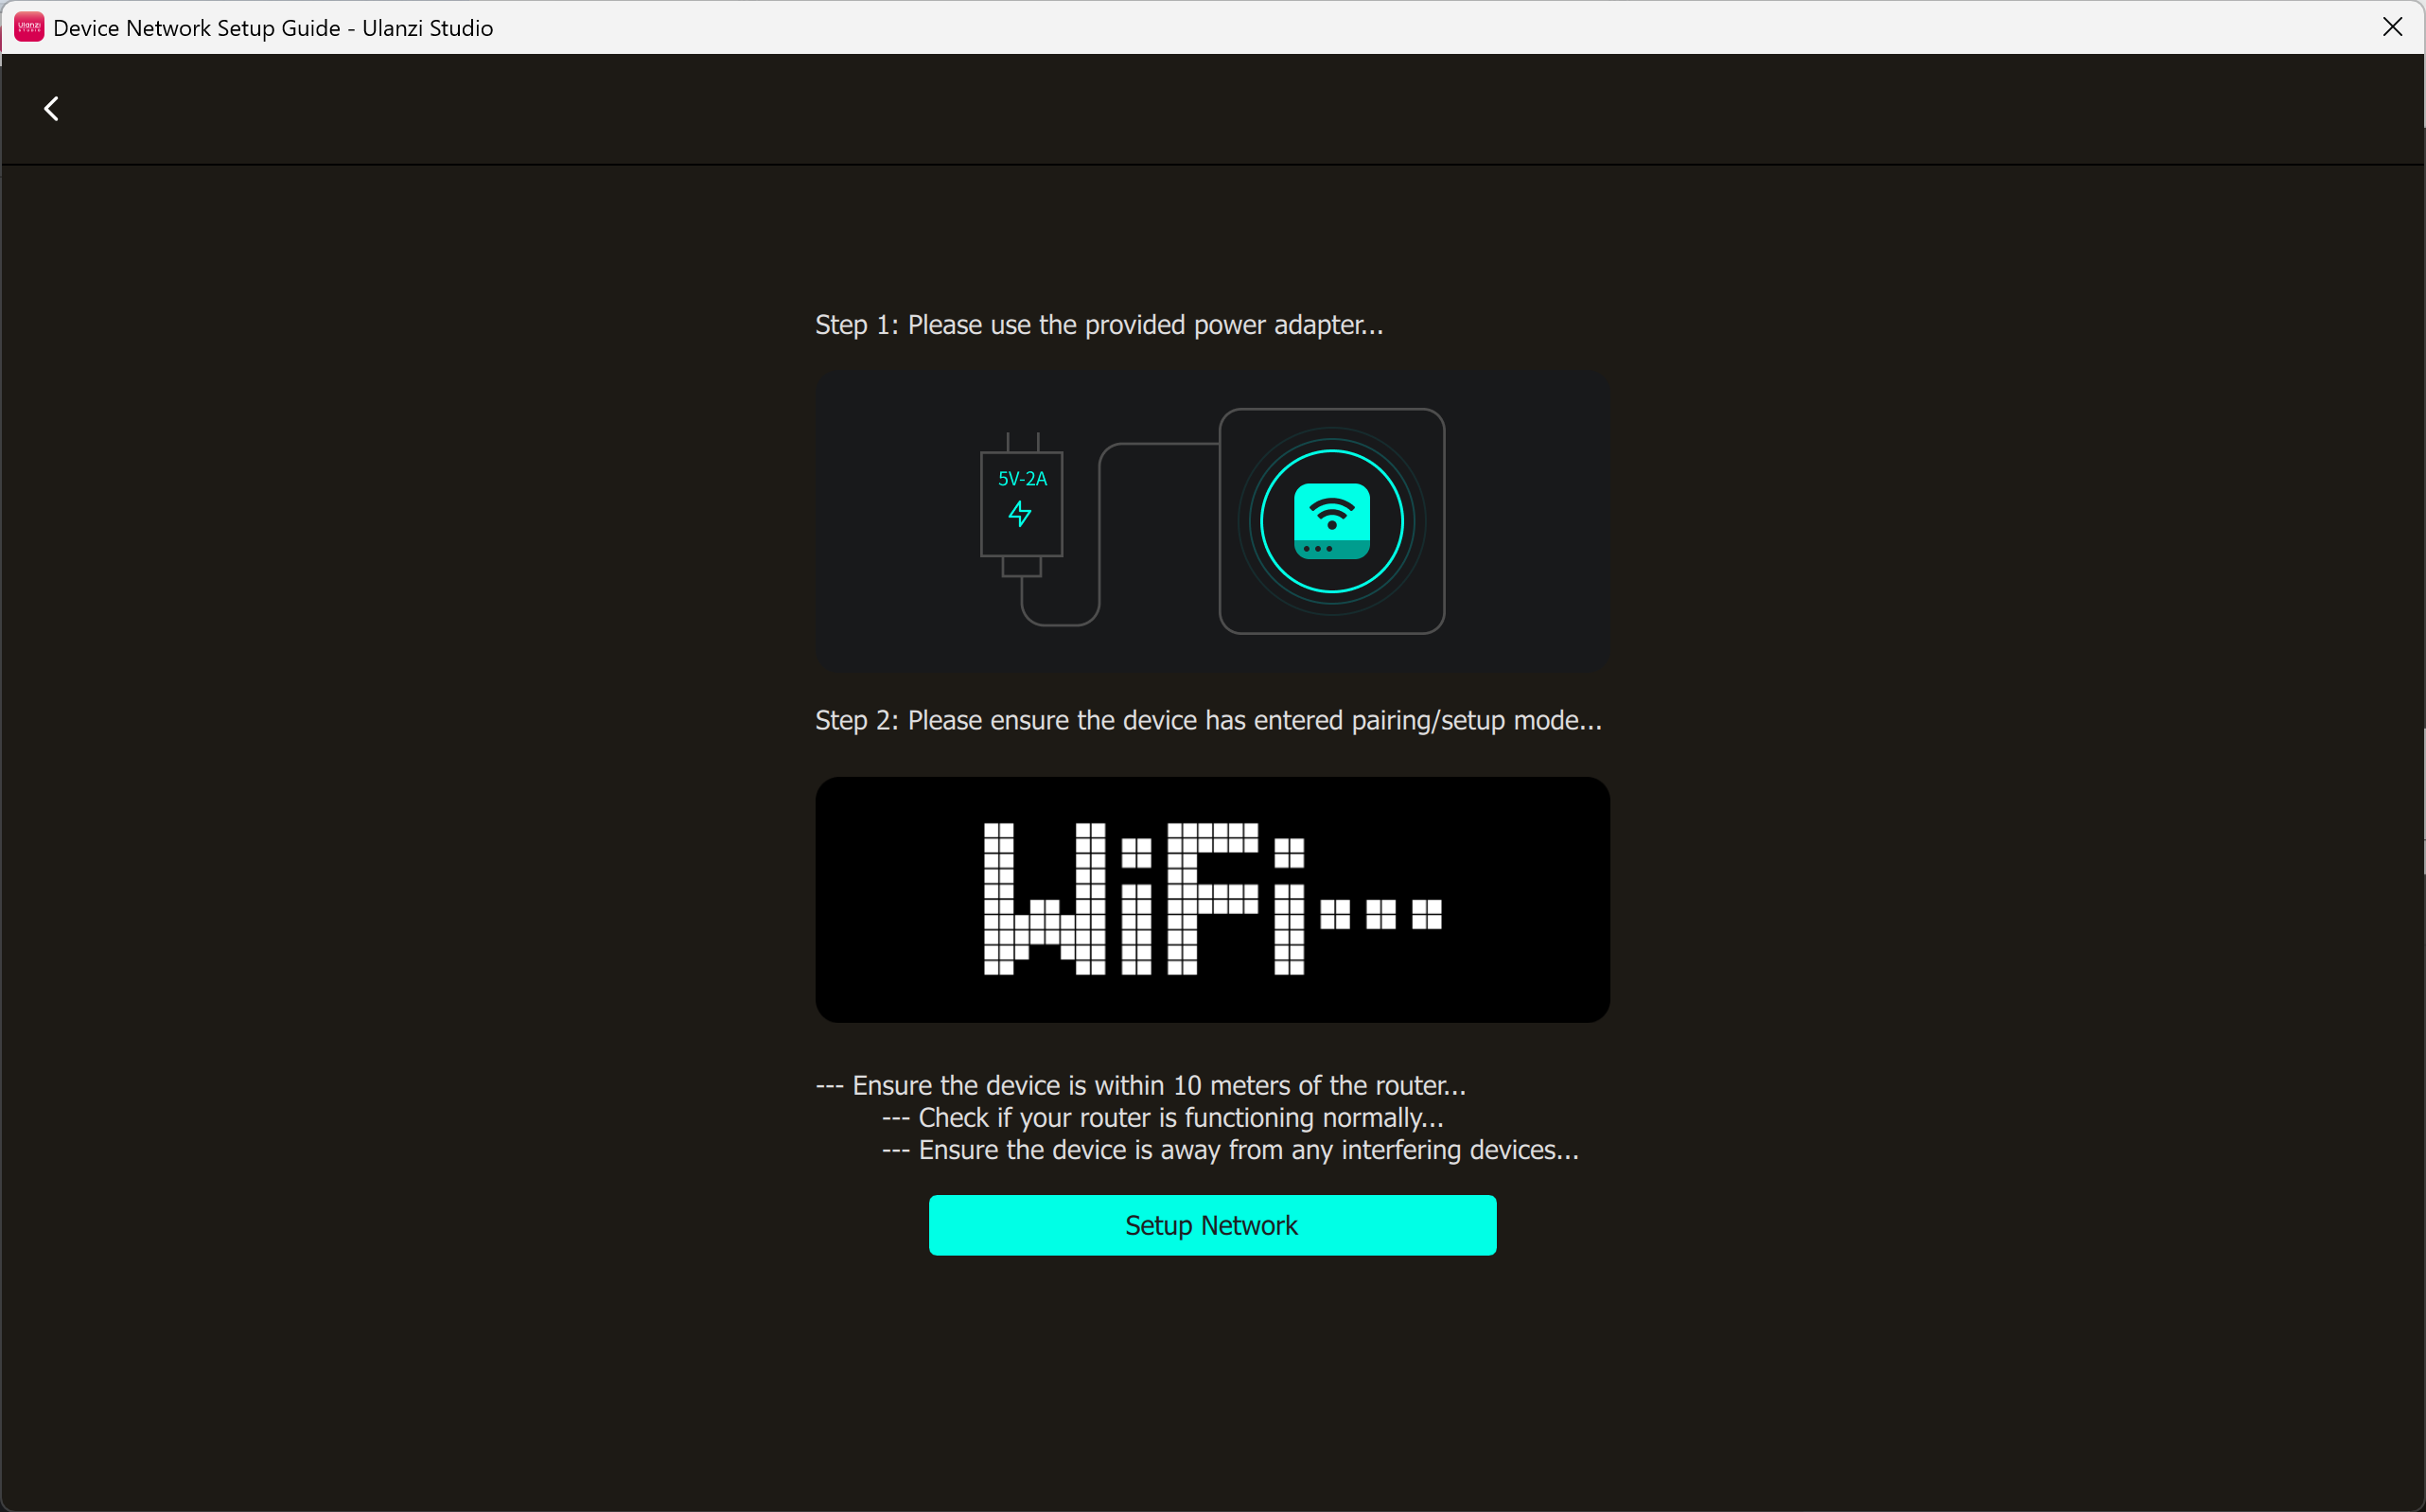
- Select a Wi-Fi network, enter its password, and confirm.
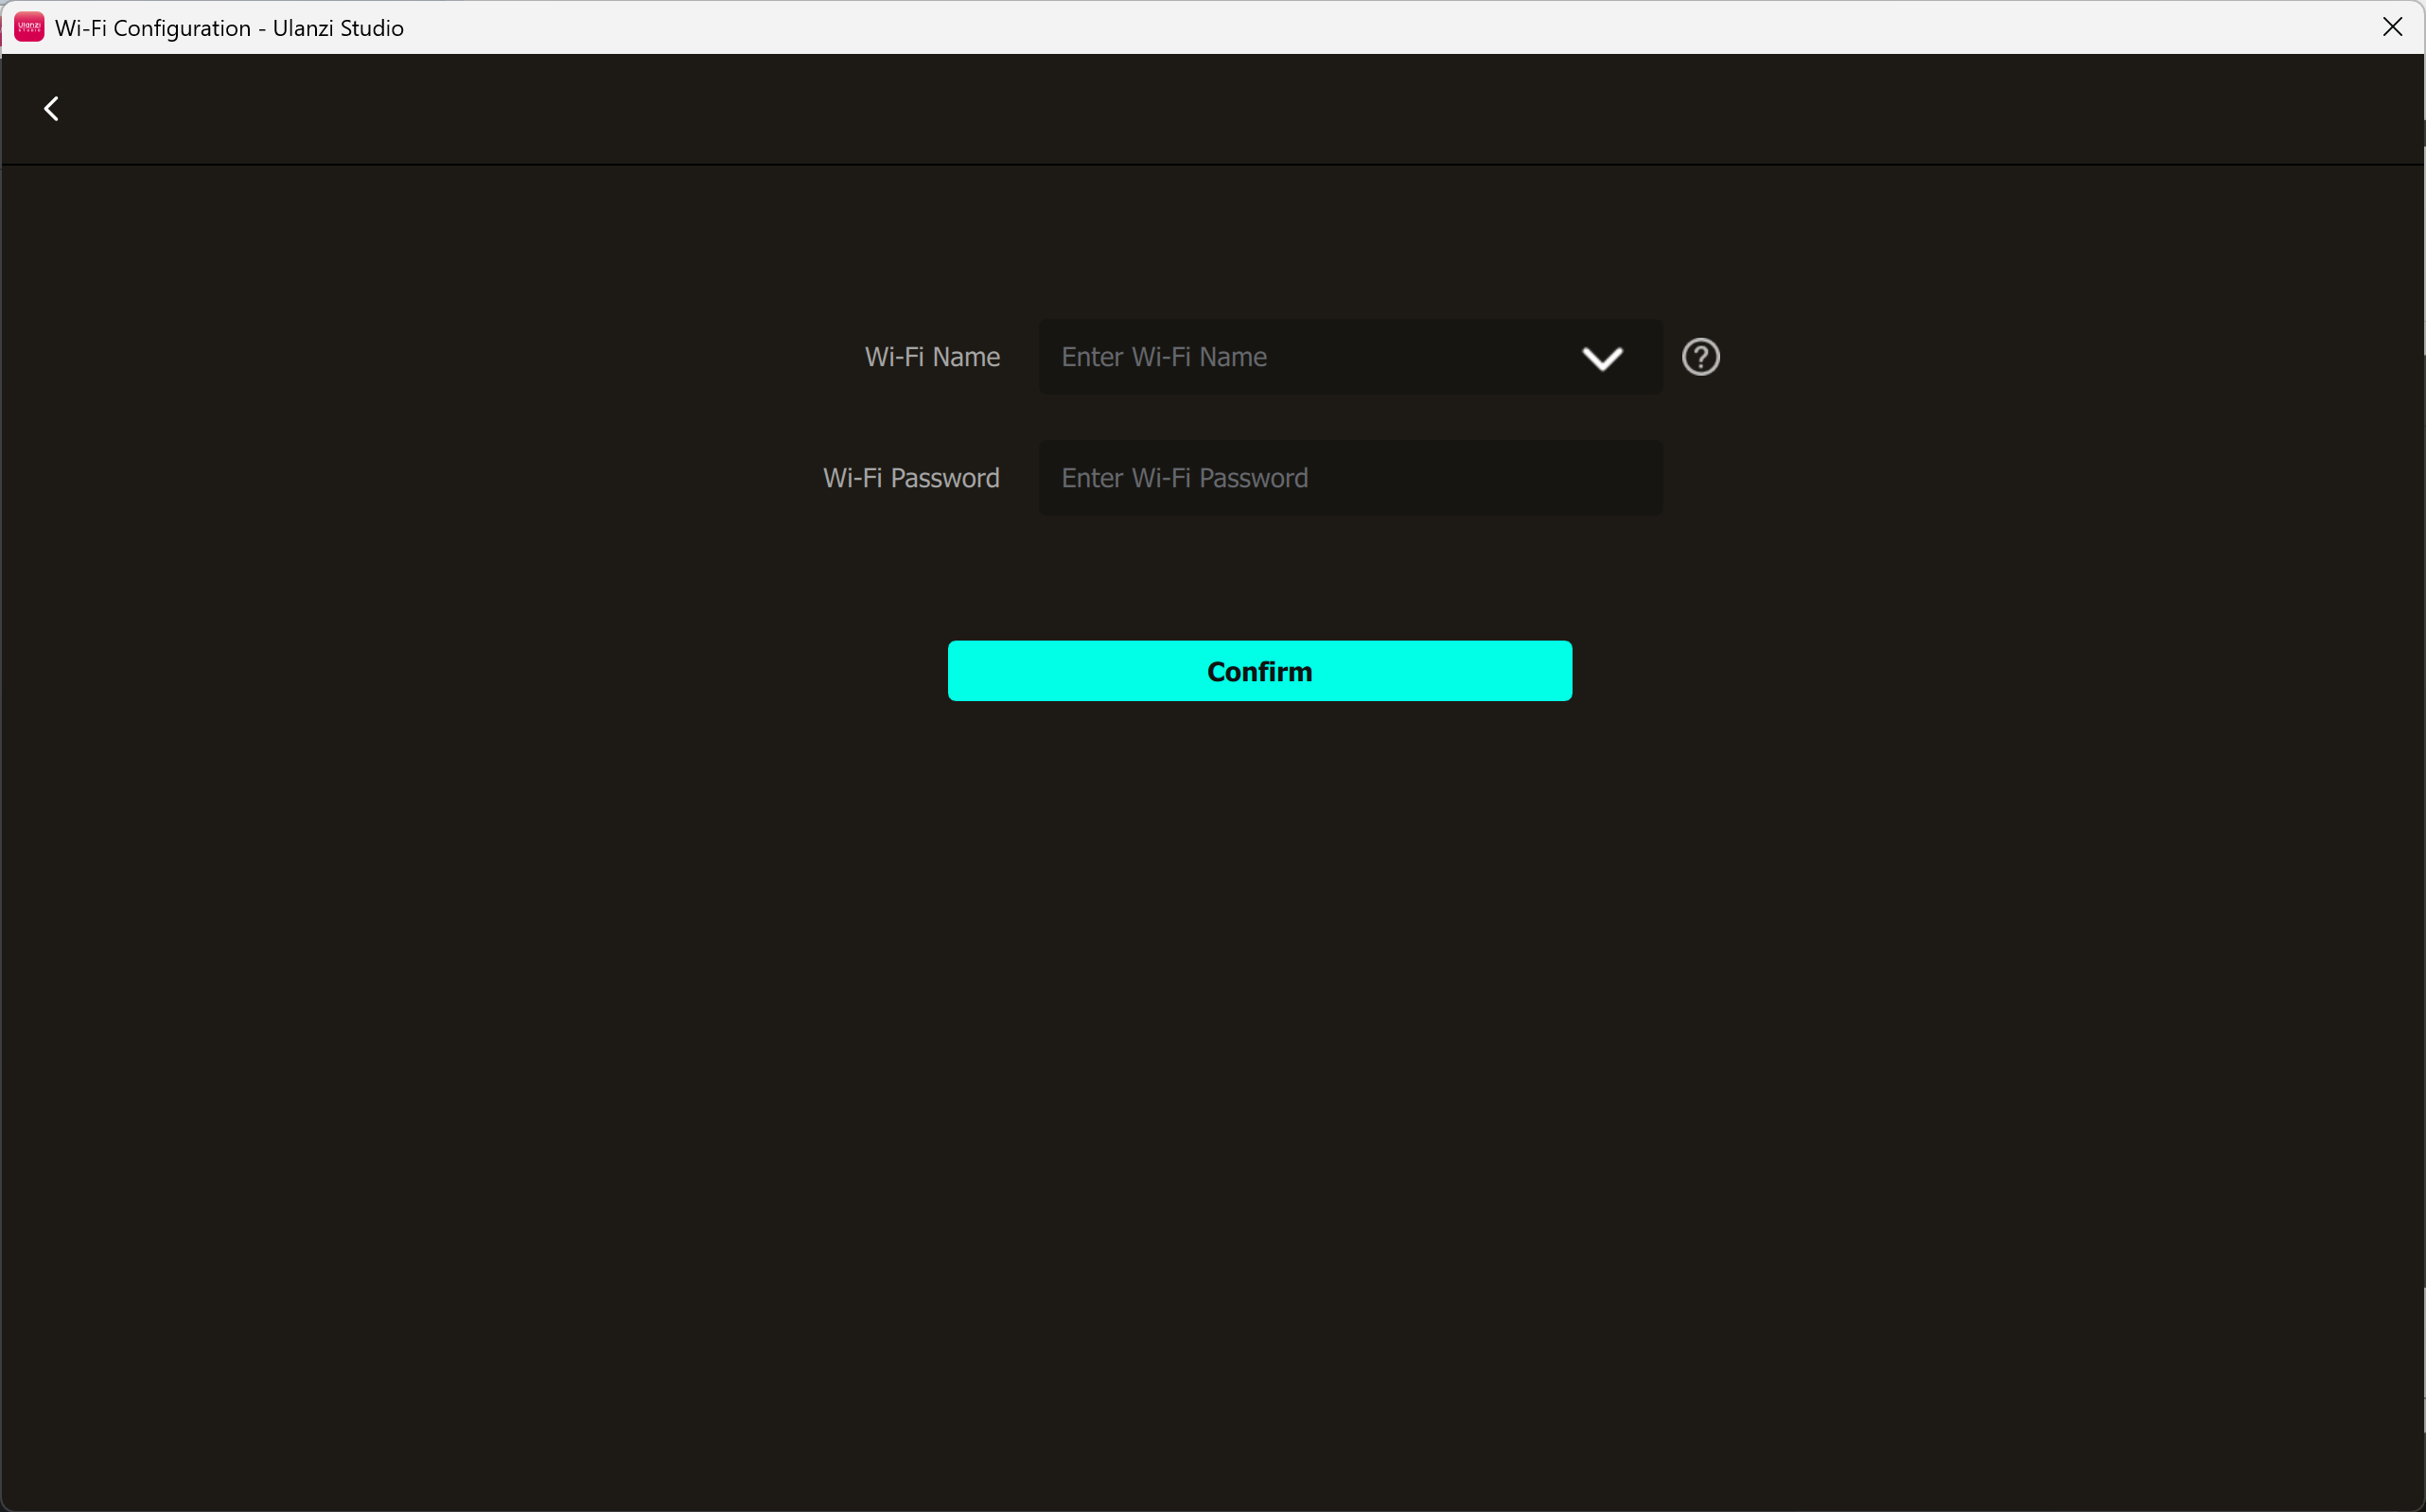
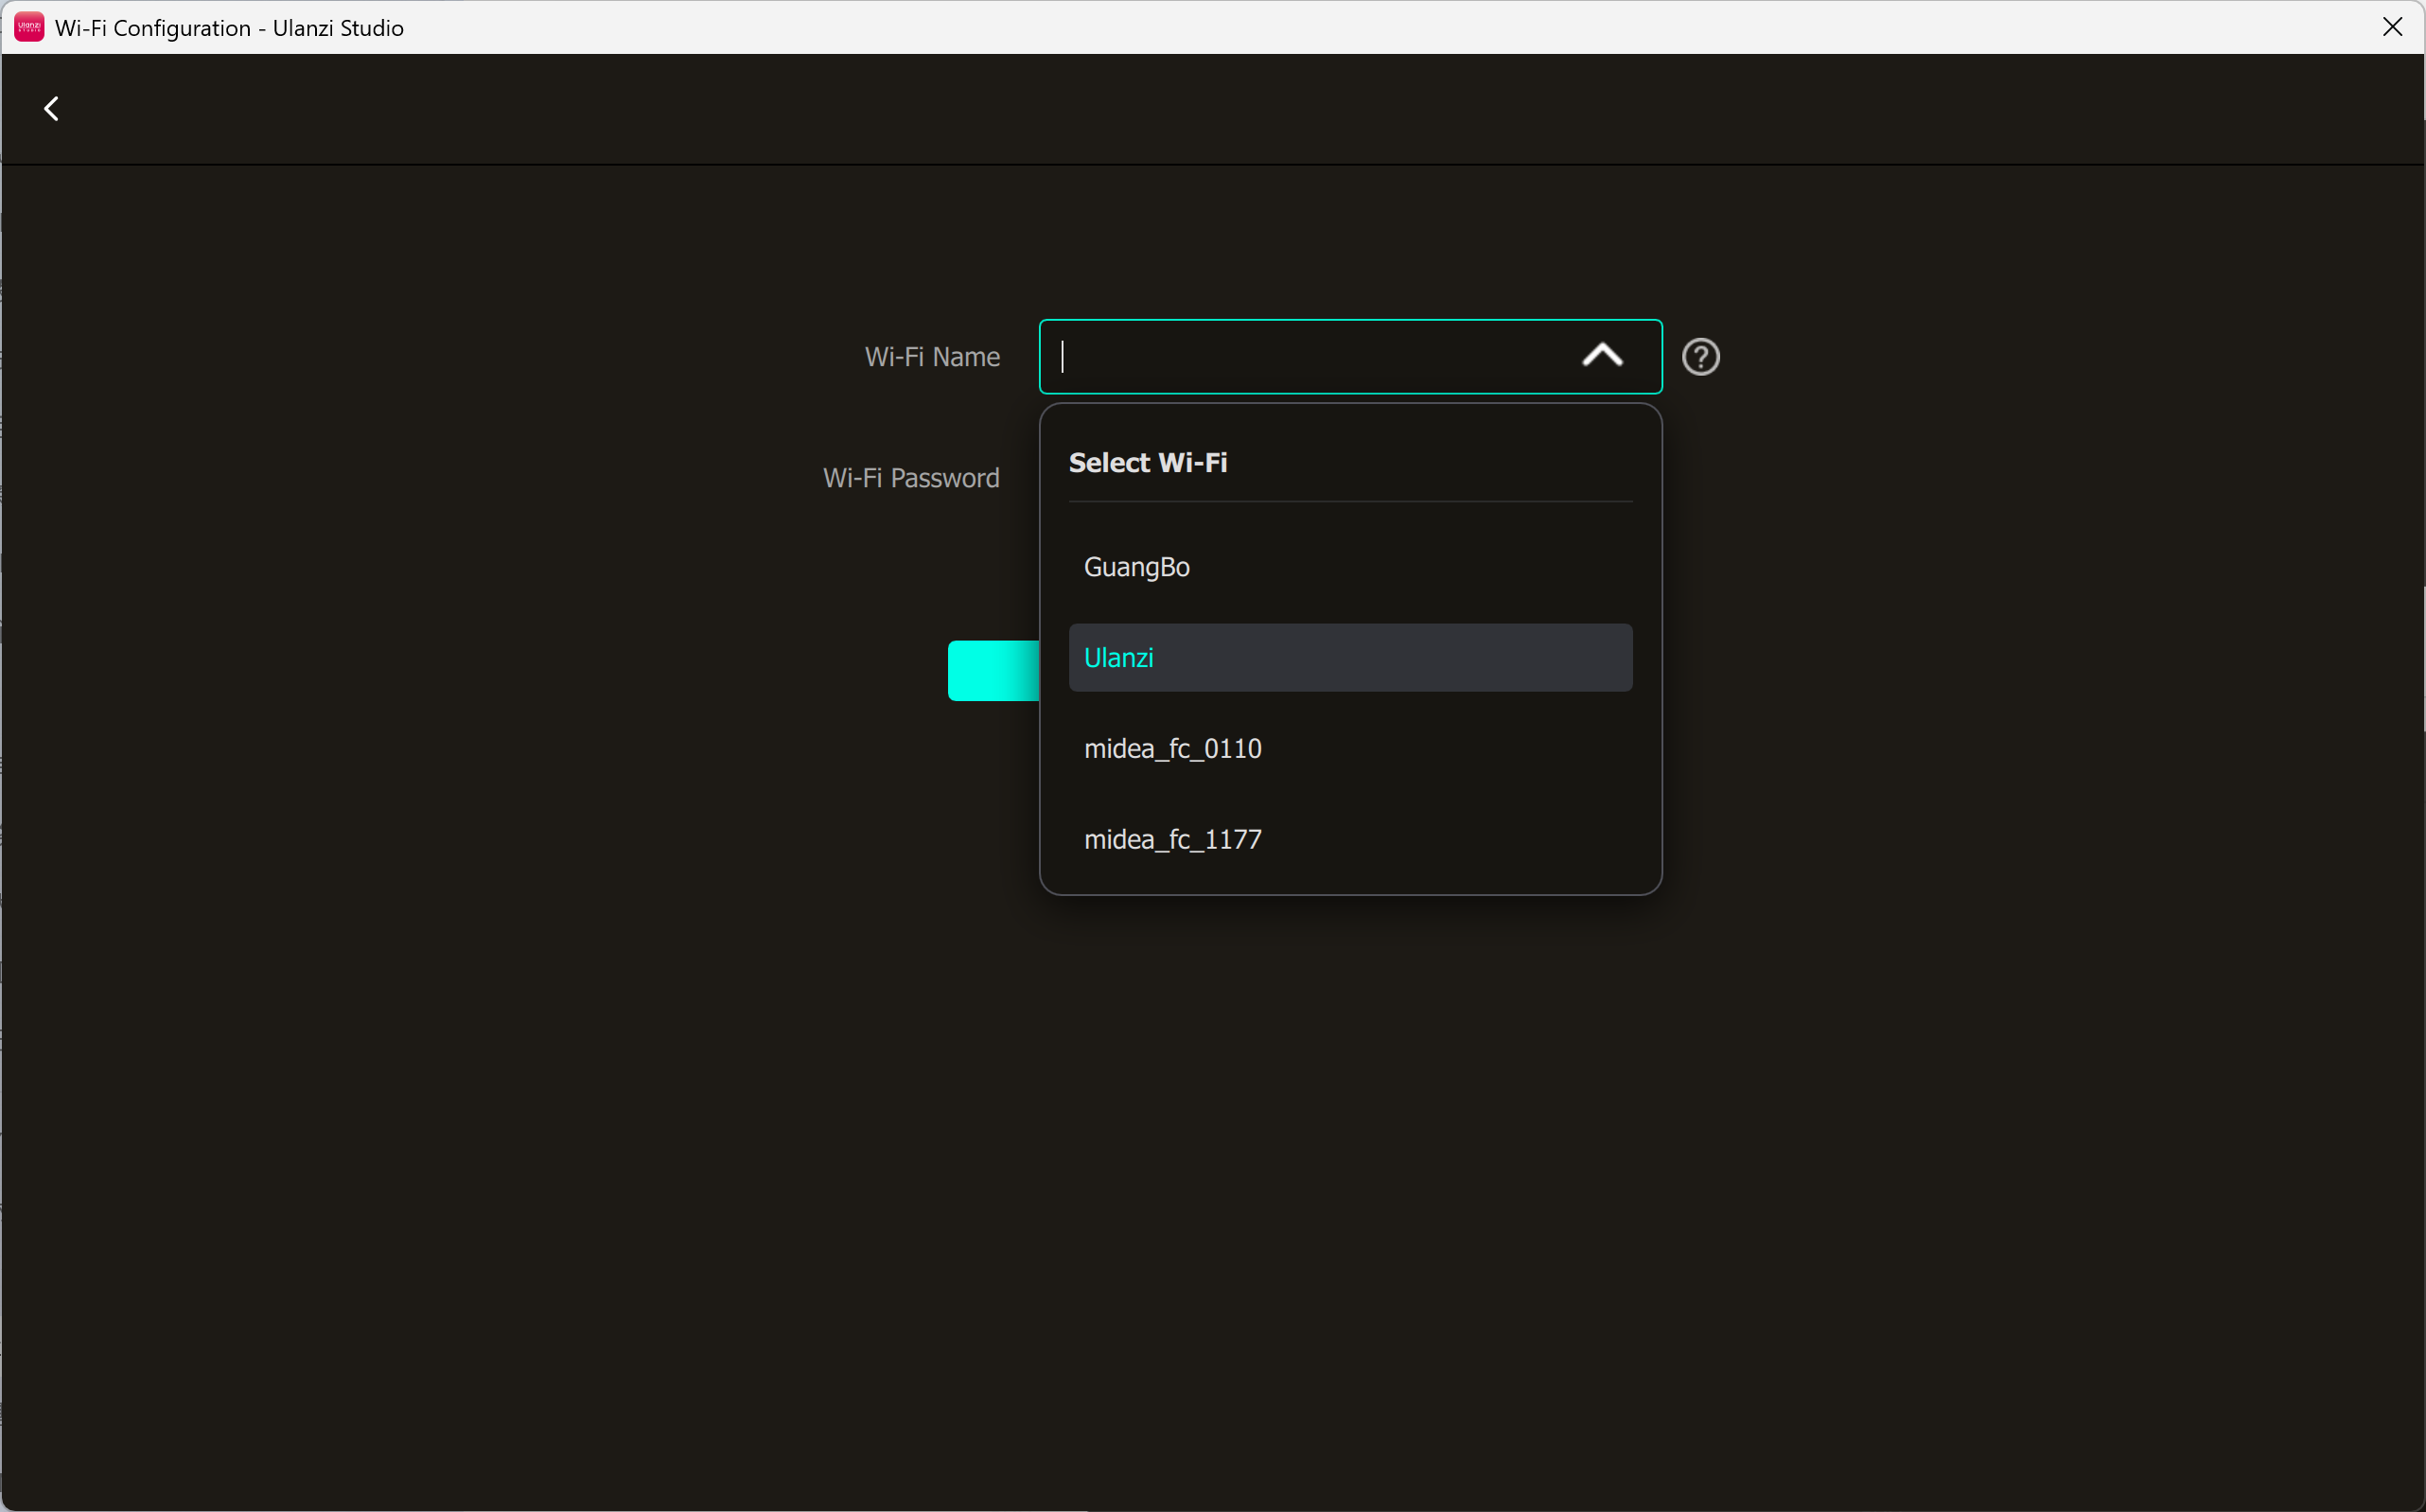
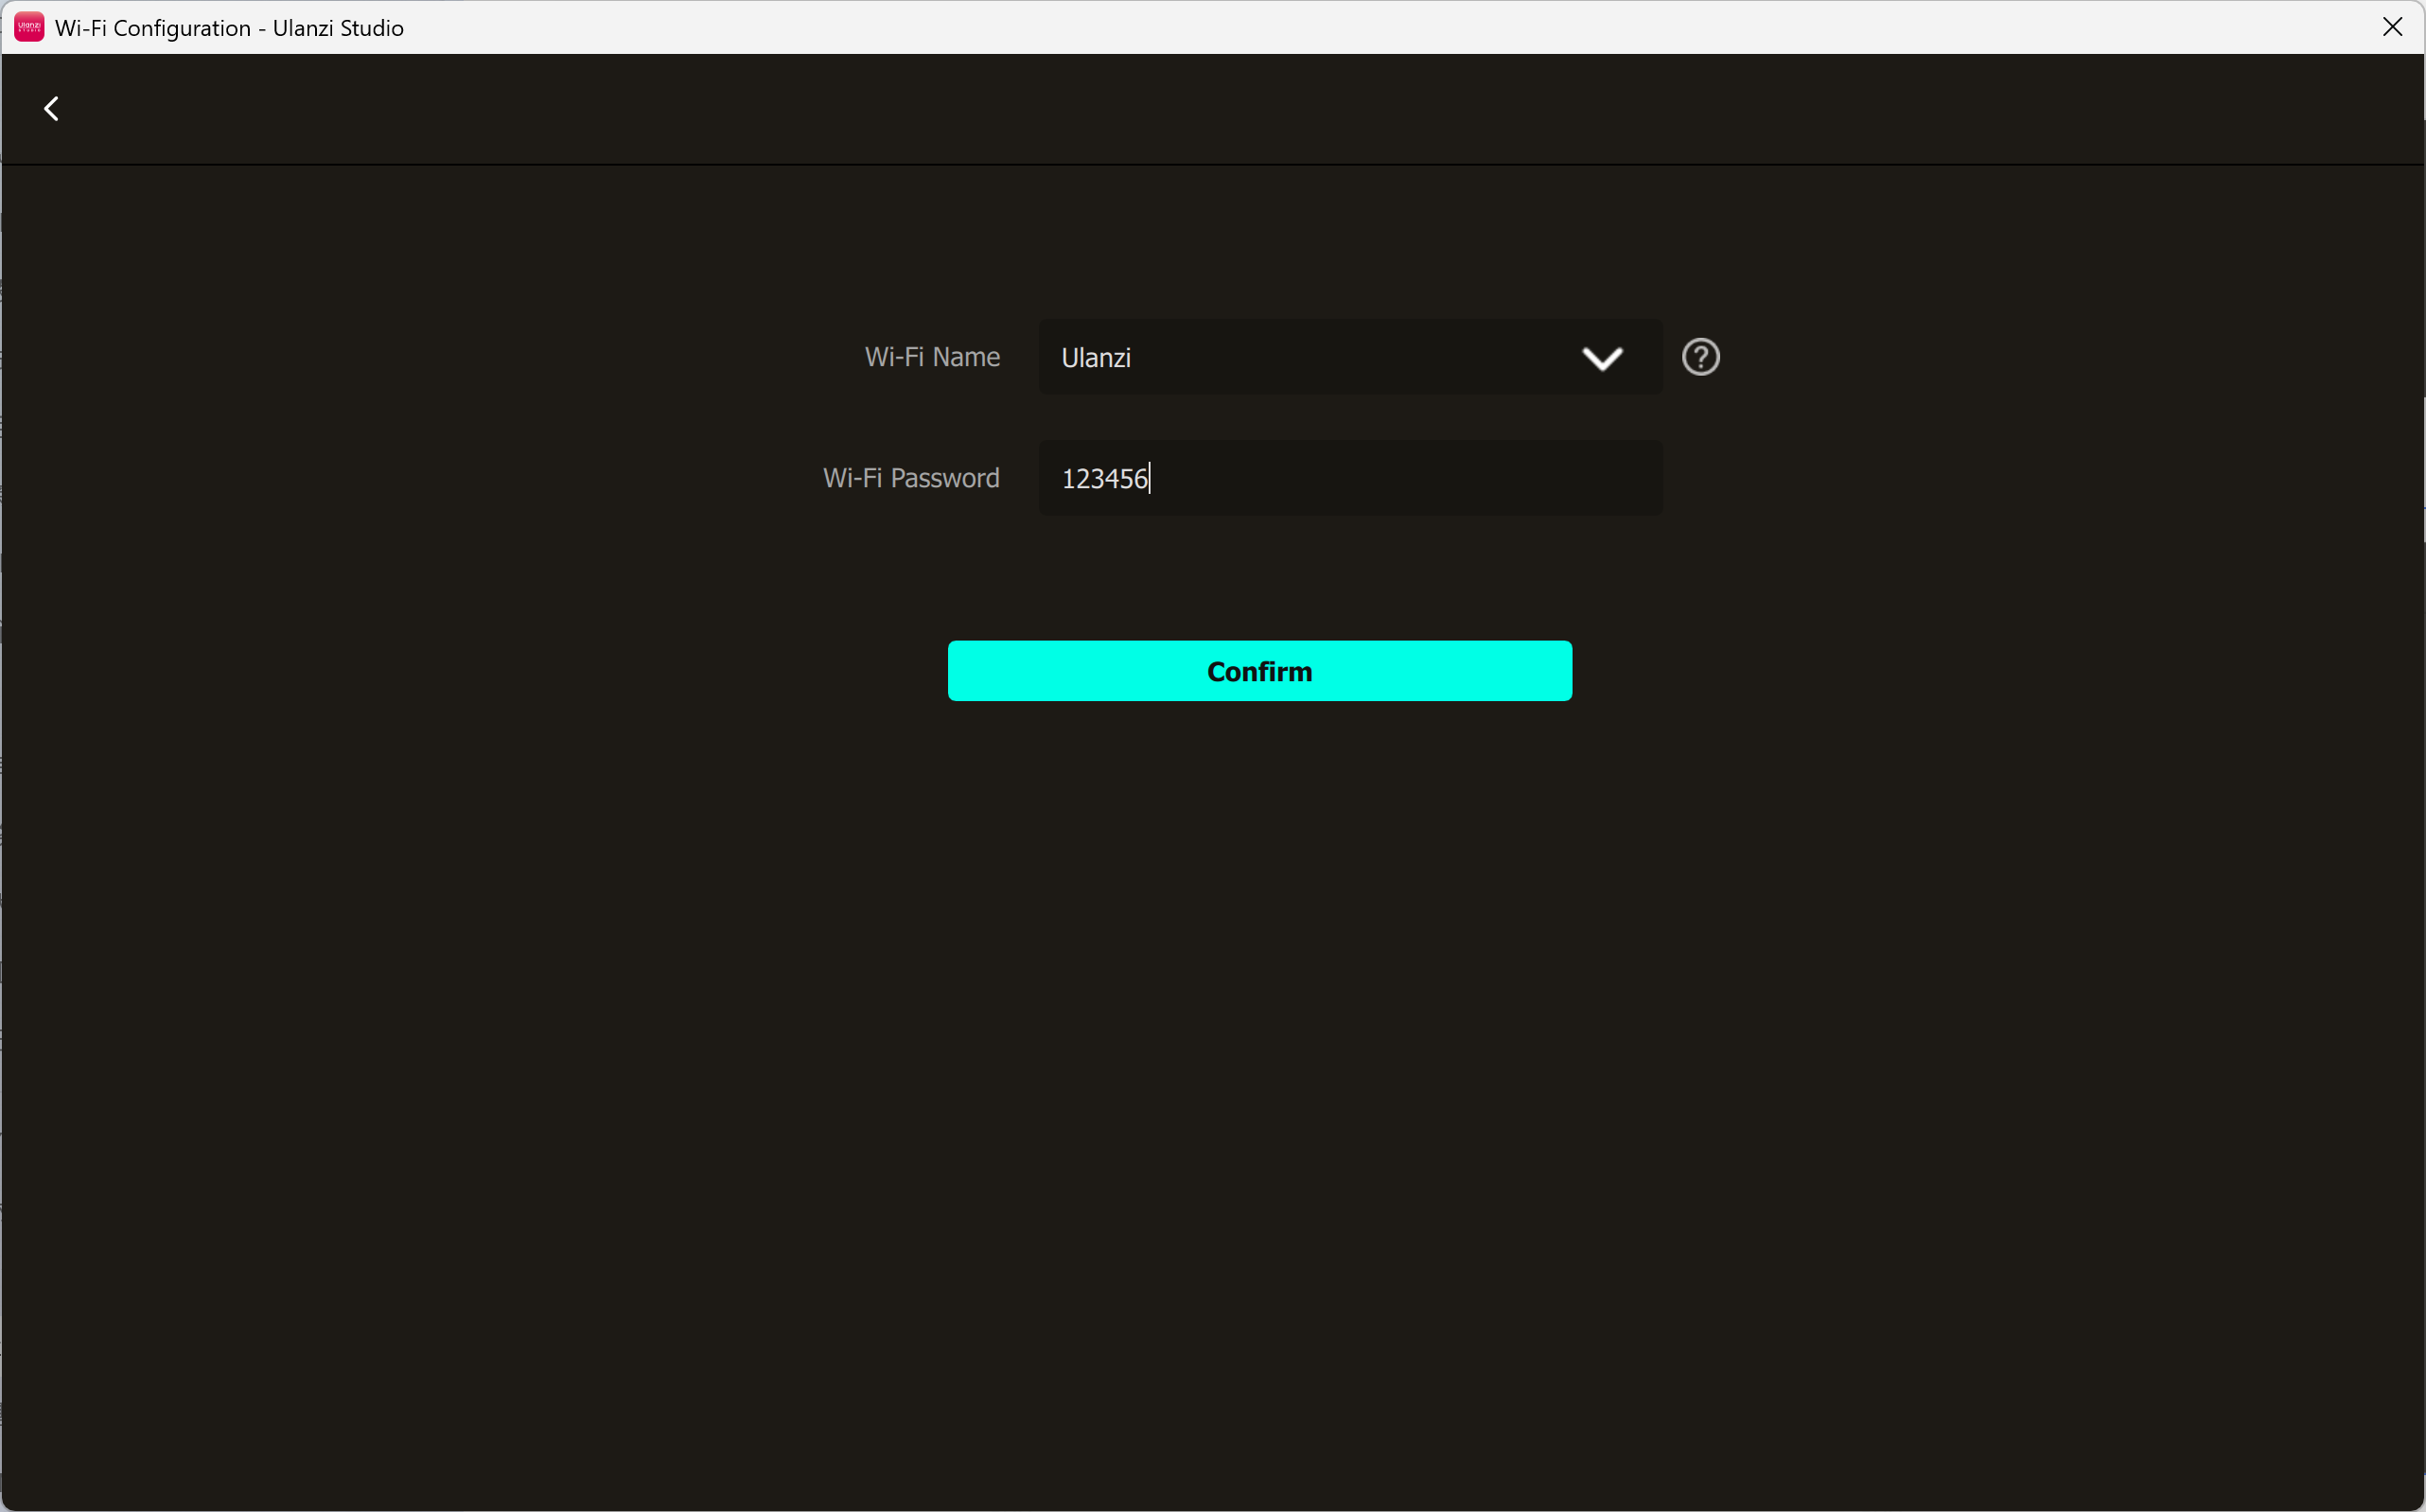
- Wait for the Wi-Fi configuration to complete.
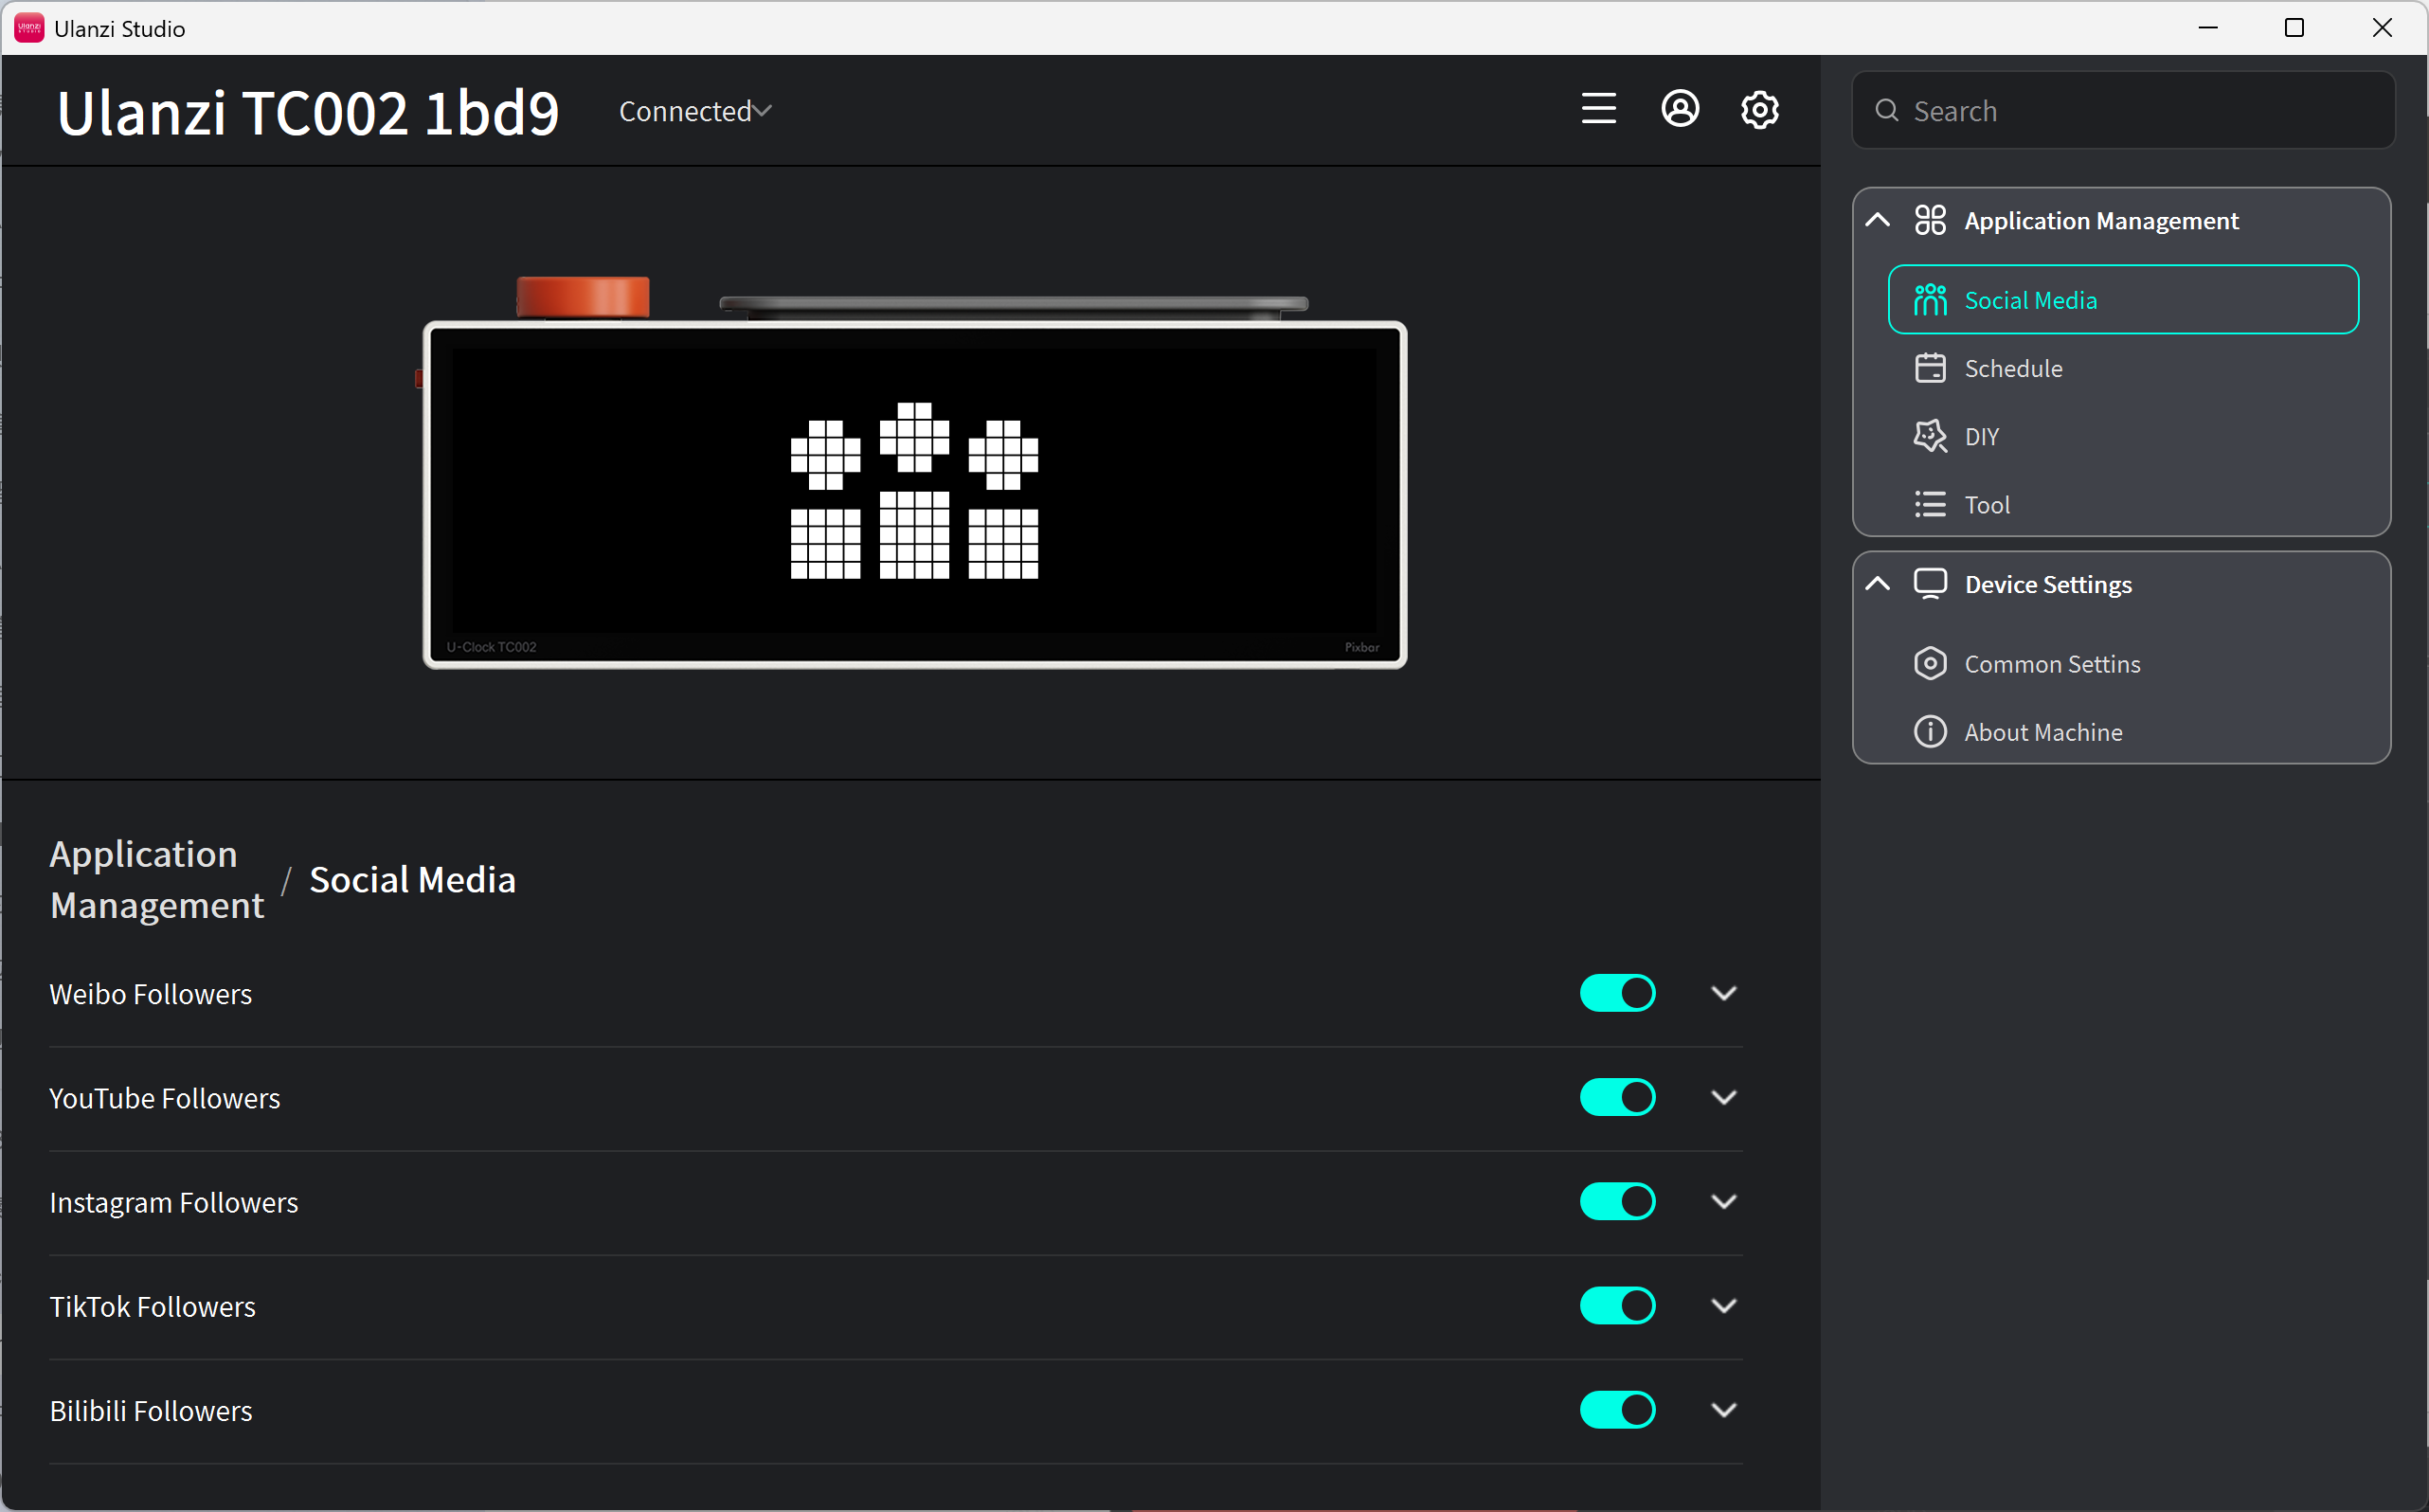
- After the connection succeeds, the device appears on the home page.
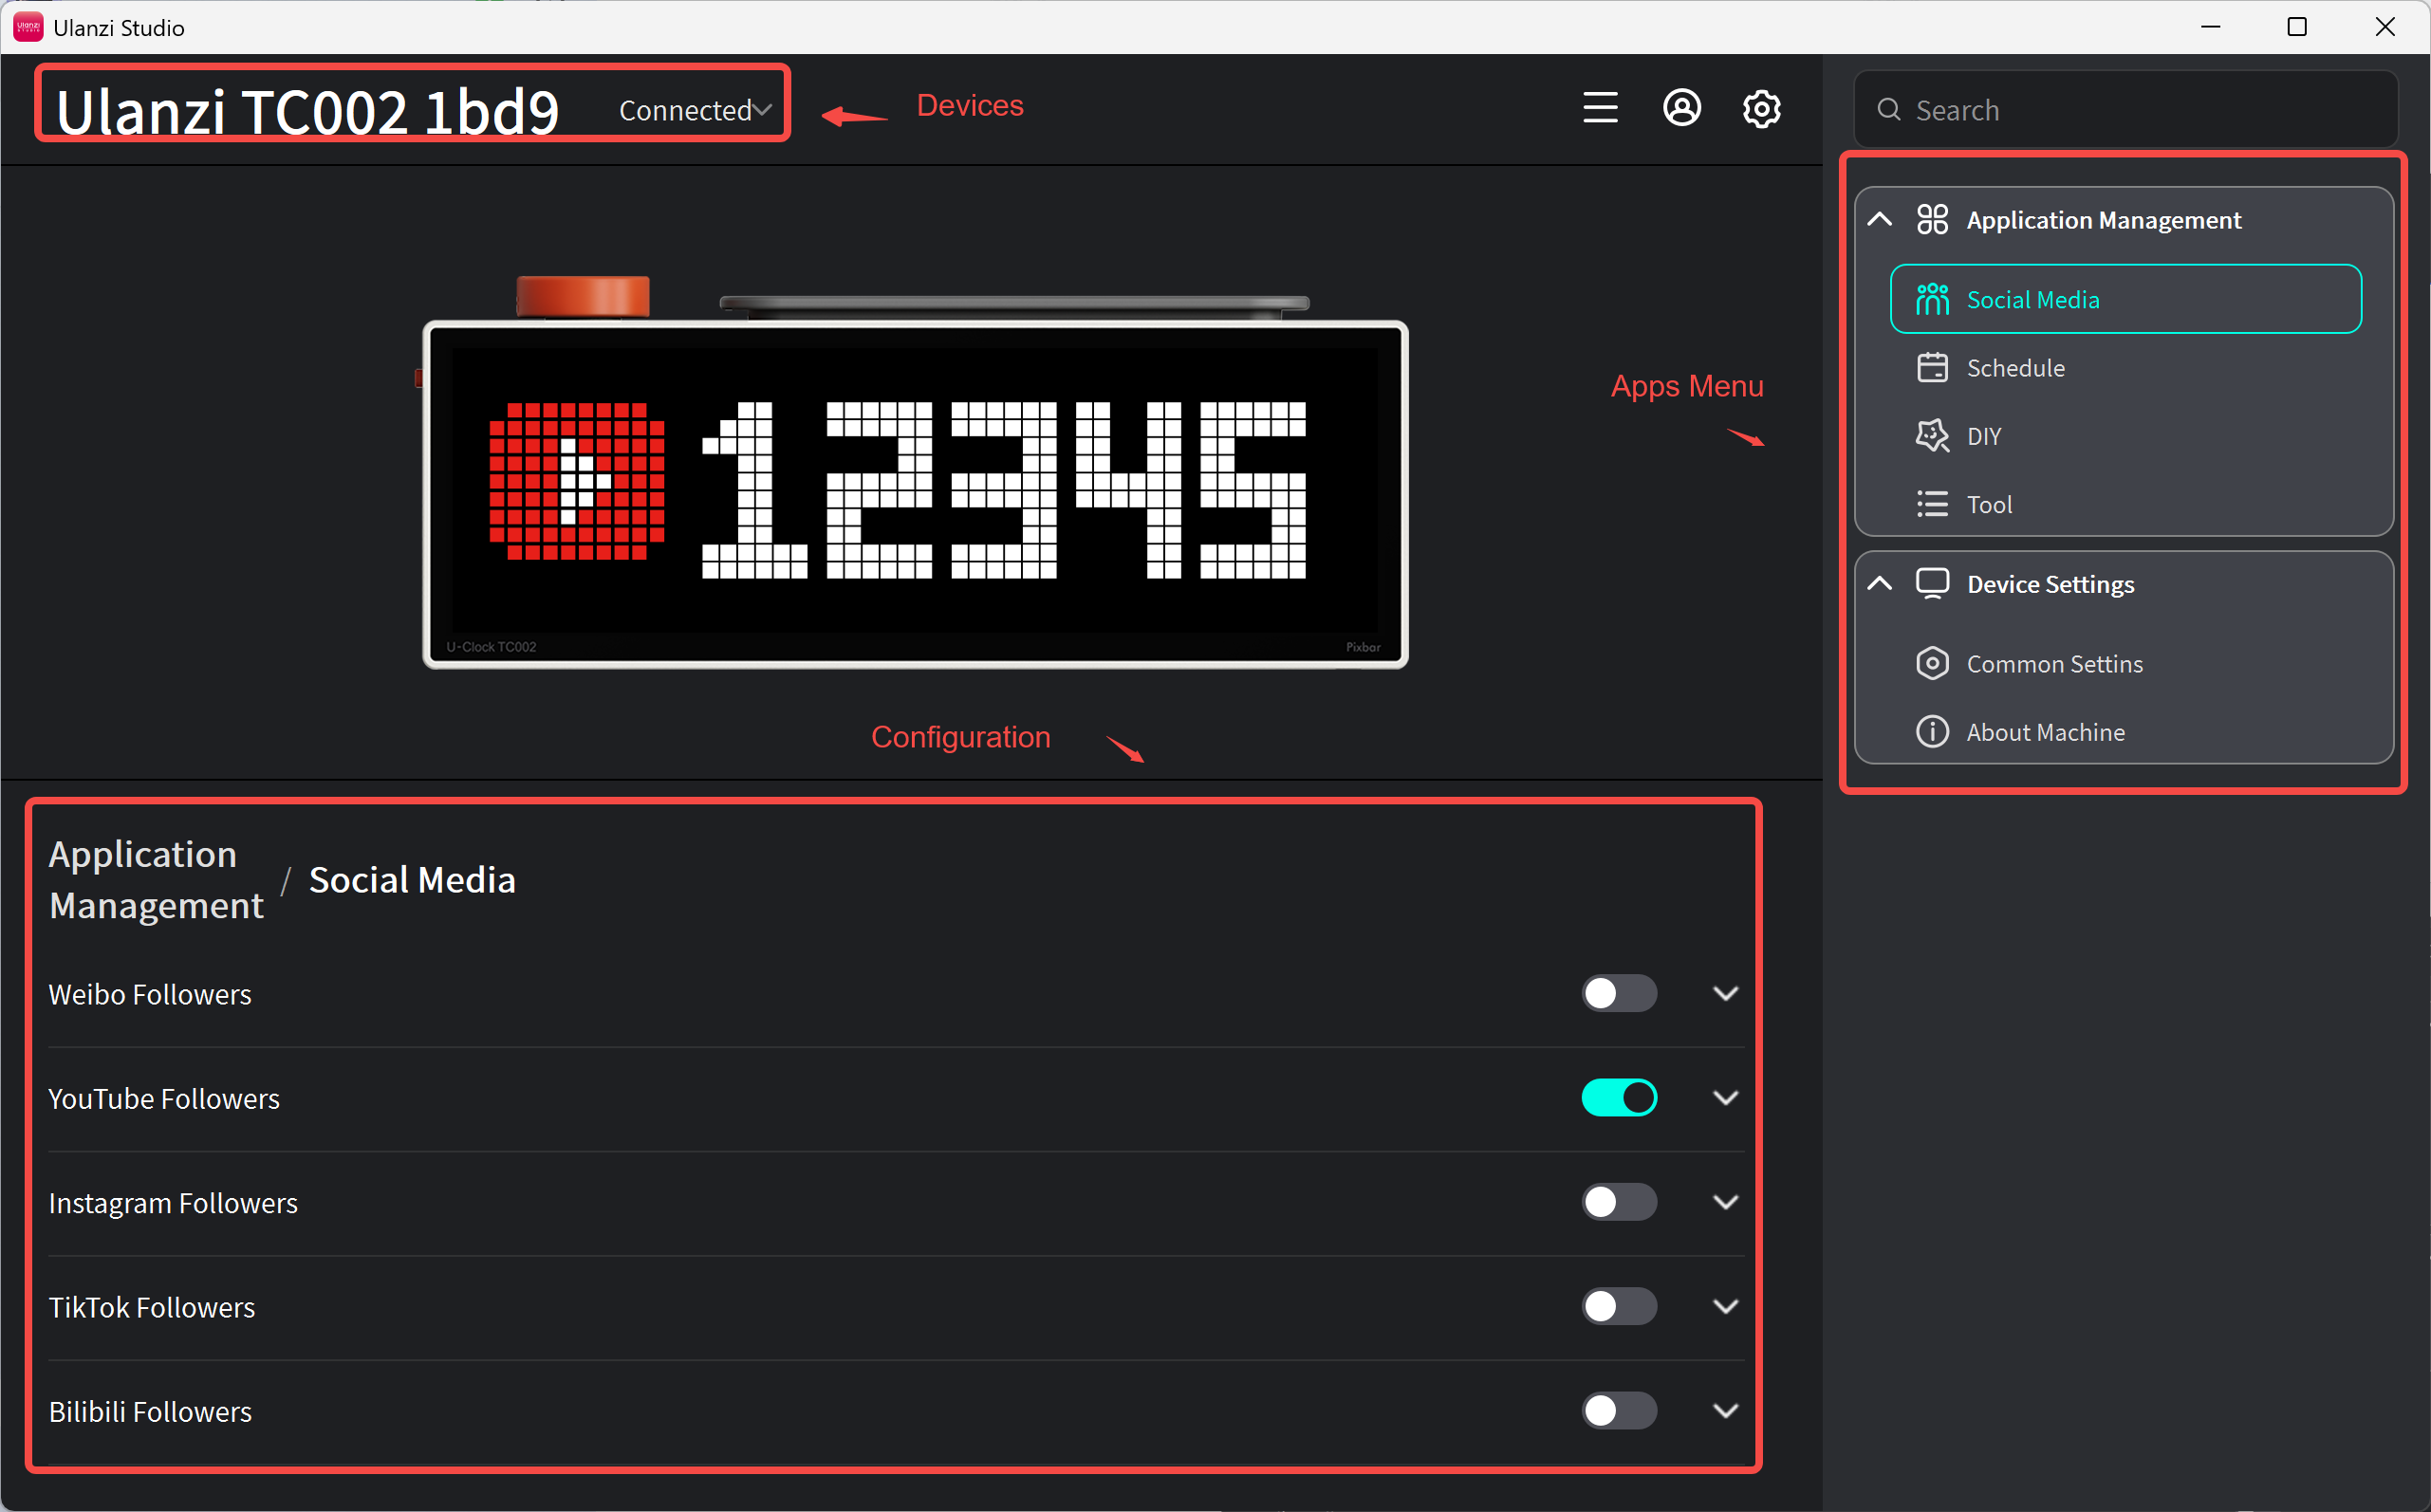
4. Main interface
5. Social Media
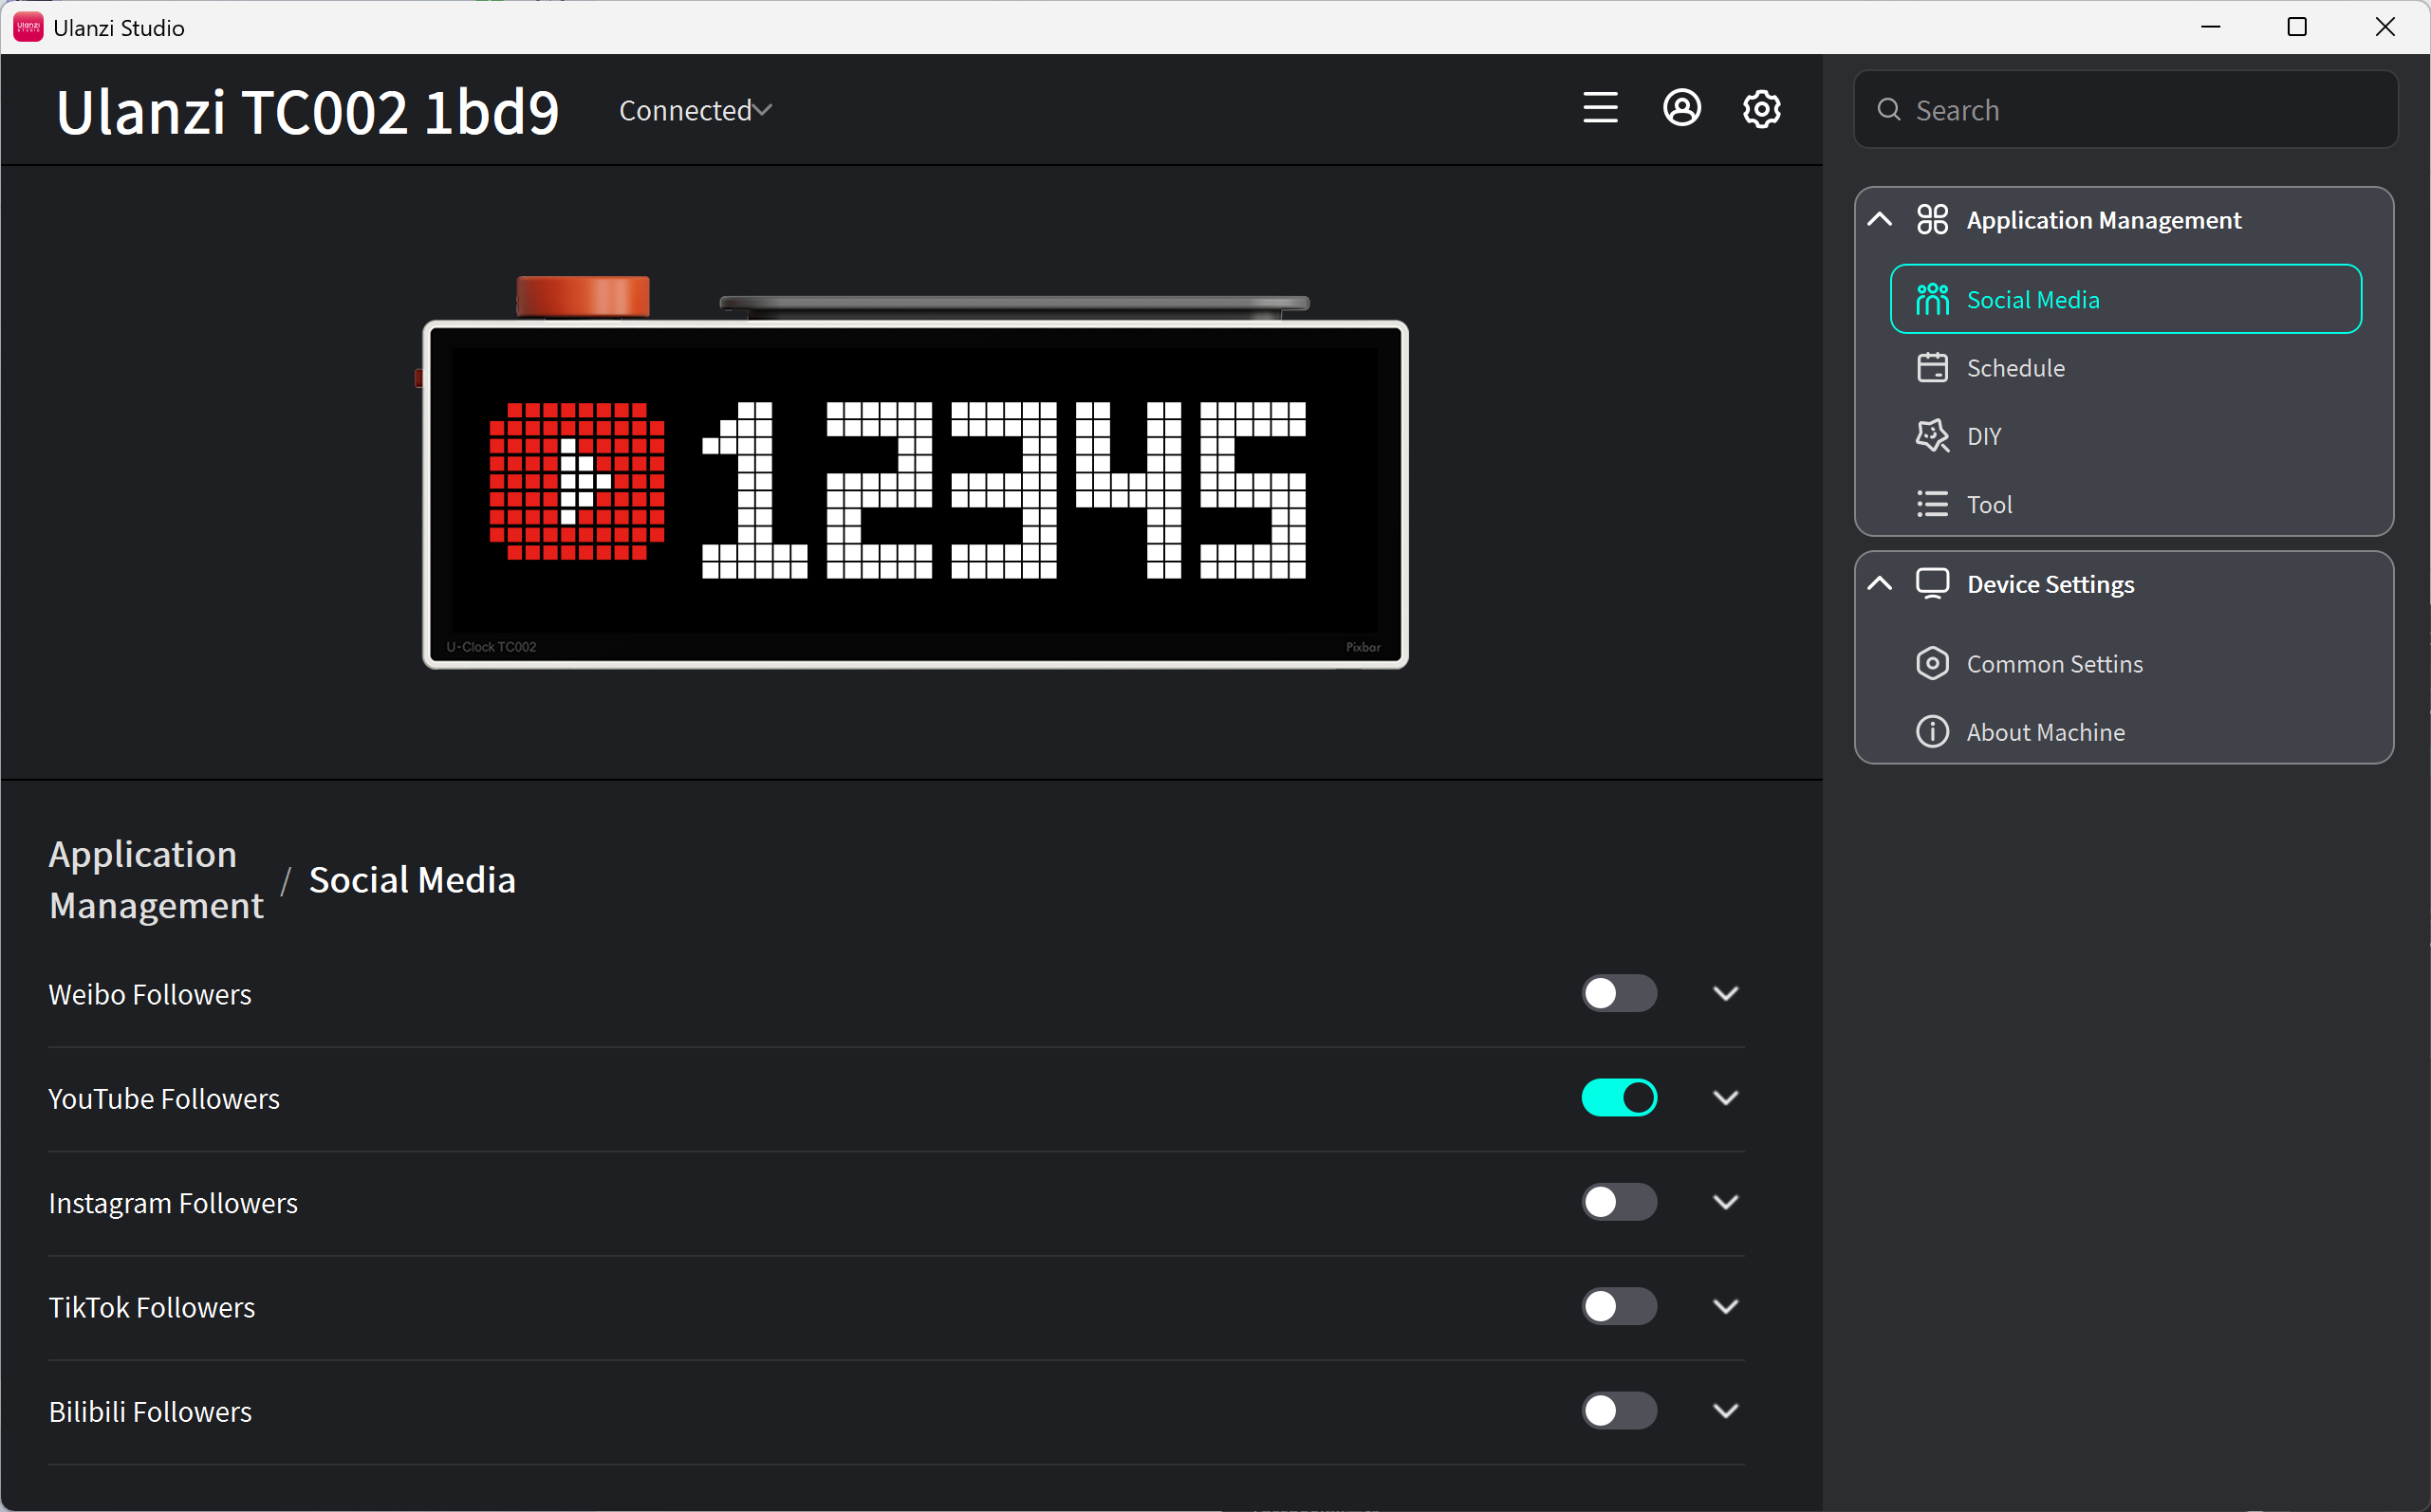
TC002 can display follower counts from Douyin, Bilibili, Weibo, YouTube, Instagram, and TikTok.
- Complete the TC002 Wi-Fi setup.
- Open the TC002 device page.
- Select Social Media and choose a platform.
- Enter or authorize the account details requested by the guide.
- Save the settings. TC002 refreshes the follower count automatically.
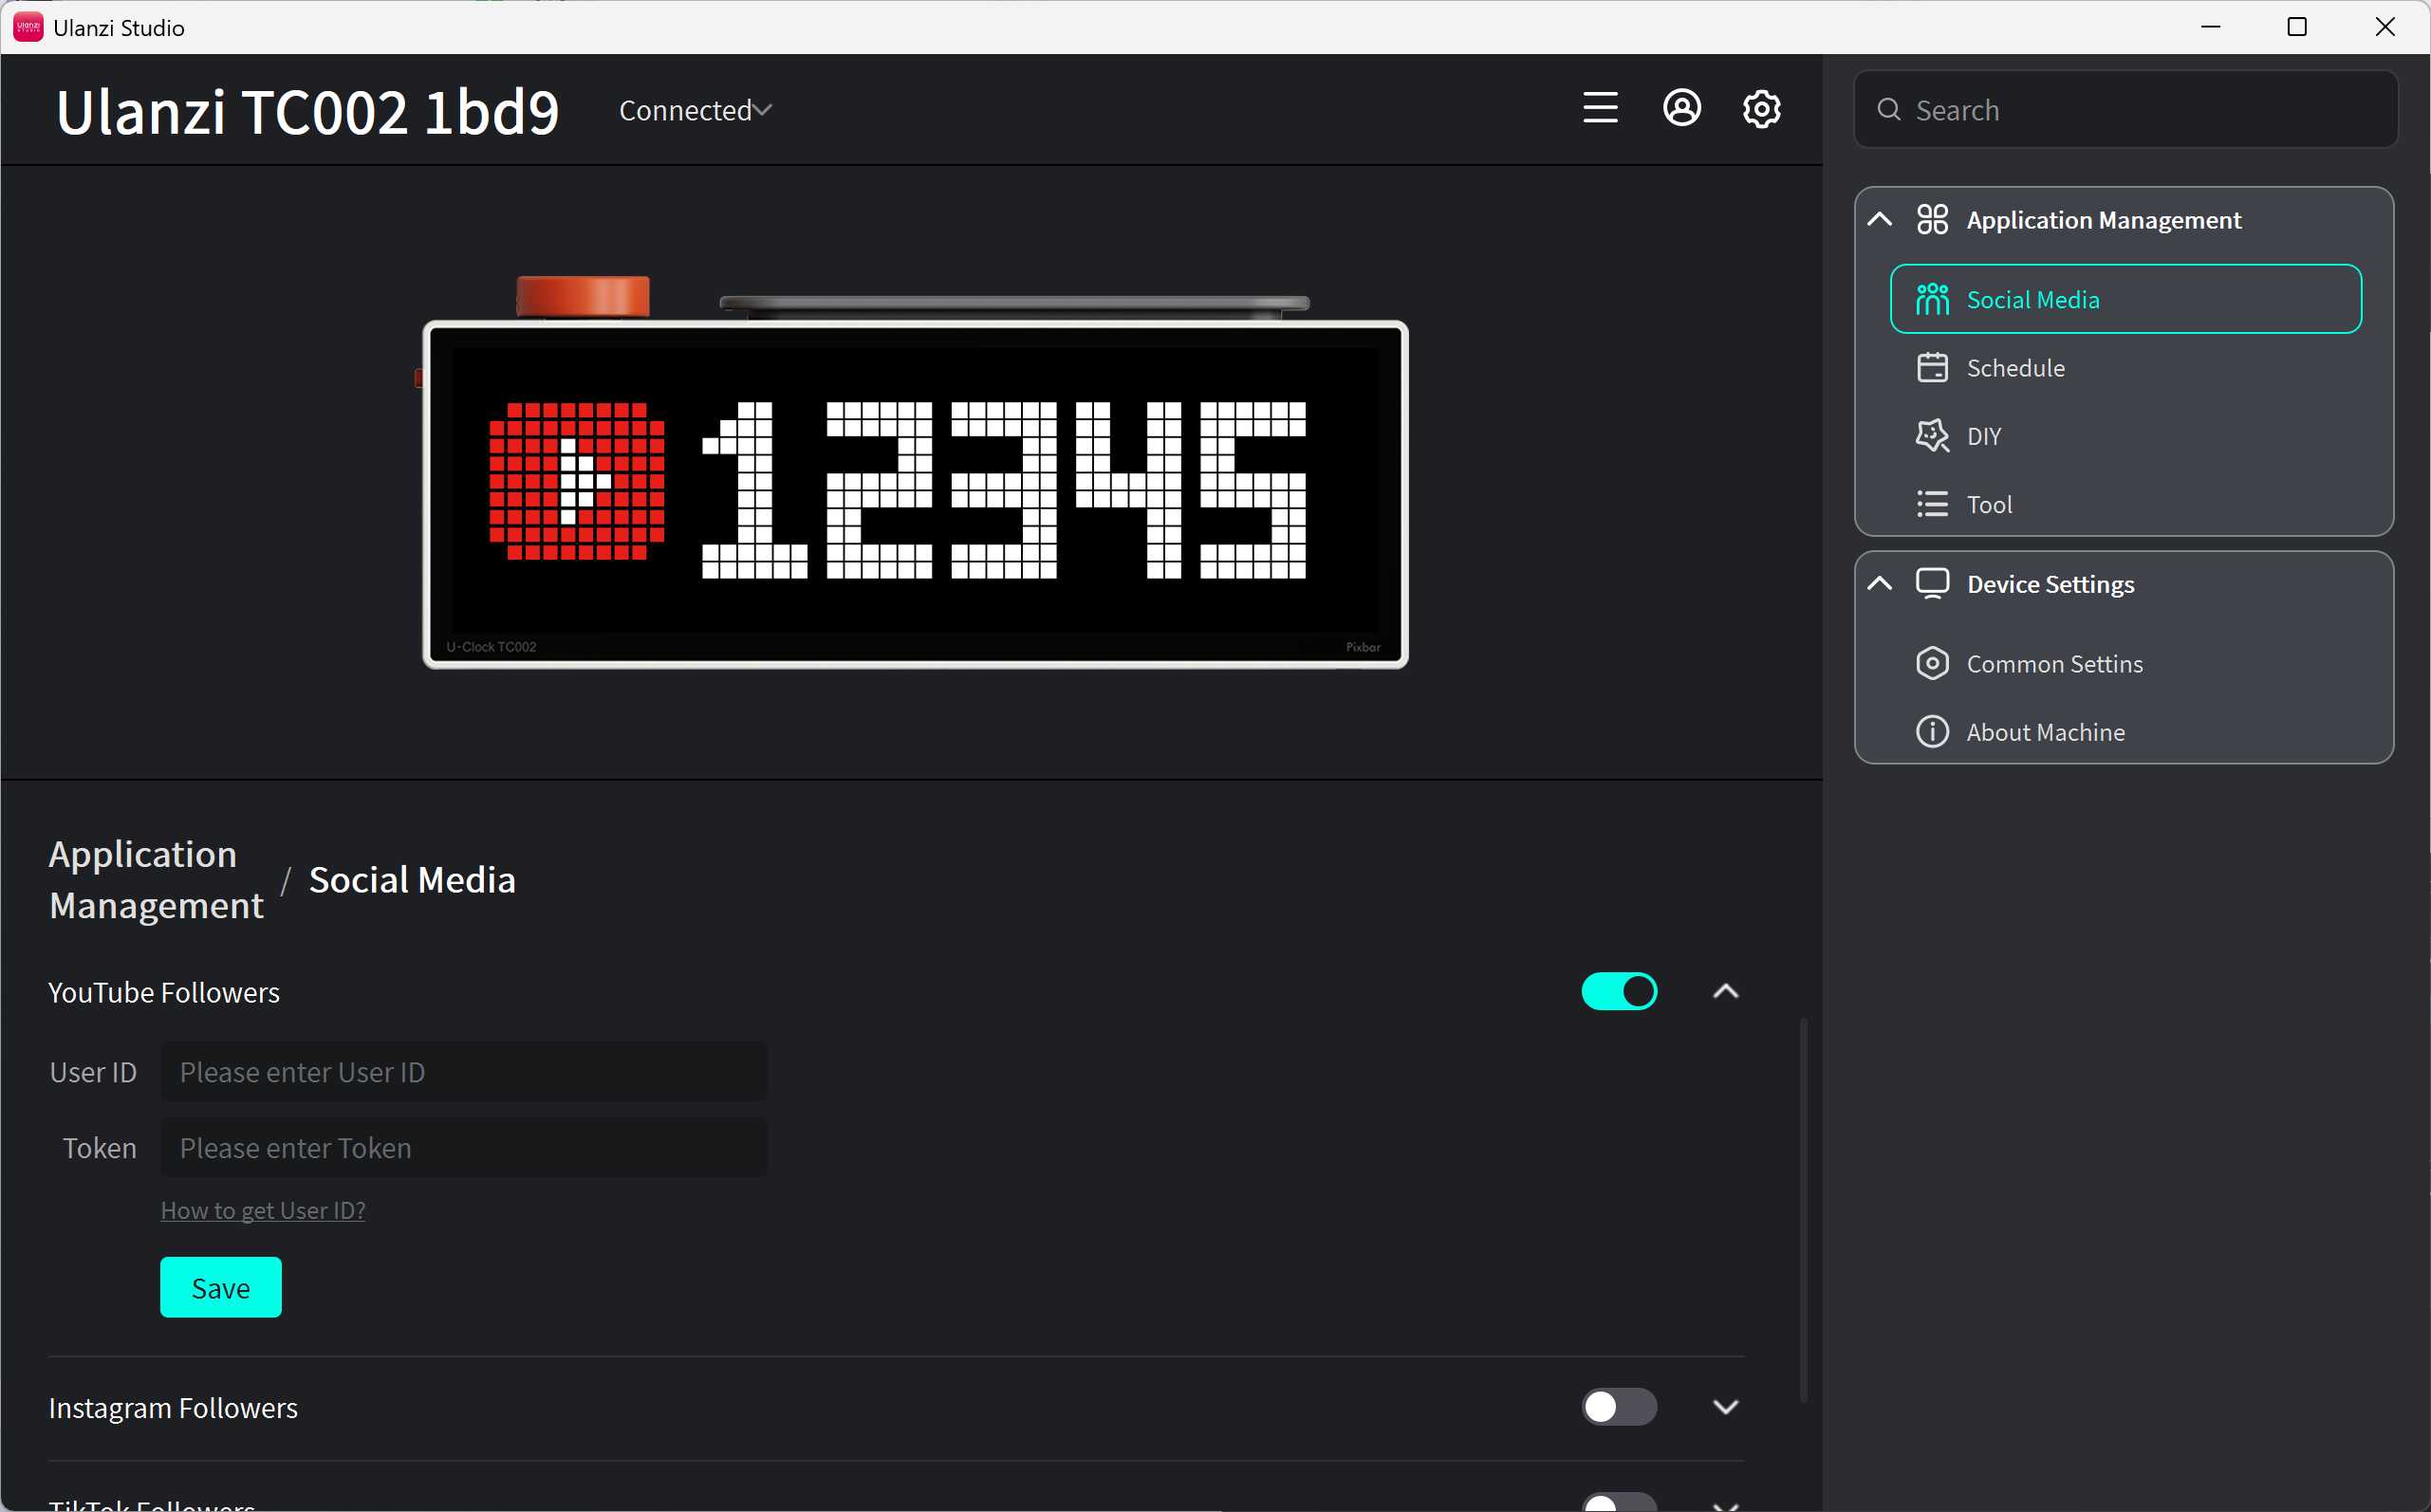
YouTube
Enable YouTube, enter the user ID and token, and click Save.
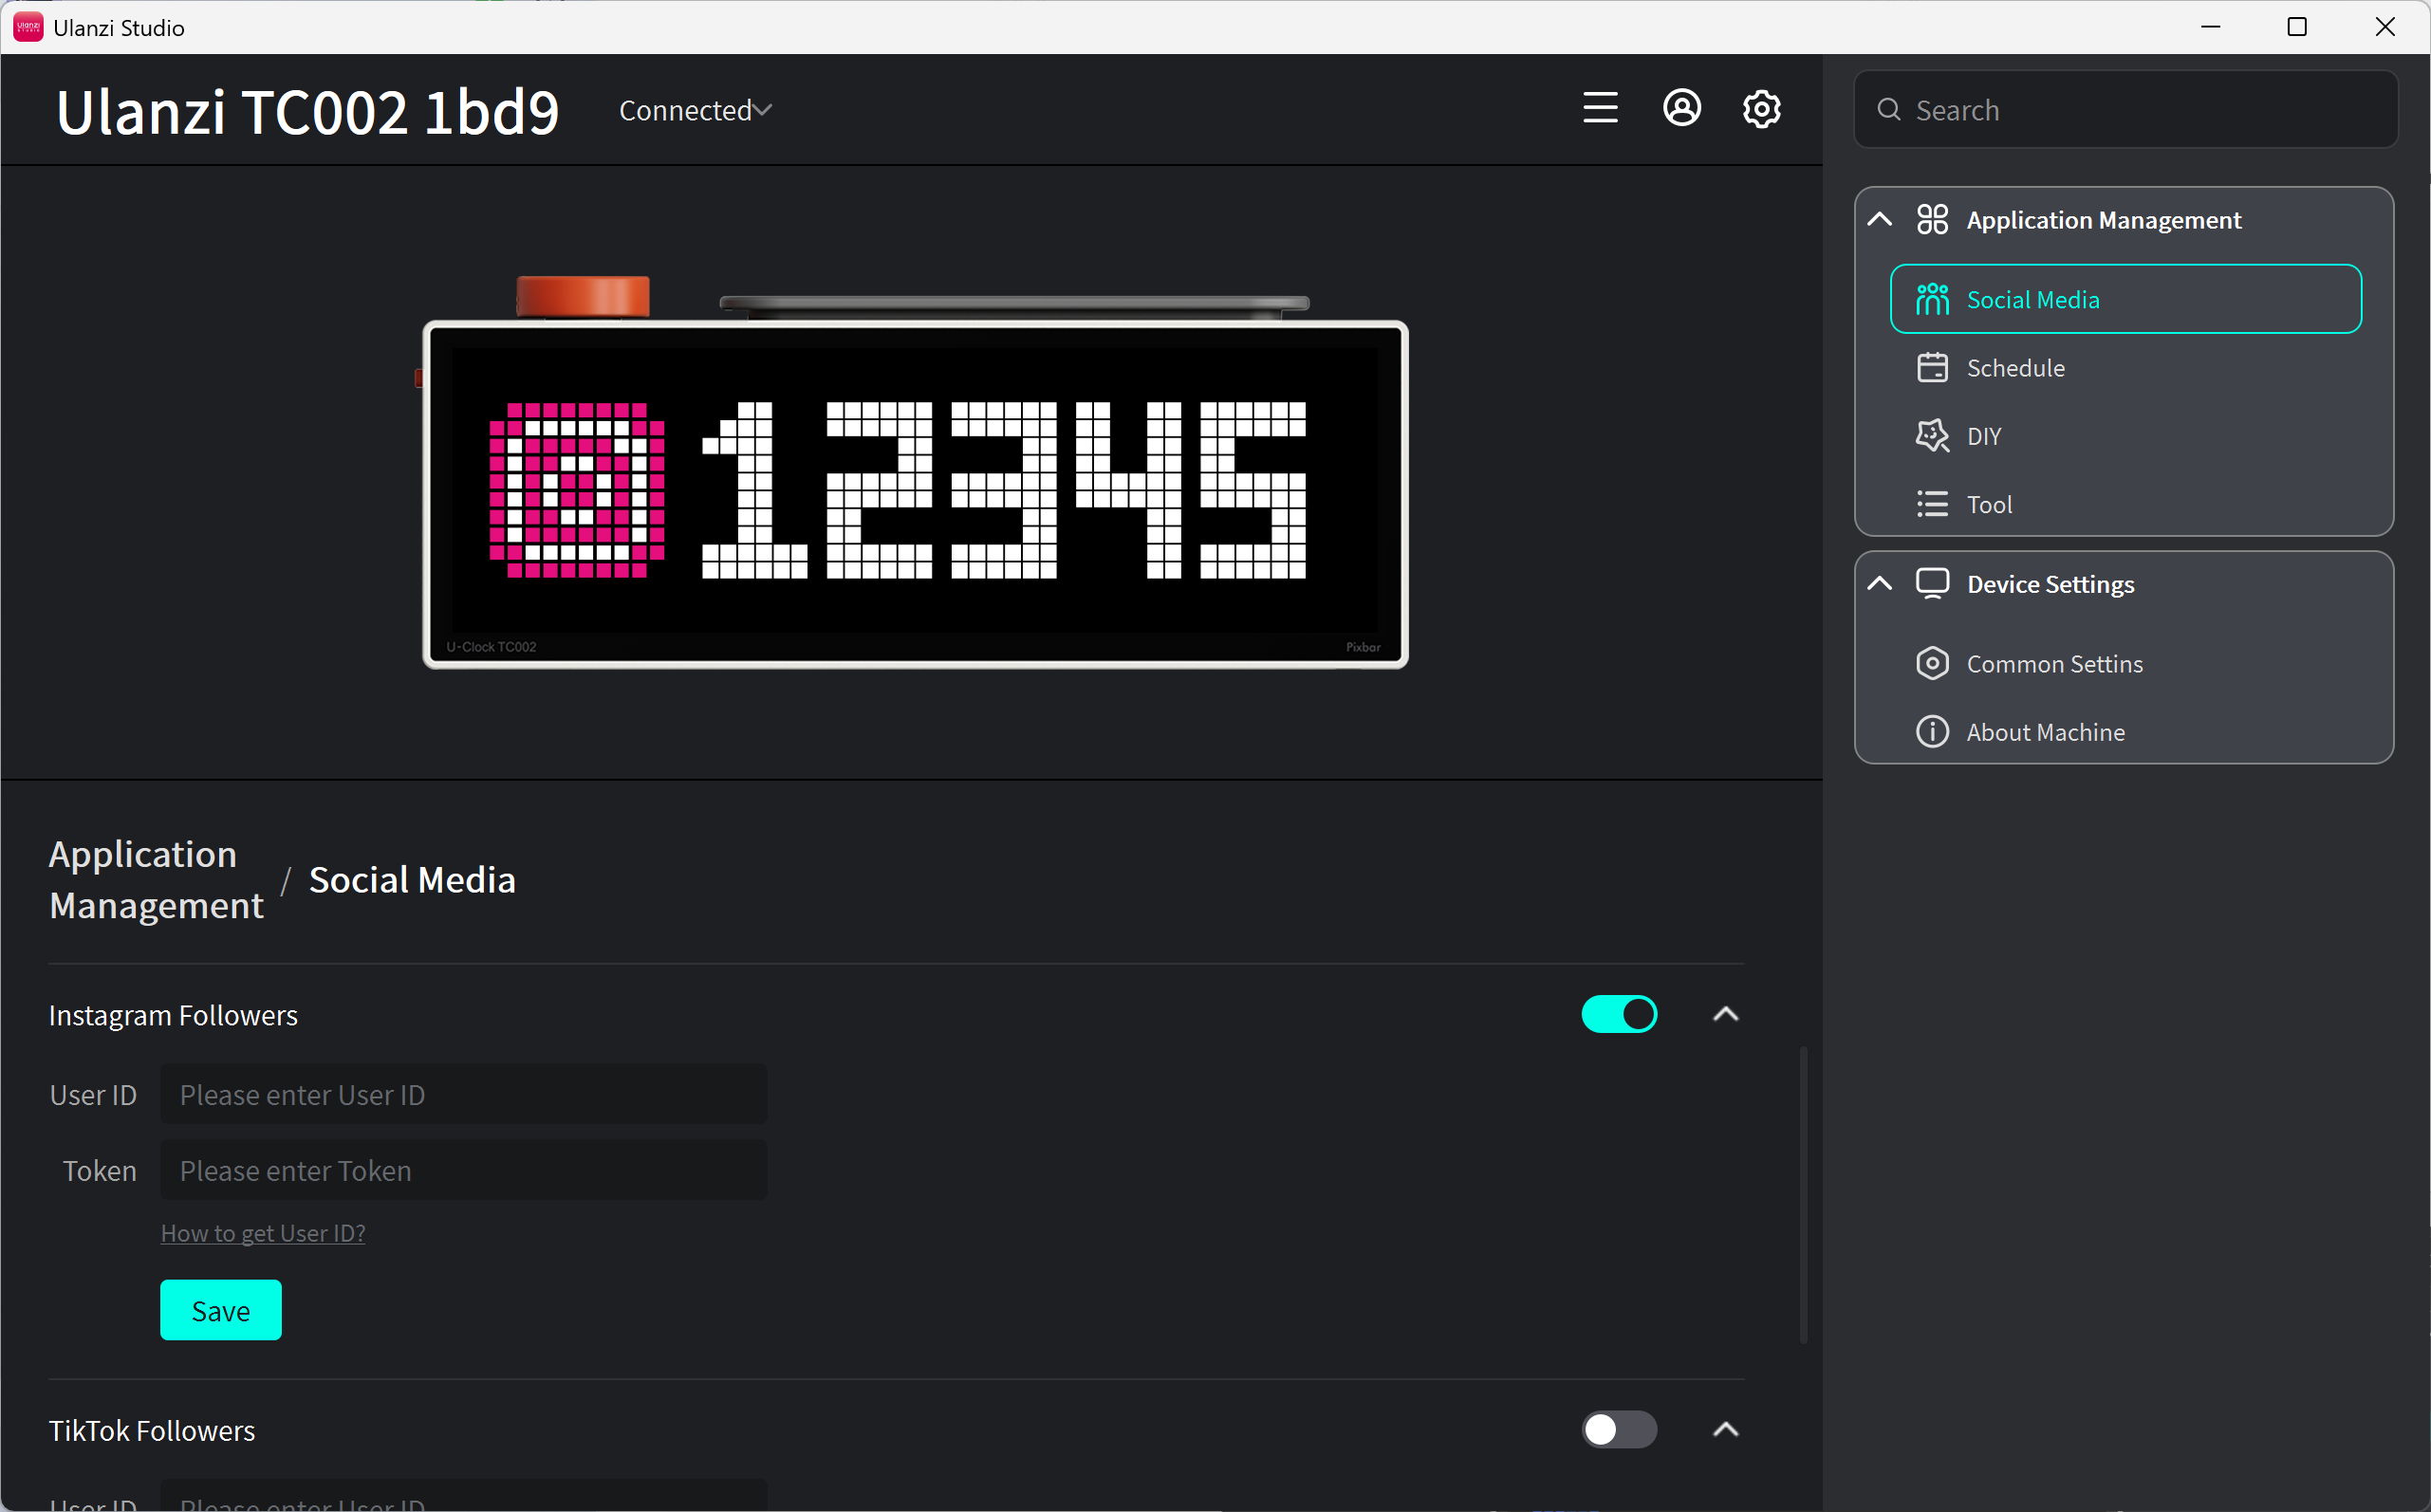
Instagram
Enable Instagram, enter the user ID and token, and click Save.
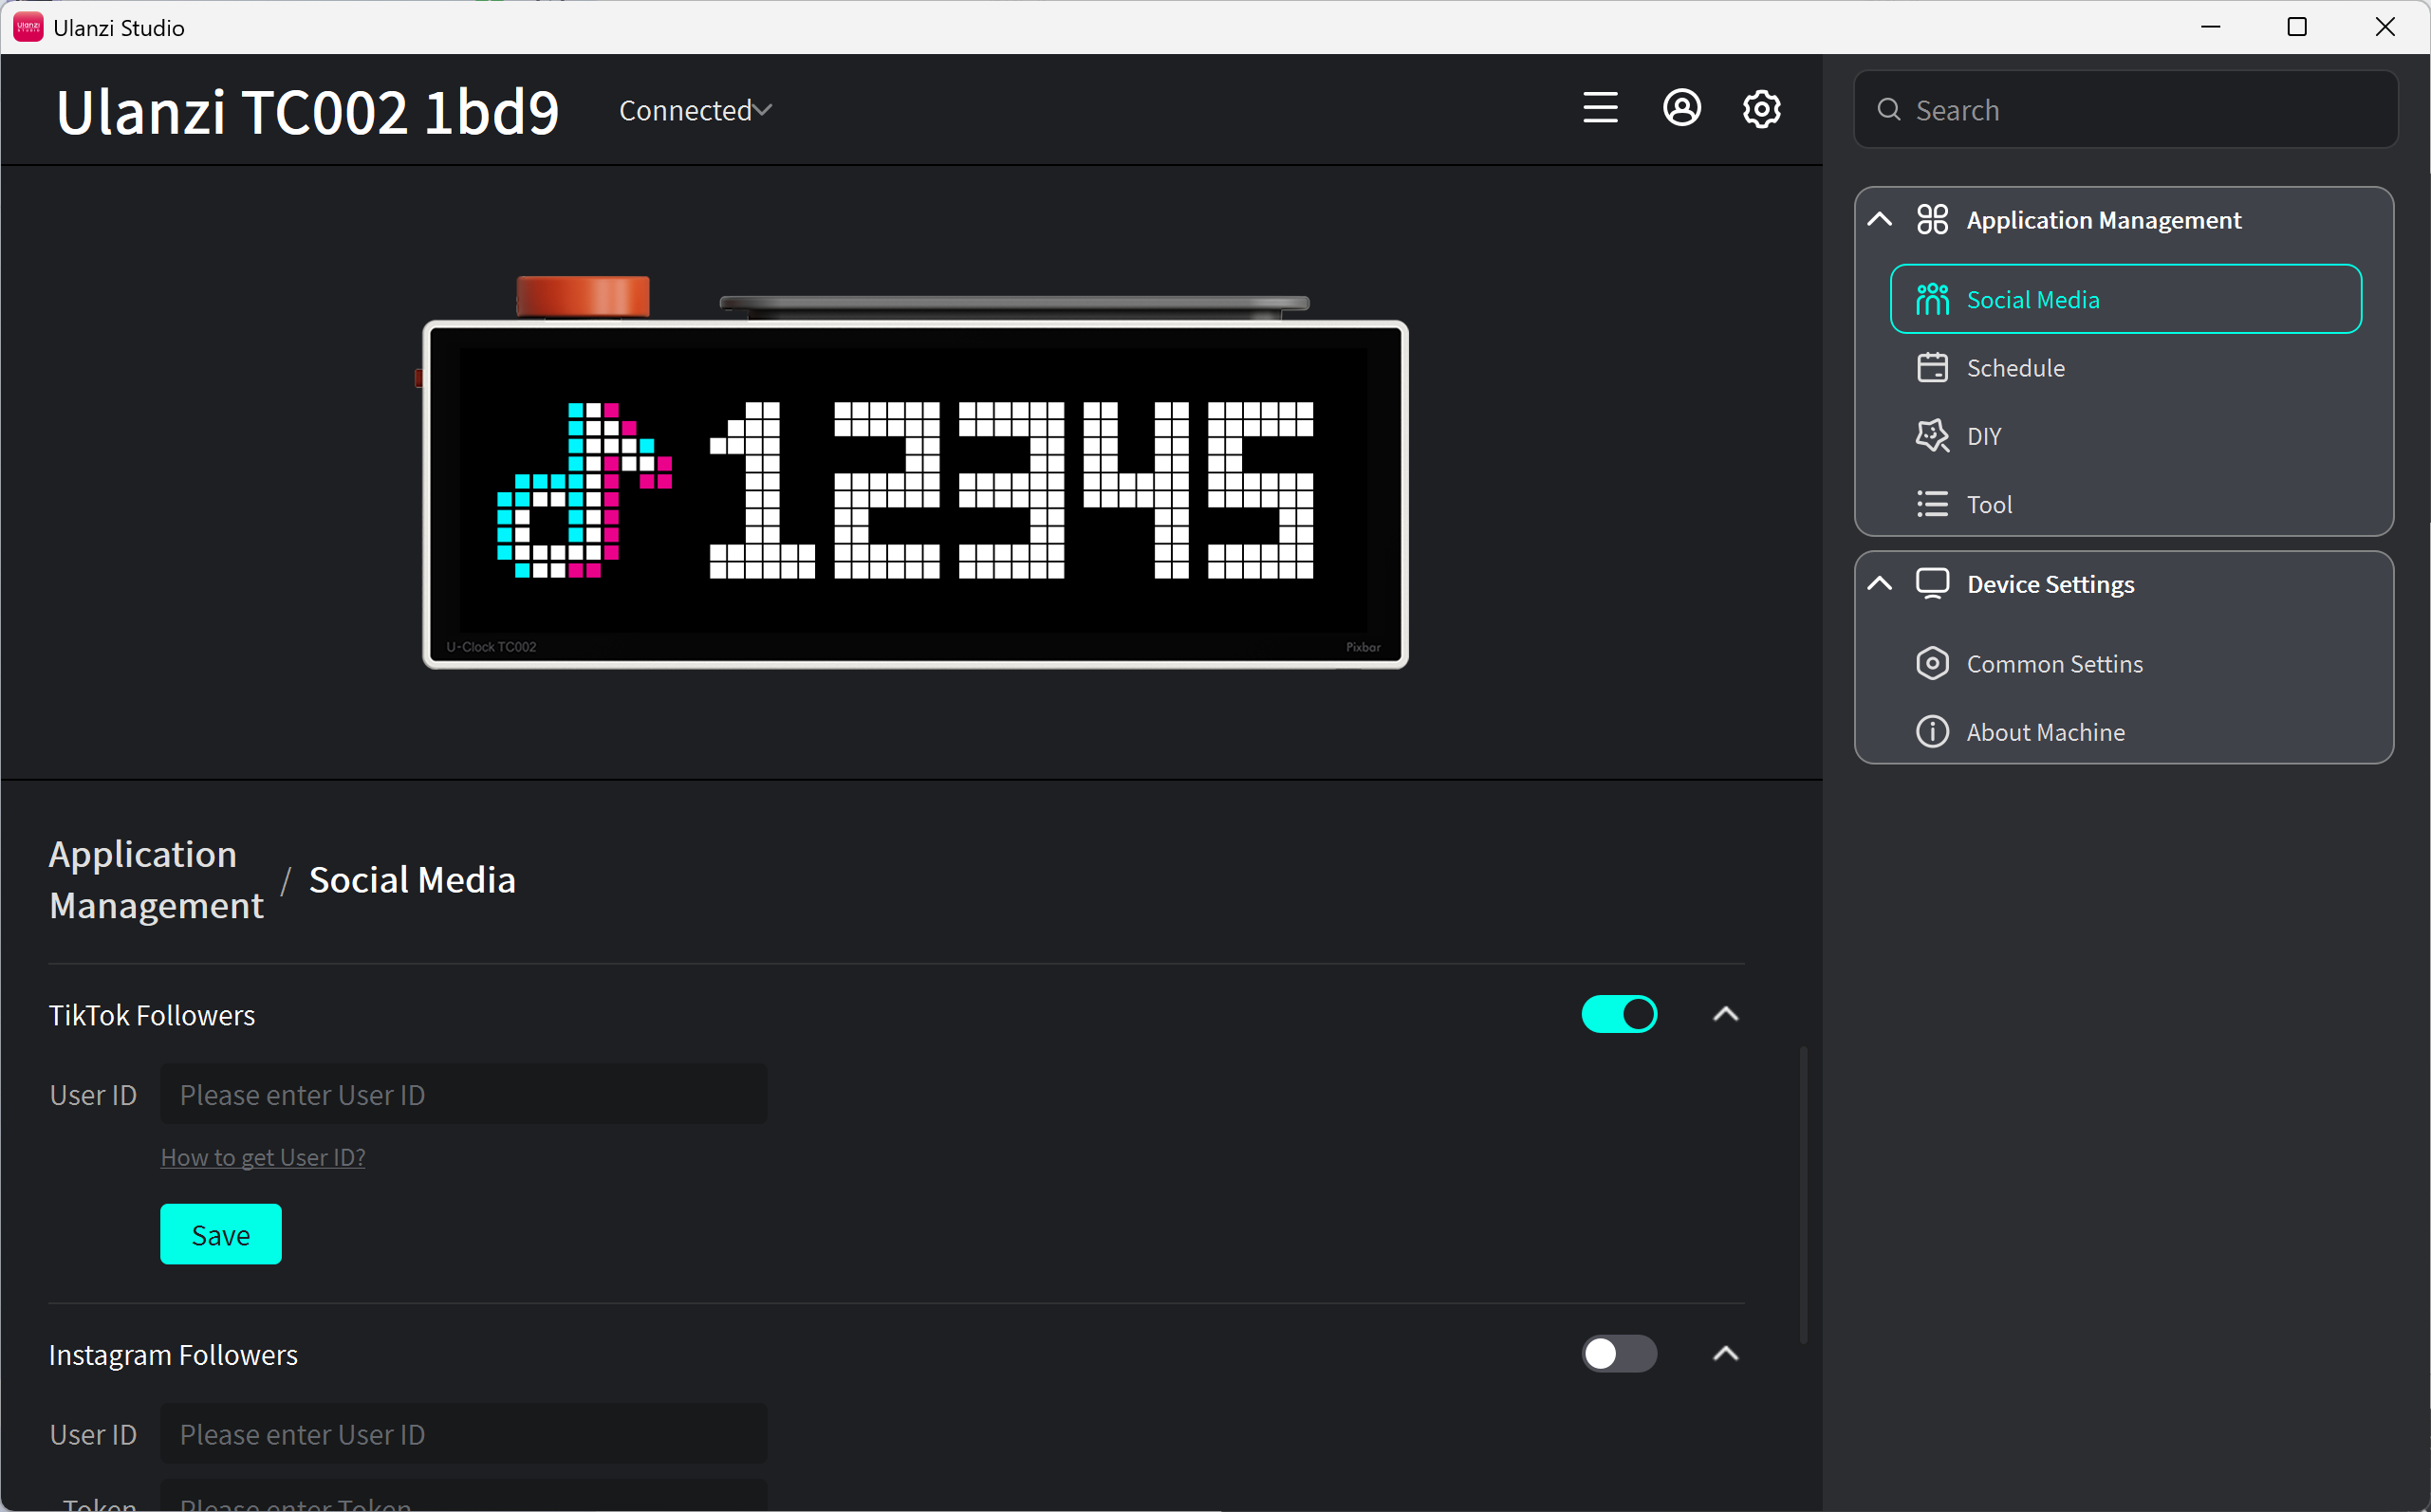
TikTok
Enable TikTok, expand its settings, enter the user ID, and click Save.
For platform-specific account instructions, see Social Media Platforms.
6. Calendar
TC002 can display today's events from Feishu, DingTalk, WeCom, Google Calendar, iCloud Calendar, and Outlook.
- Complete the TC002 Wi-Fi setup.
- Open the TC002 app settings.
- Select Calendar and choose a service.
- Enter the account credentials or calendar subscription requested by the guide.
- Save the settings.
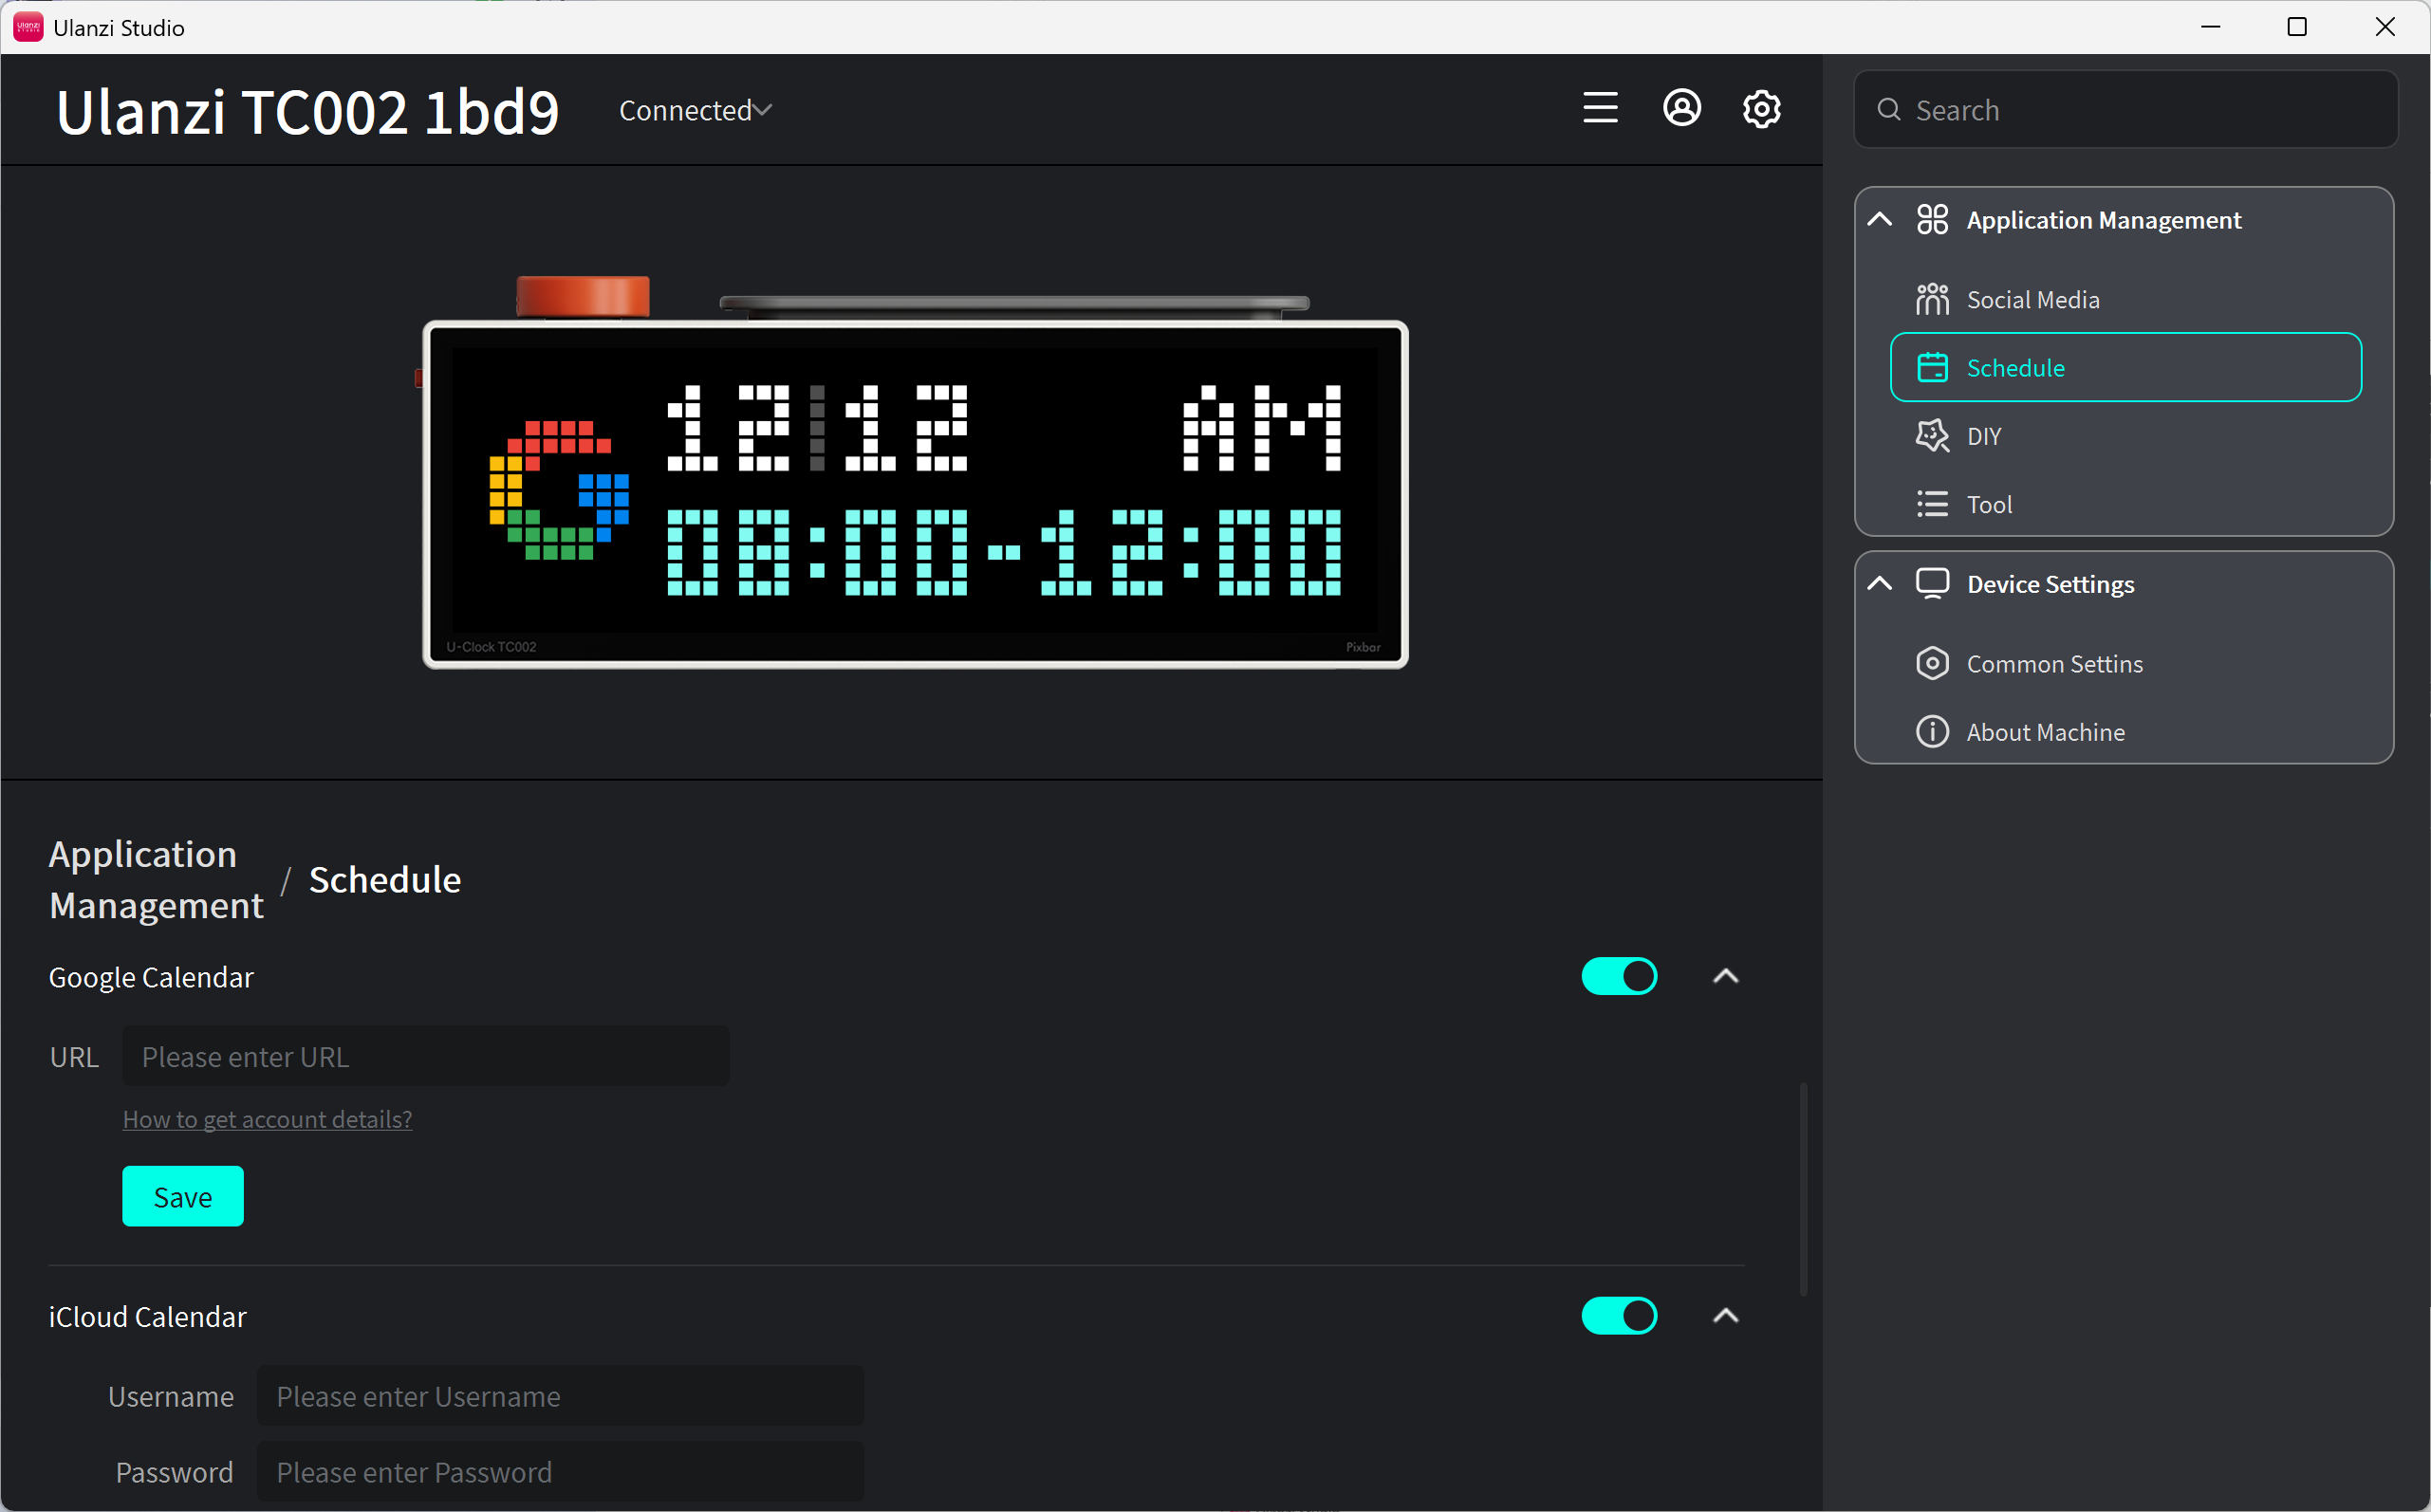
Google Calendar
Enable Google Calendar, paste the public calendar URL, and click Save.
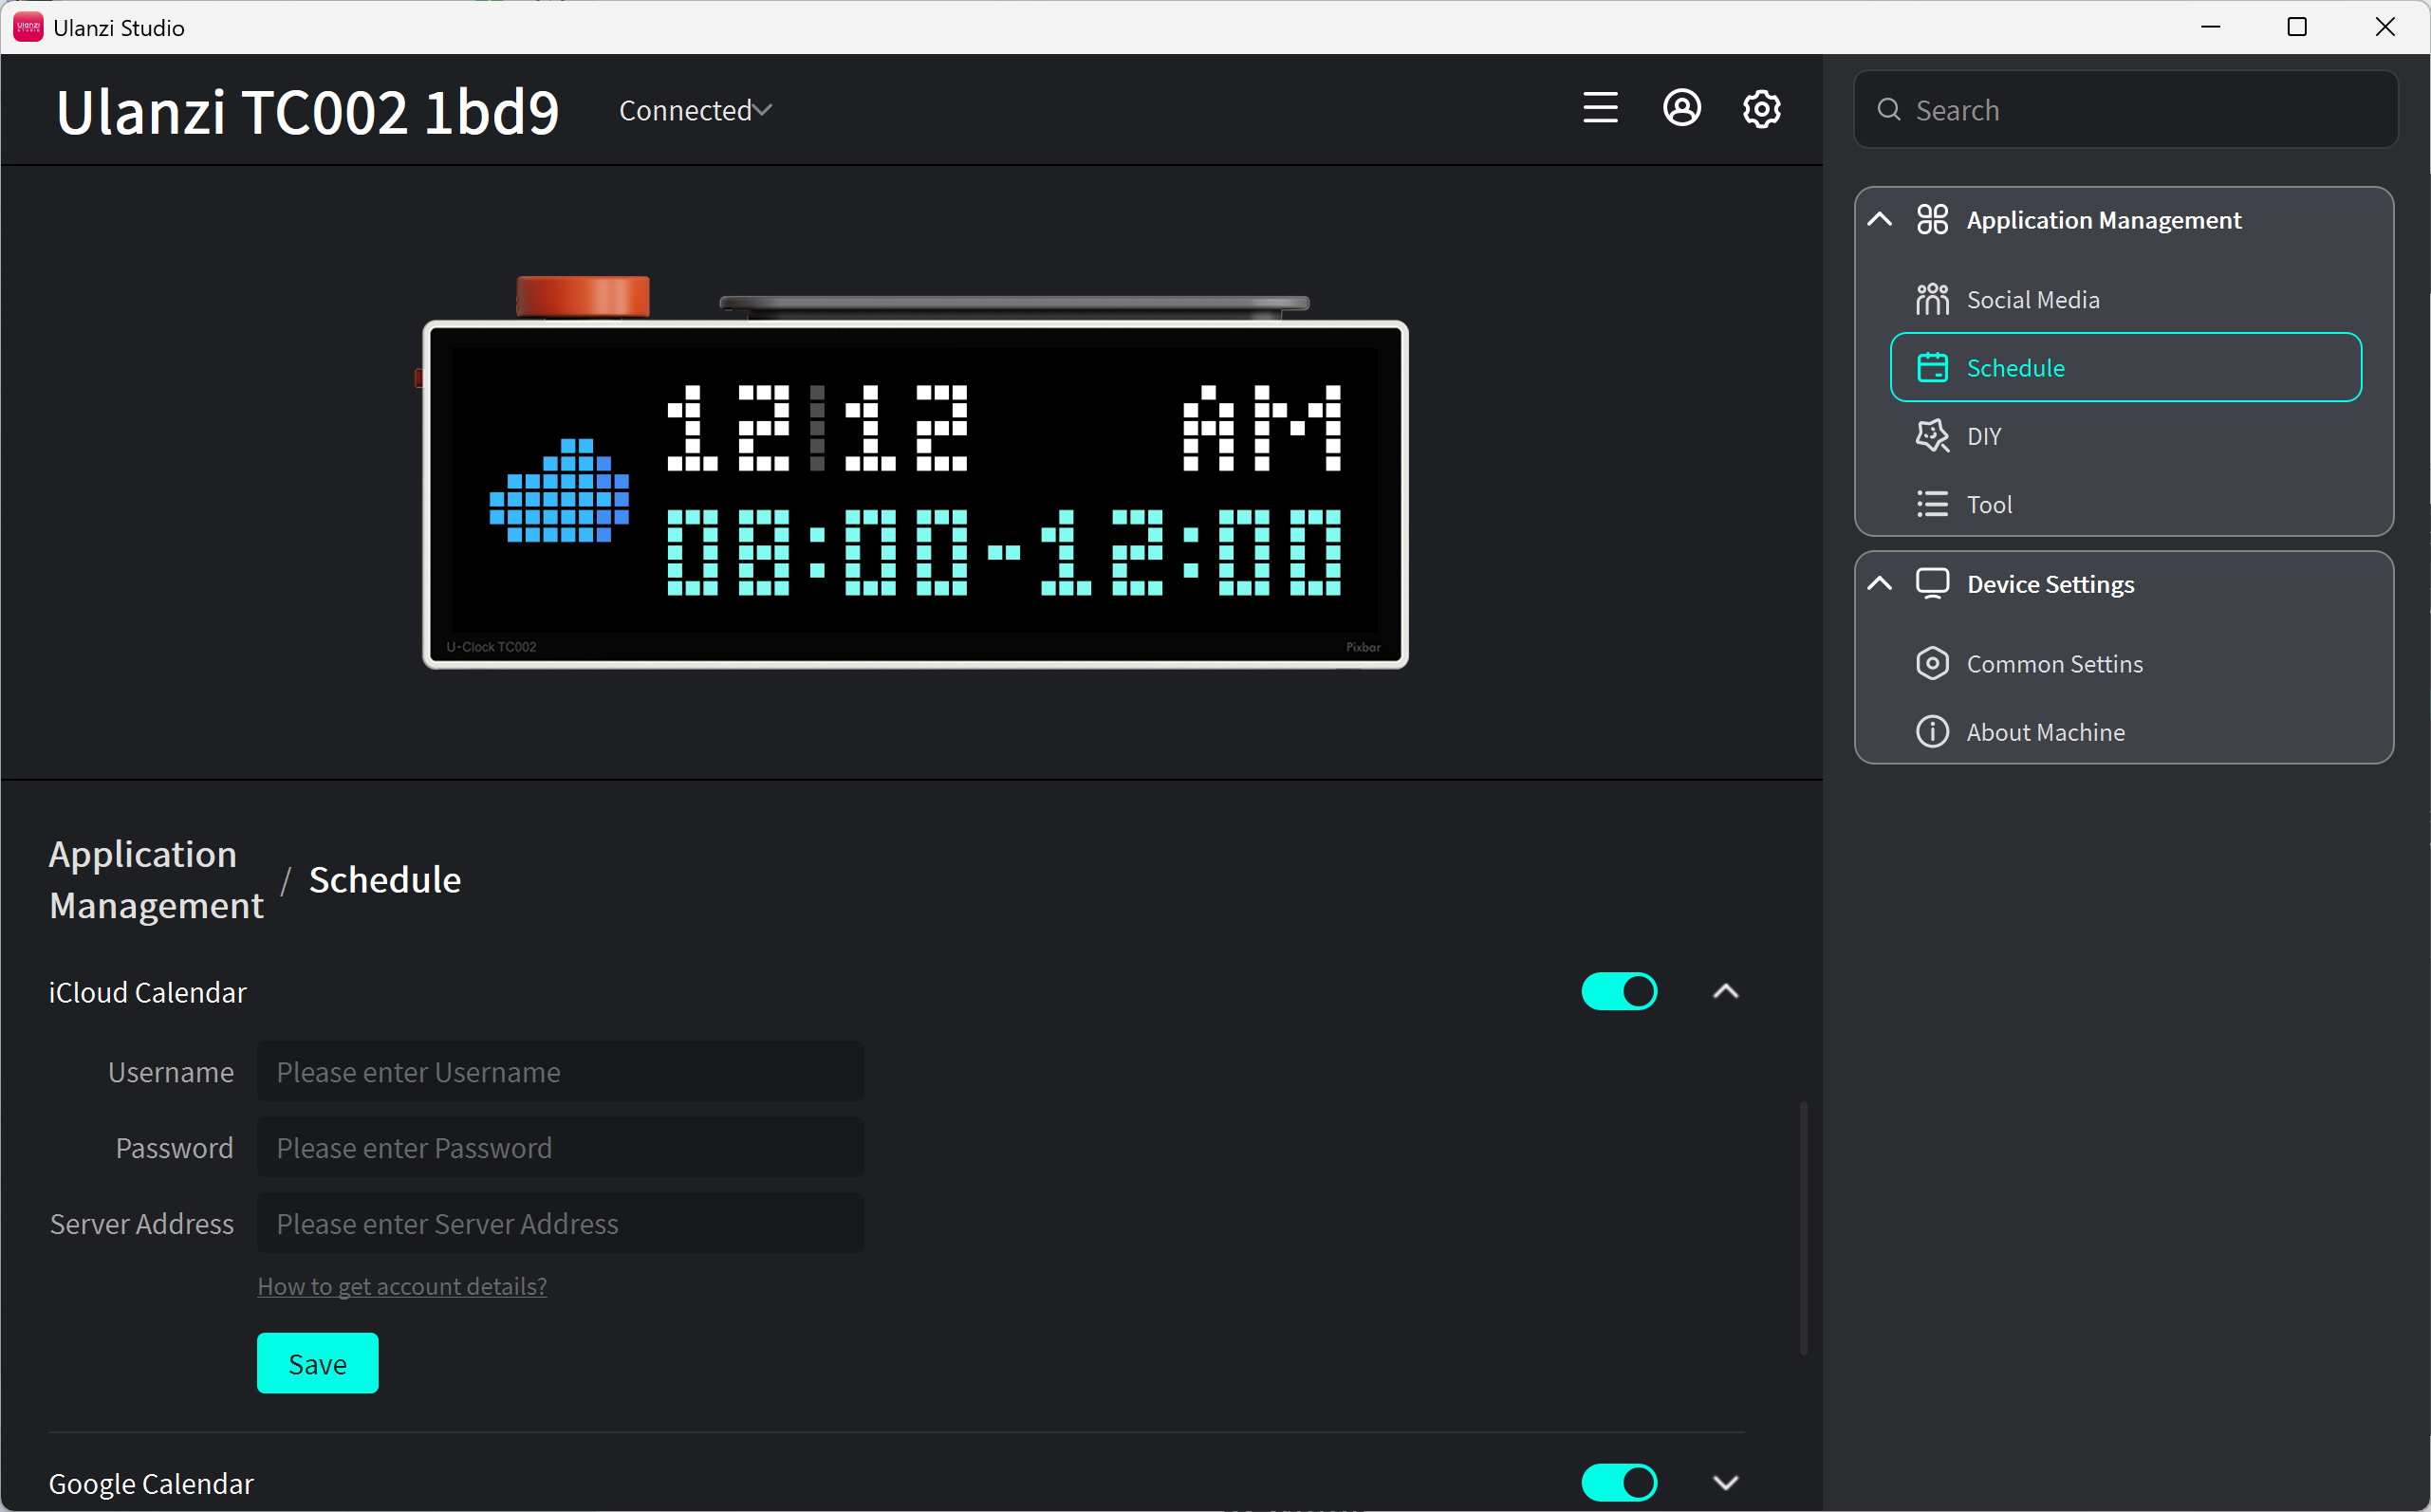
iCloud Calendar
Enable iCloud Calendar, enter the username, app-specific password, and server, then click Save.
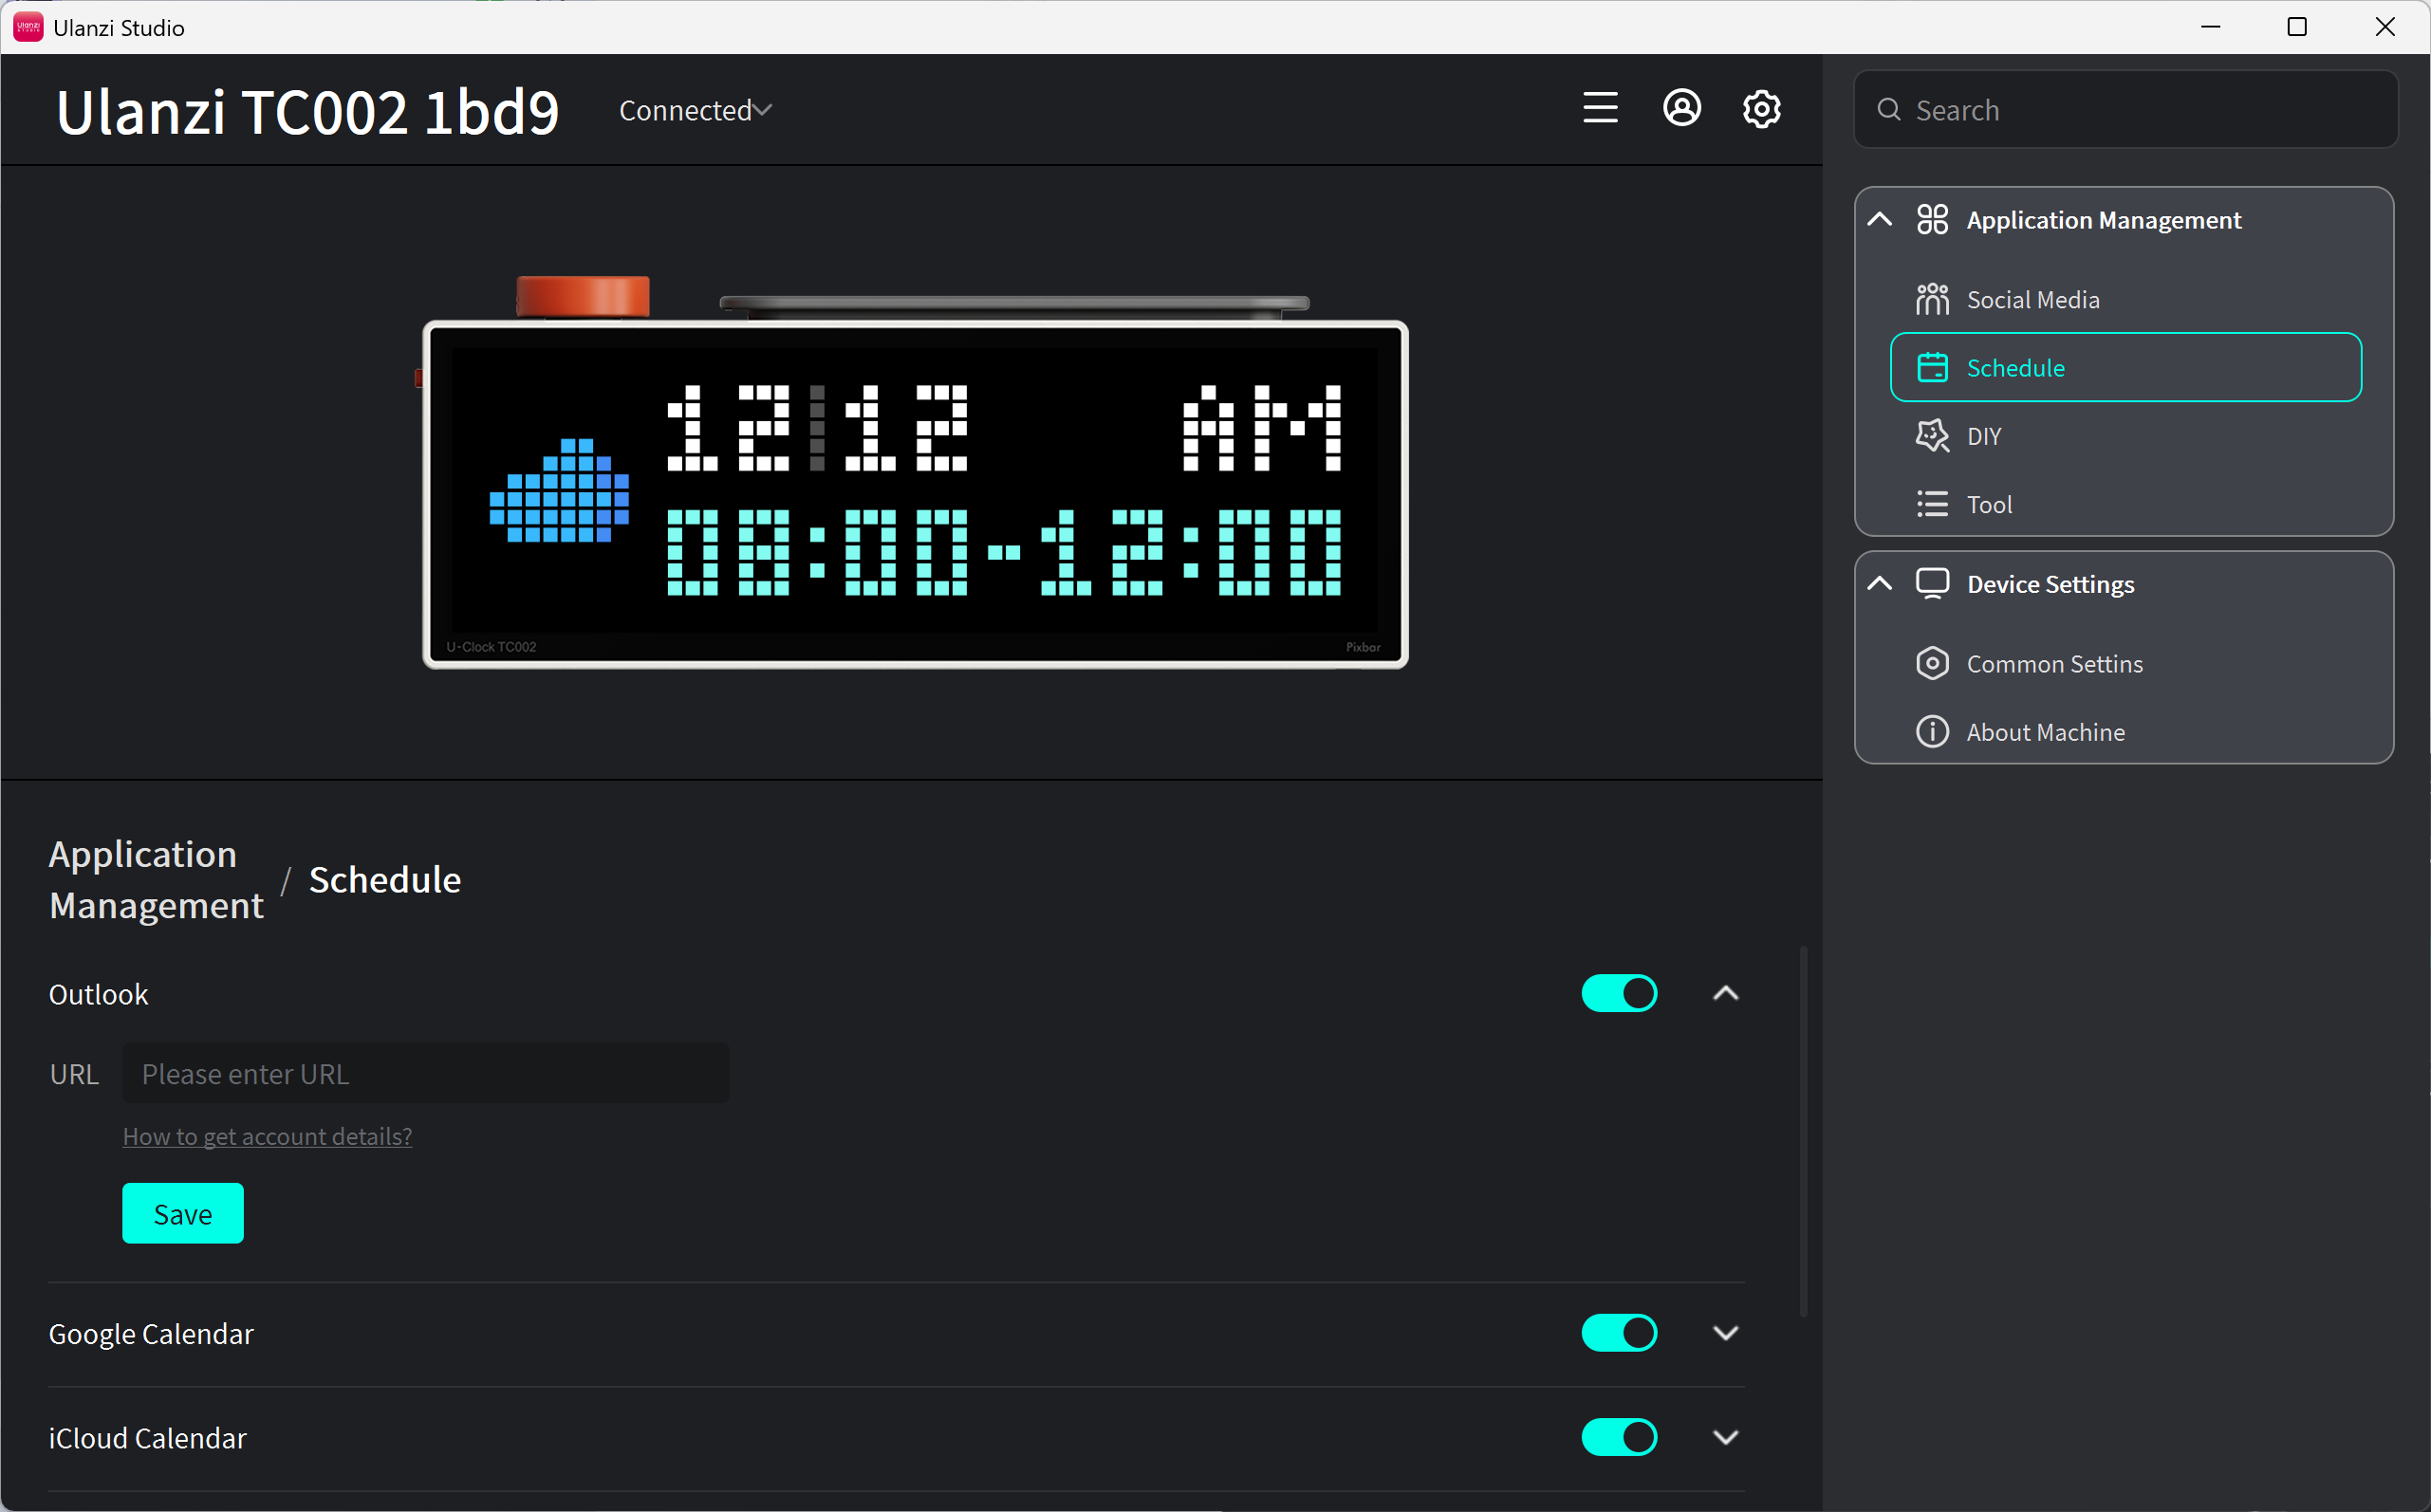
Outlook
Enable Outlook, paste the public calendar URL, and click Save.
For detailed account instructions, see Calendar Sync Setup.
7. DIY
DIY turns TC002 into a custom information display.
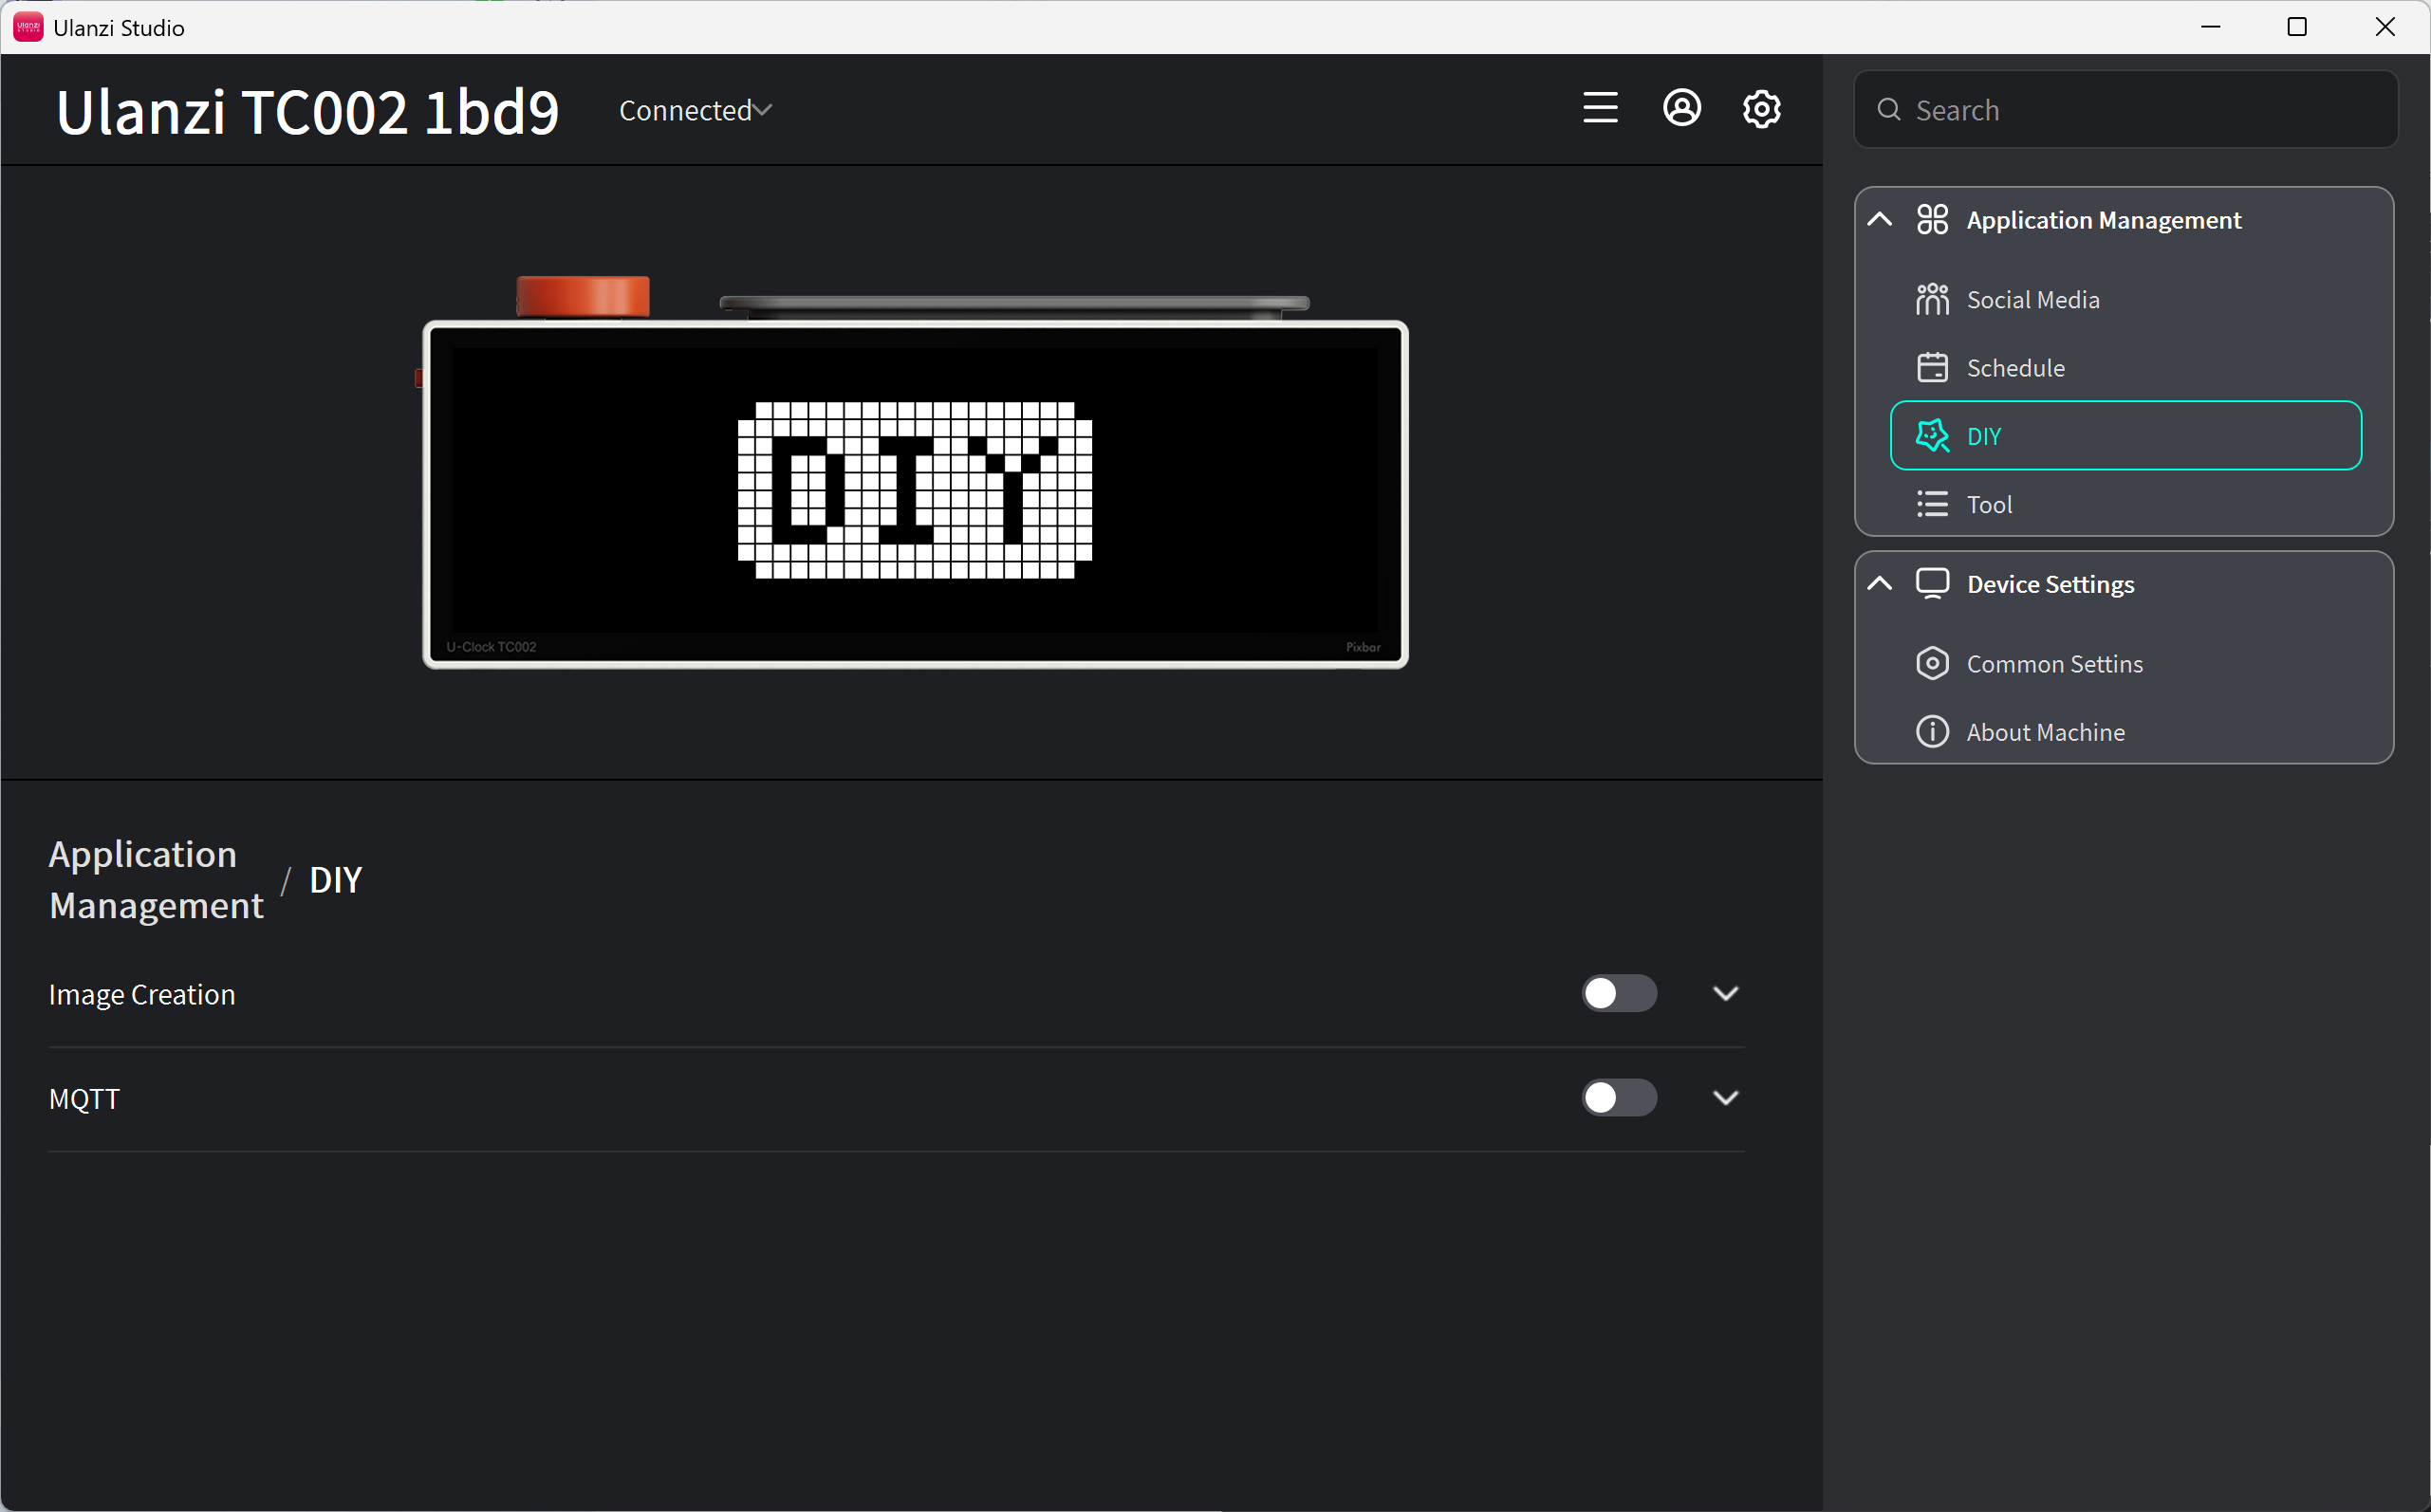
Image Creation
- Upload JPG, PNG, or GIF artwork designed for the 52 × 16-pixel display.
- Click or drag to upload an image, then click Save to show it on TC002.
- Use images for logos, status indicators, icons, and lightweight animations.
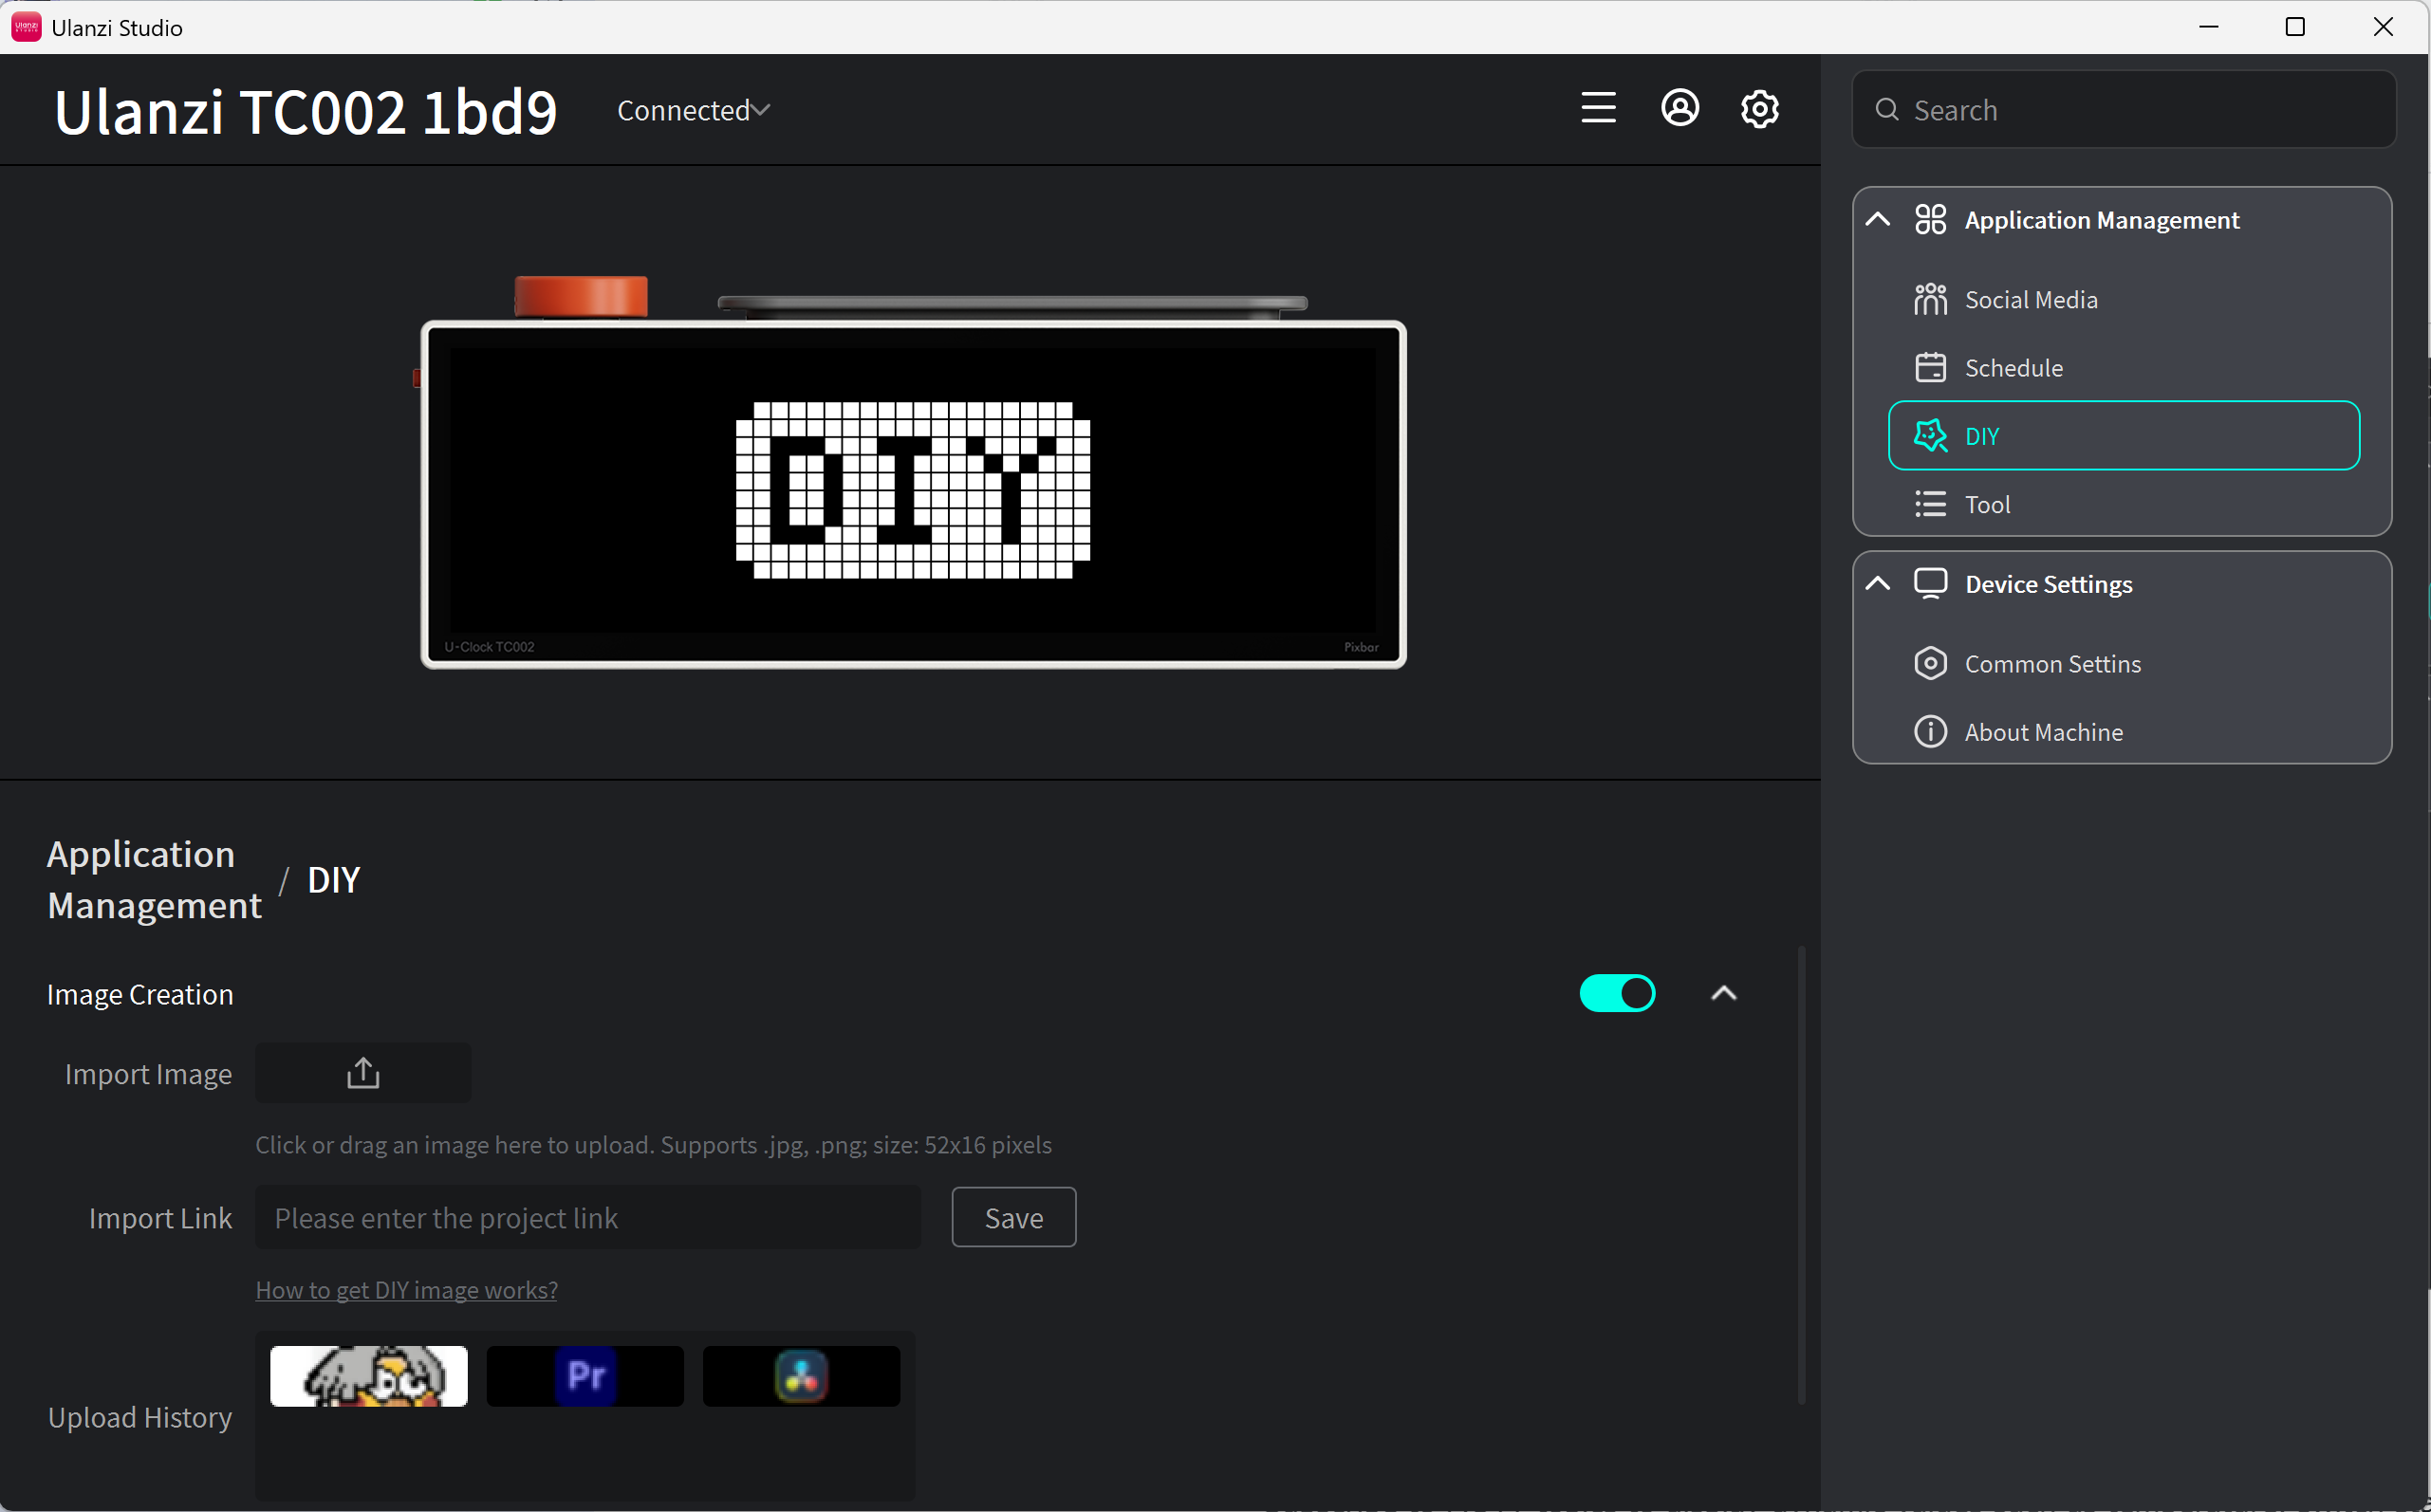
See the DIY Image guide for the complete workflow.
MQTT
- Subscribe to MQTT topics to display dynamic values such as temperature, switch state, or custom text.
- Configure the address of your MQTT broker and its connection settings.
- Integrate with Home Assistant, Node-RED, Raspberry Pi, or other IoT systems.
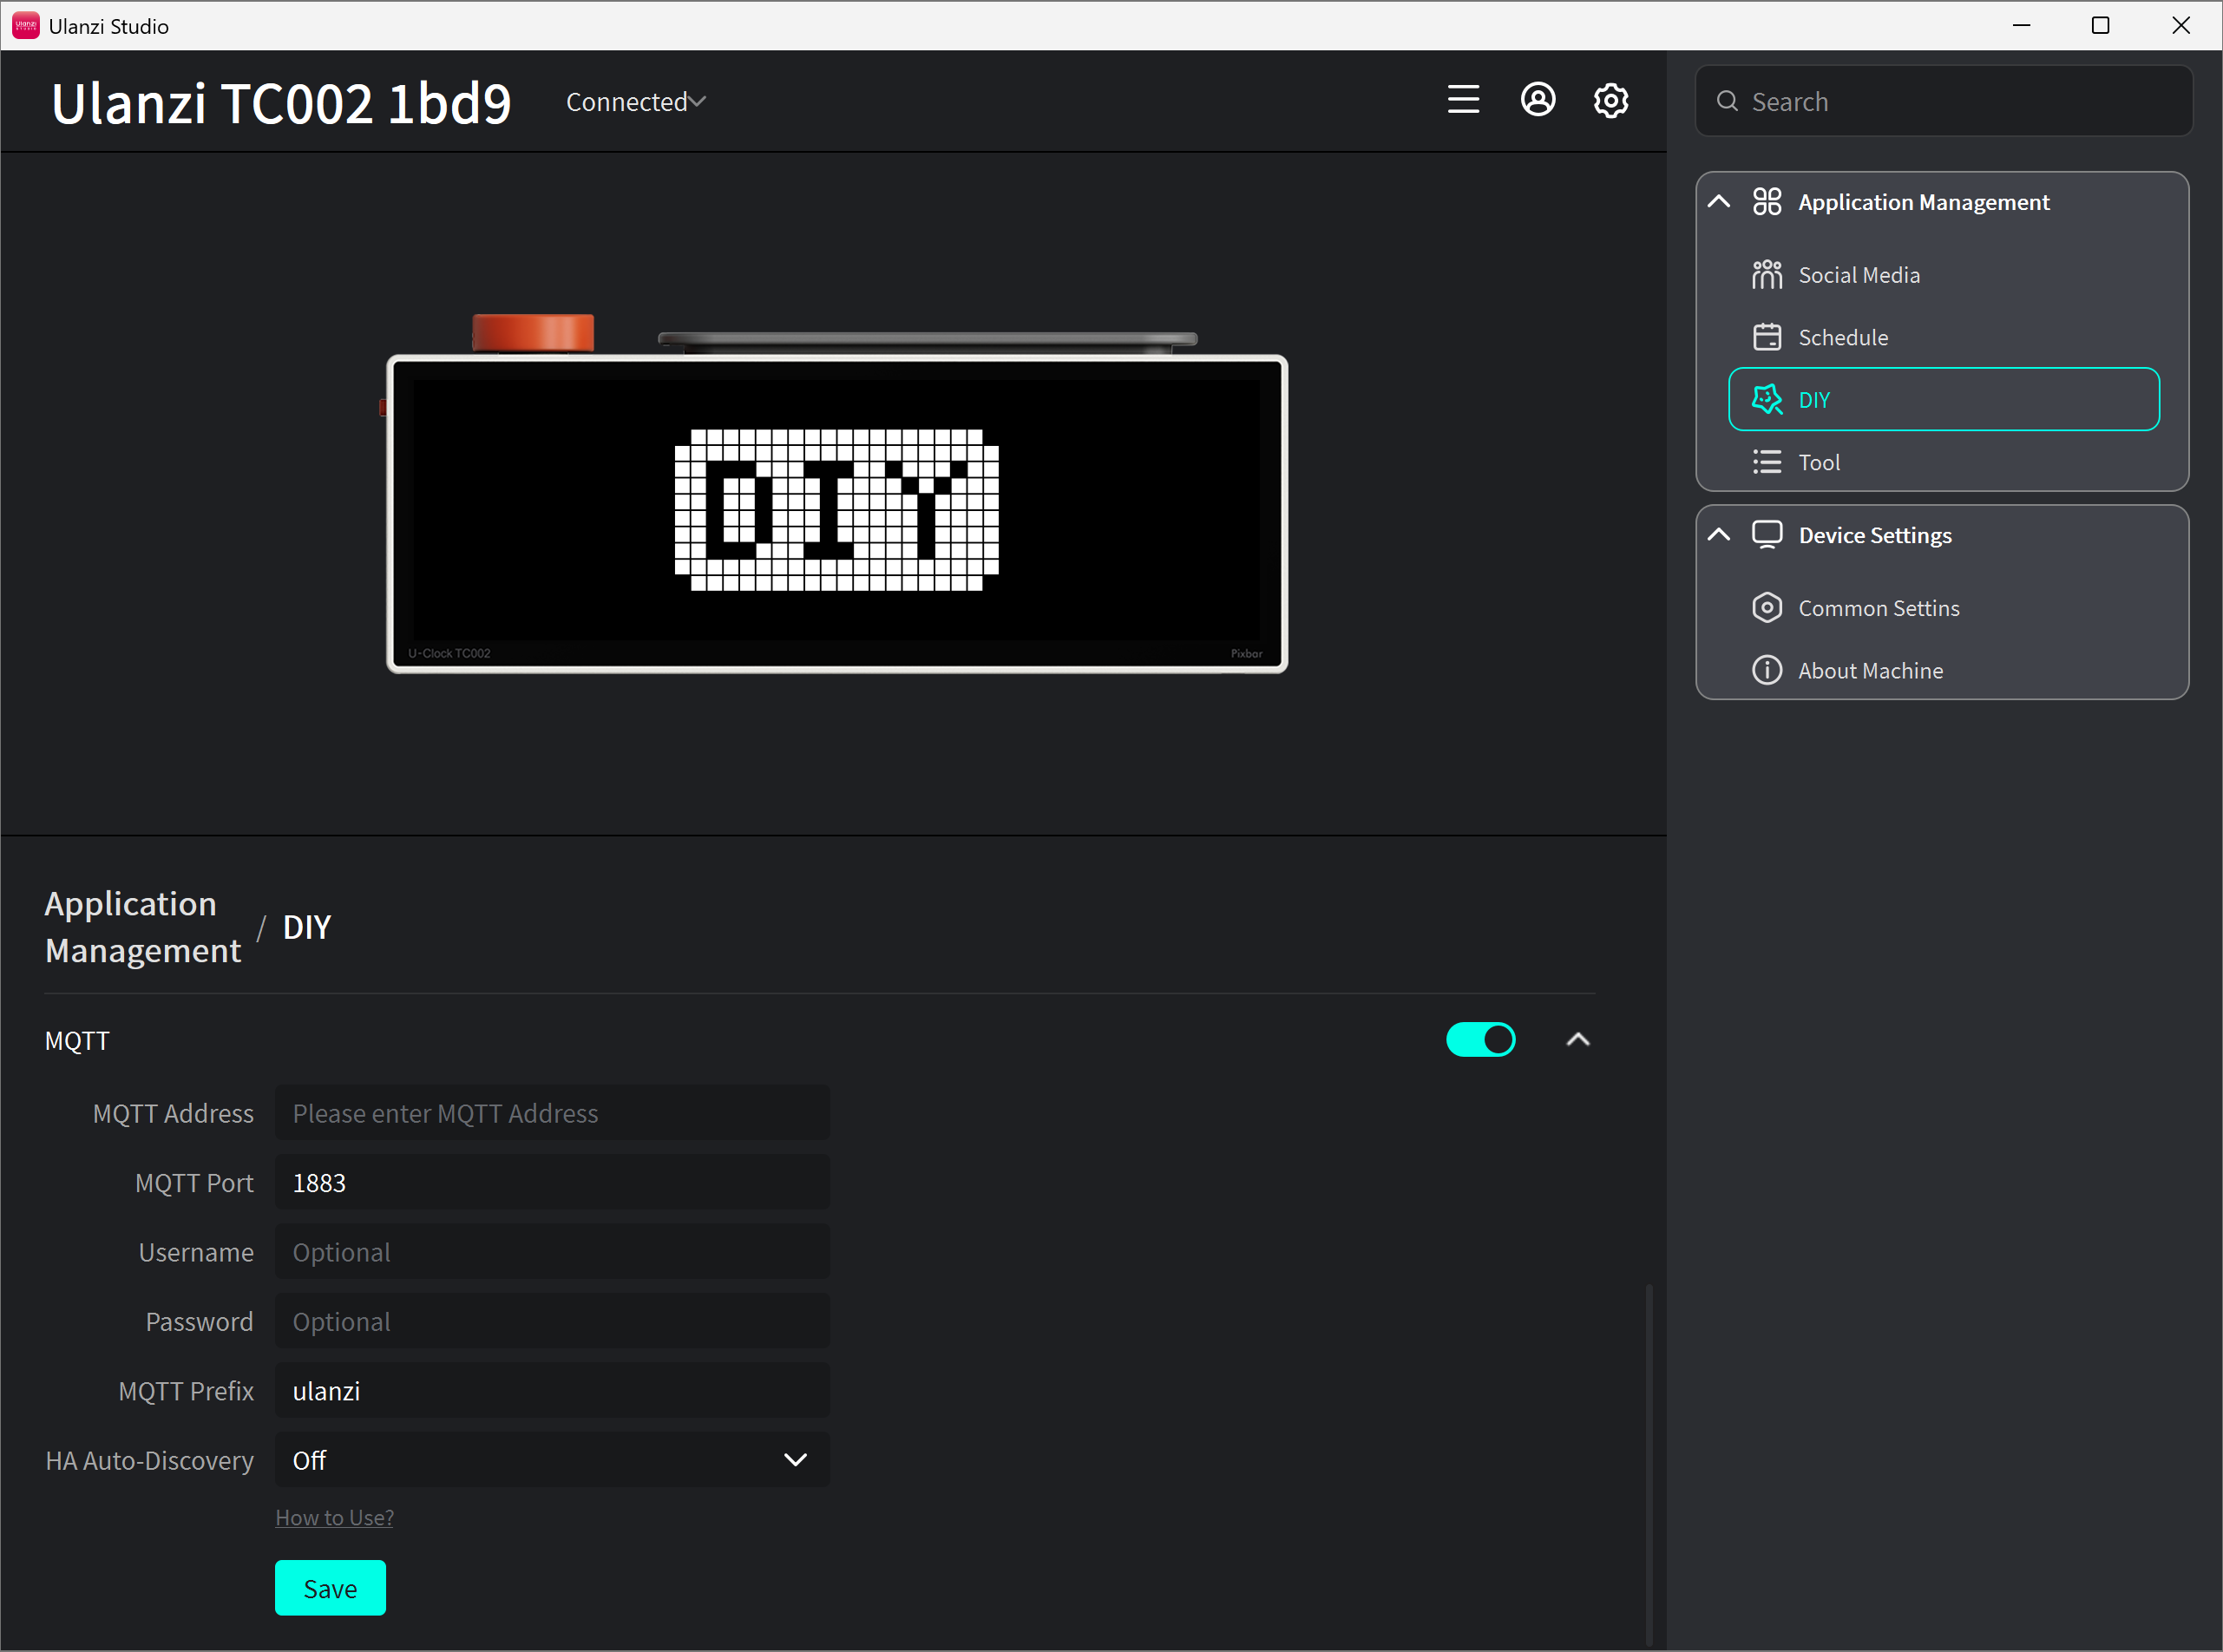
See the MQTT guide for the complete workflow.
8. Tools
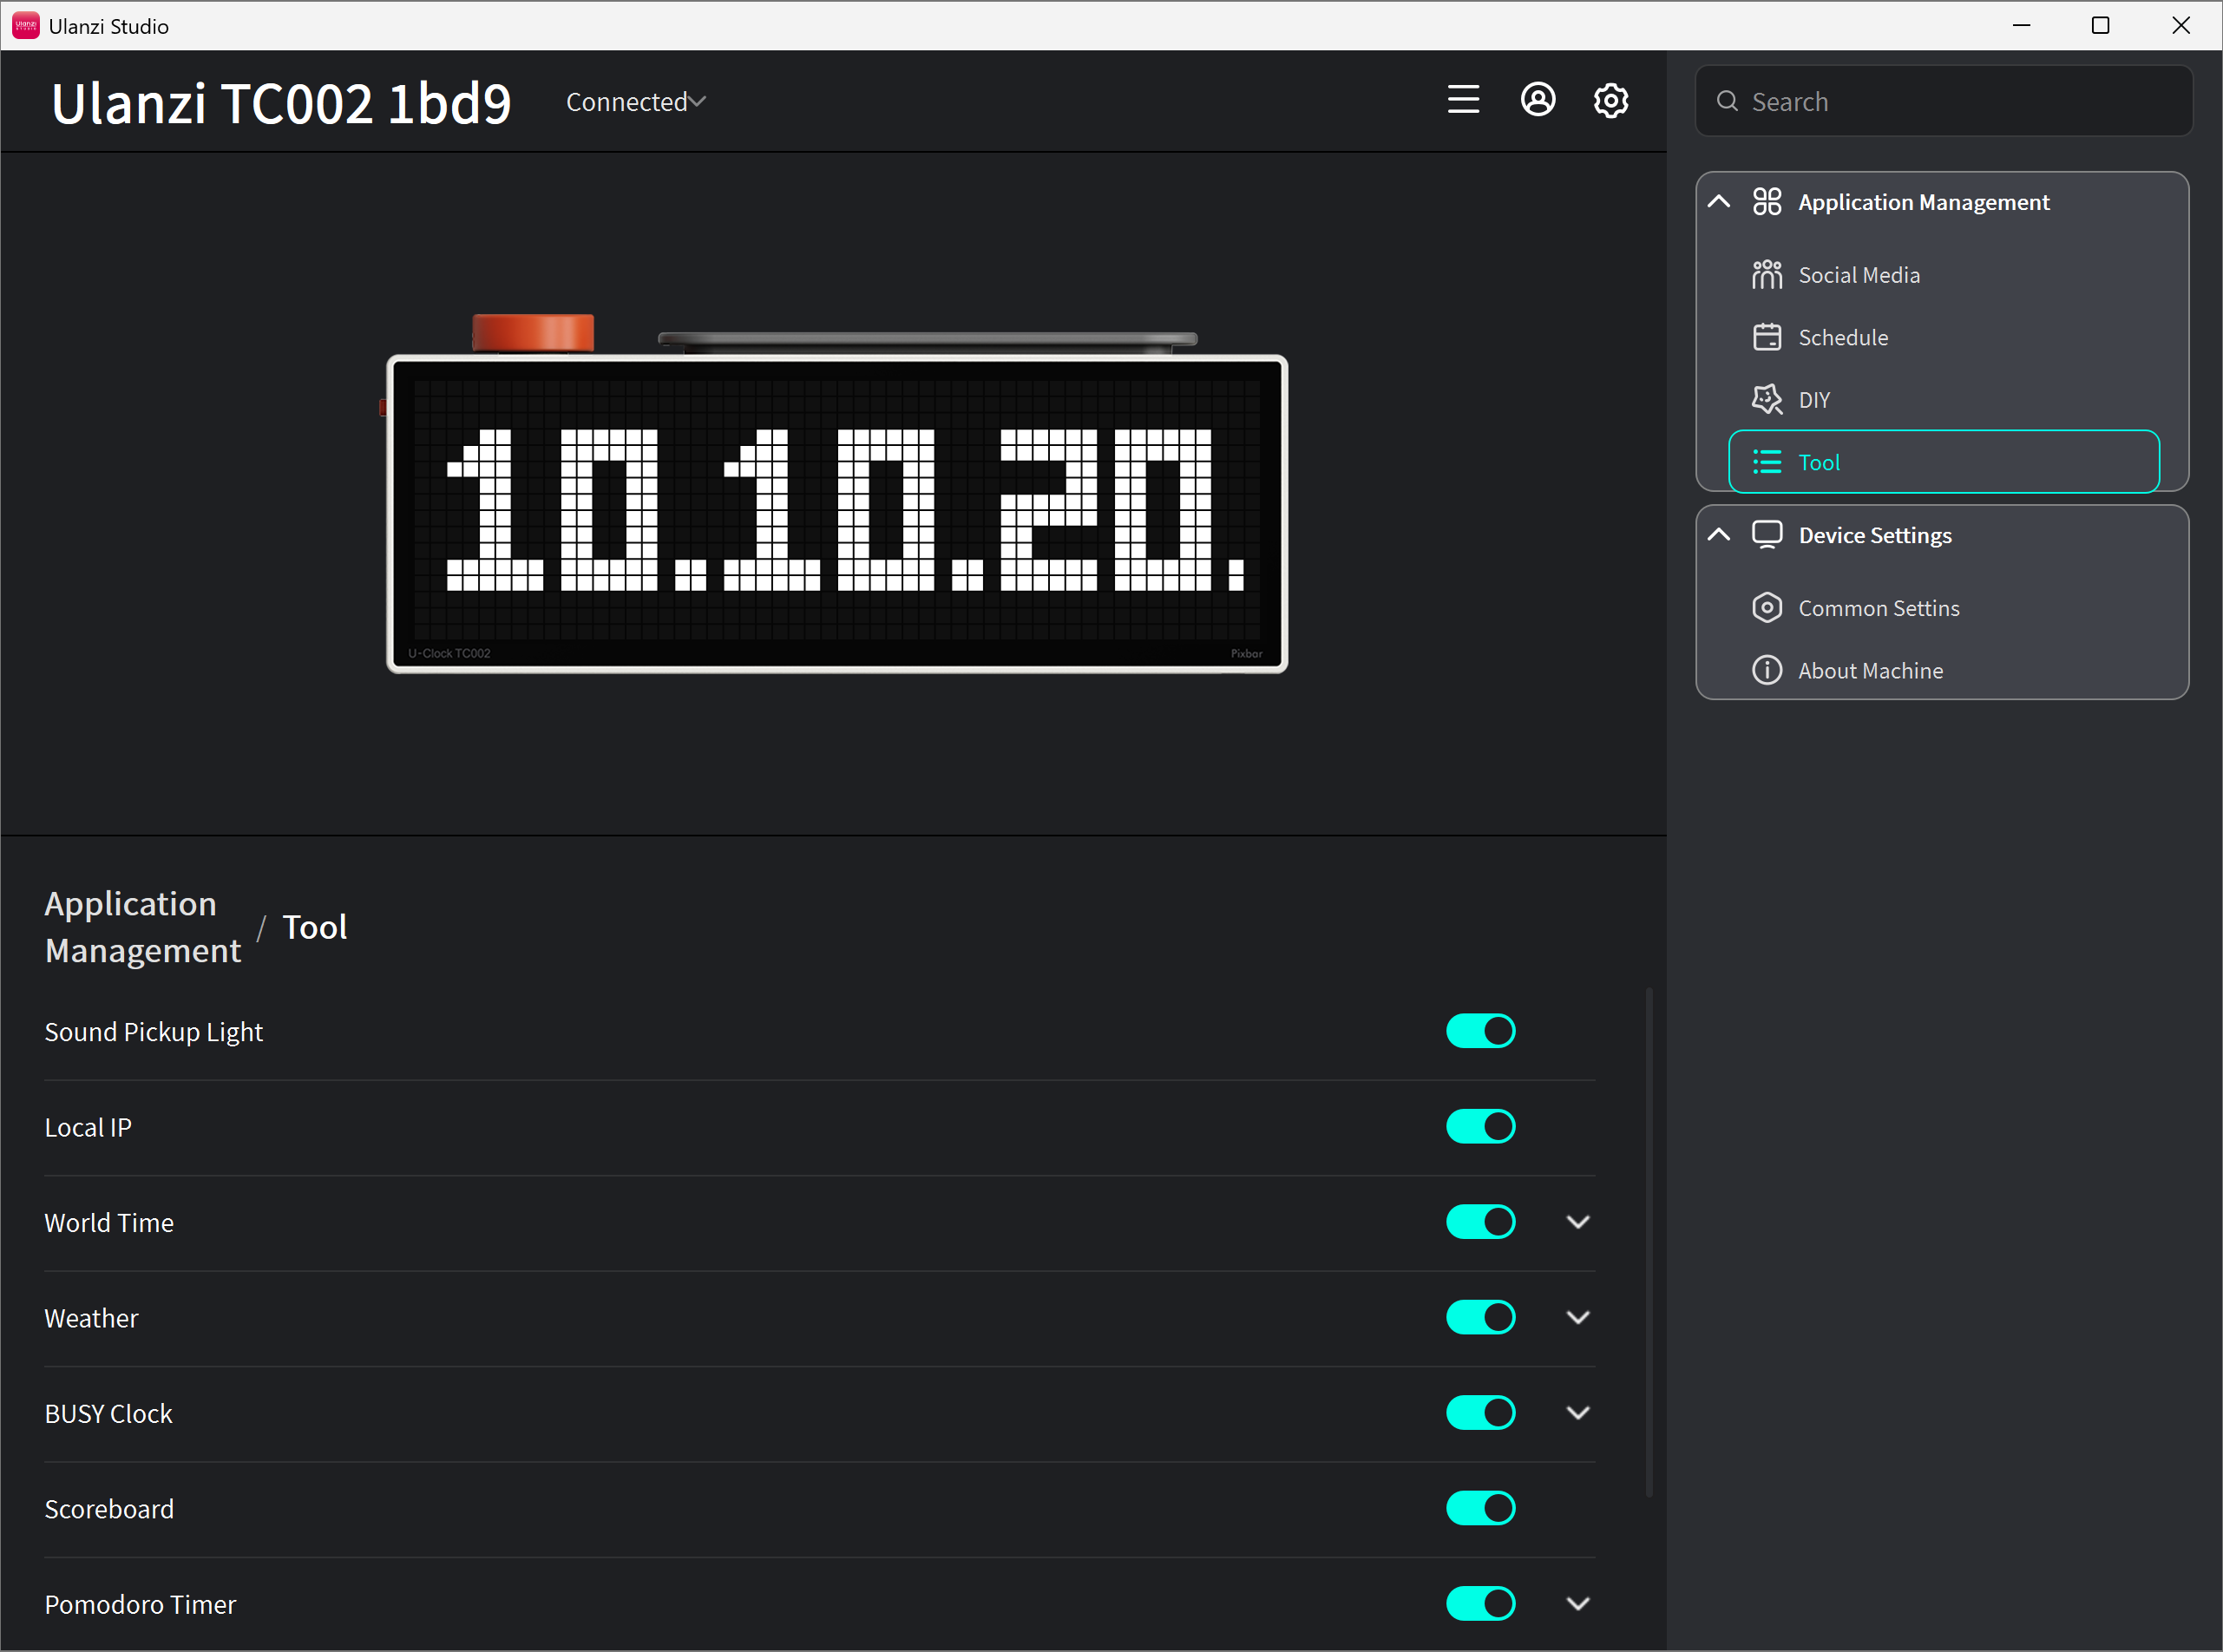
- Weather: current conditions and temperature for a selected city.
- Busy Clock: a clear busy indicator for focused work.
- Scoreboard: manually add or subtract scores.
- Pomodoro: a 25-minute focus and 5-minute break timer.
- Stopwatch: precise timing for activities and experiments.
- Battery: current TC002 battery level.
- Sound-Reactive Light: visualizes ambient sound on the display.
- Local IP: the local network address of TC002.
- World Clock: current time in selected cities and time zones.
9. General Settings
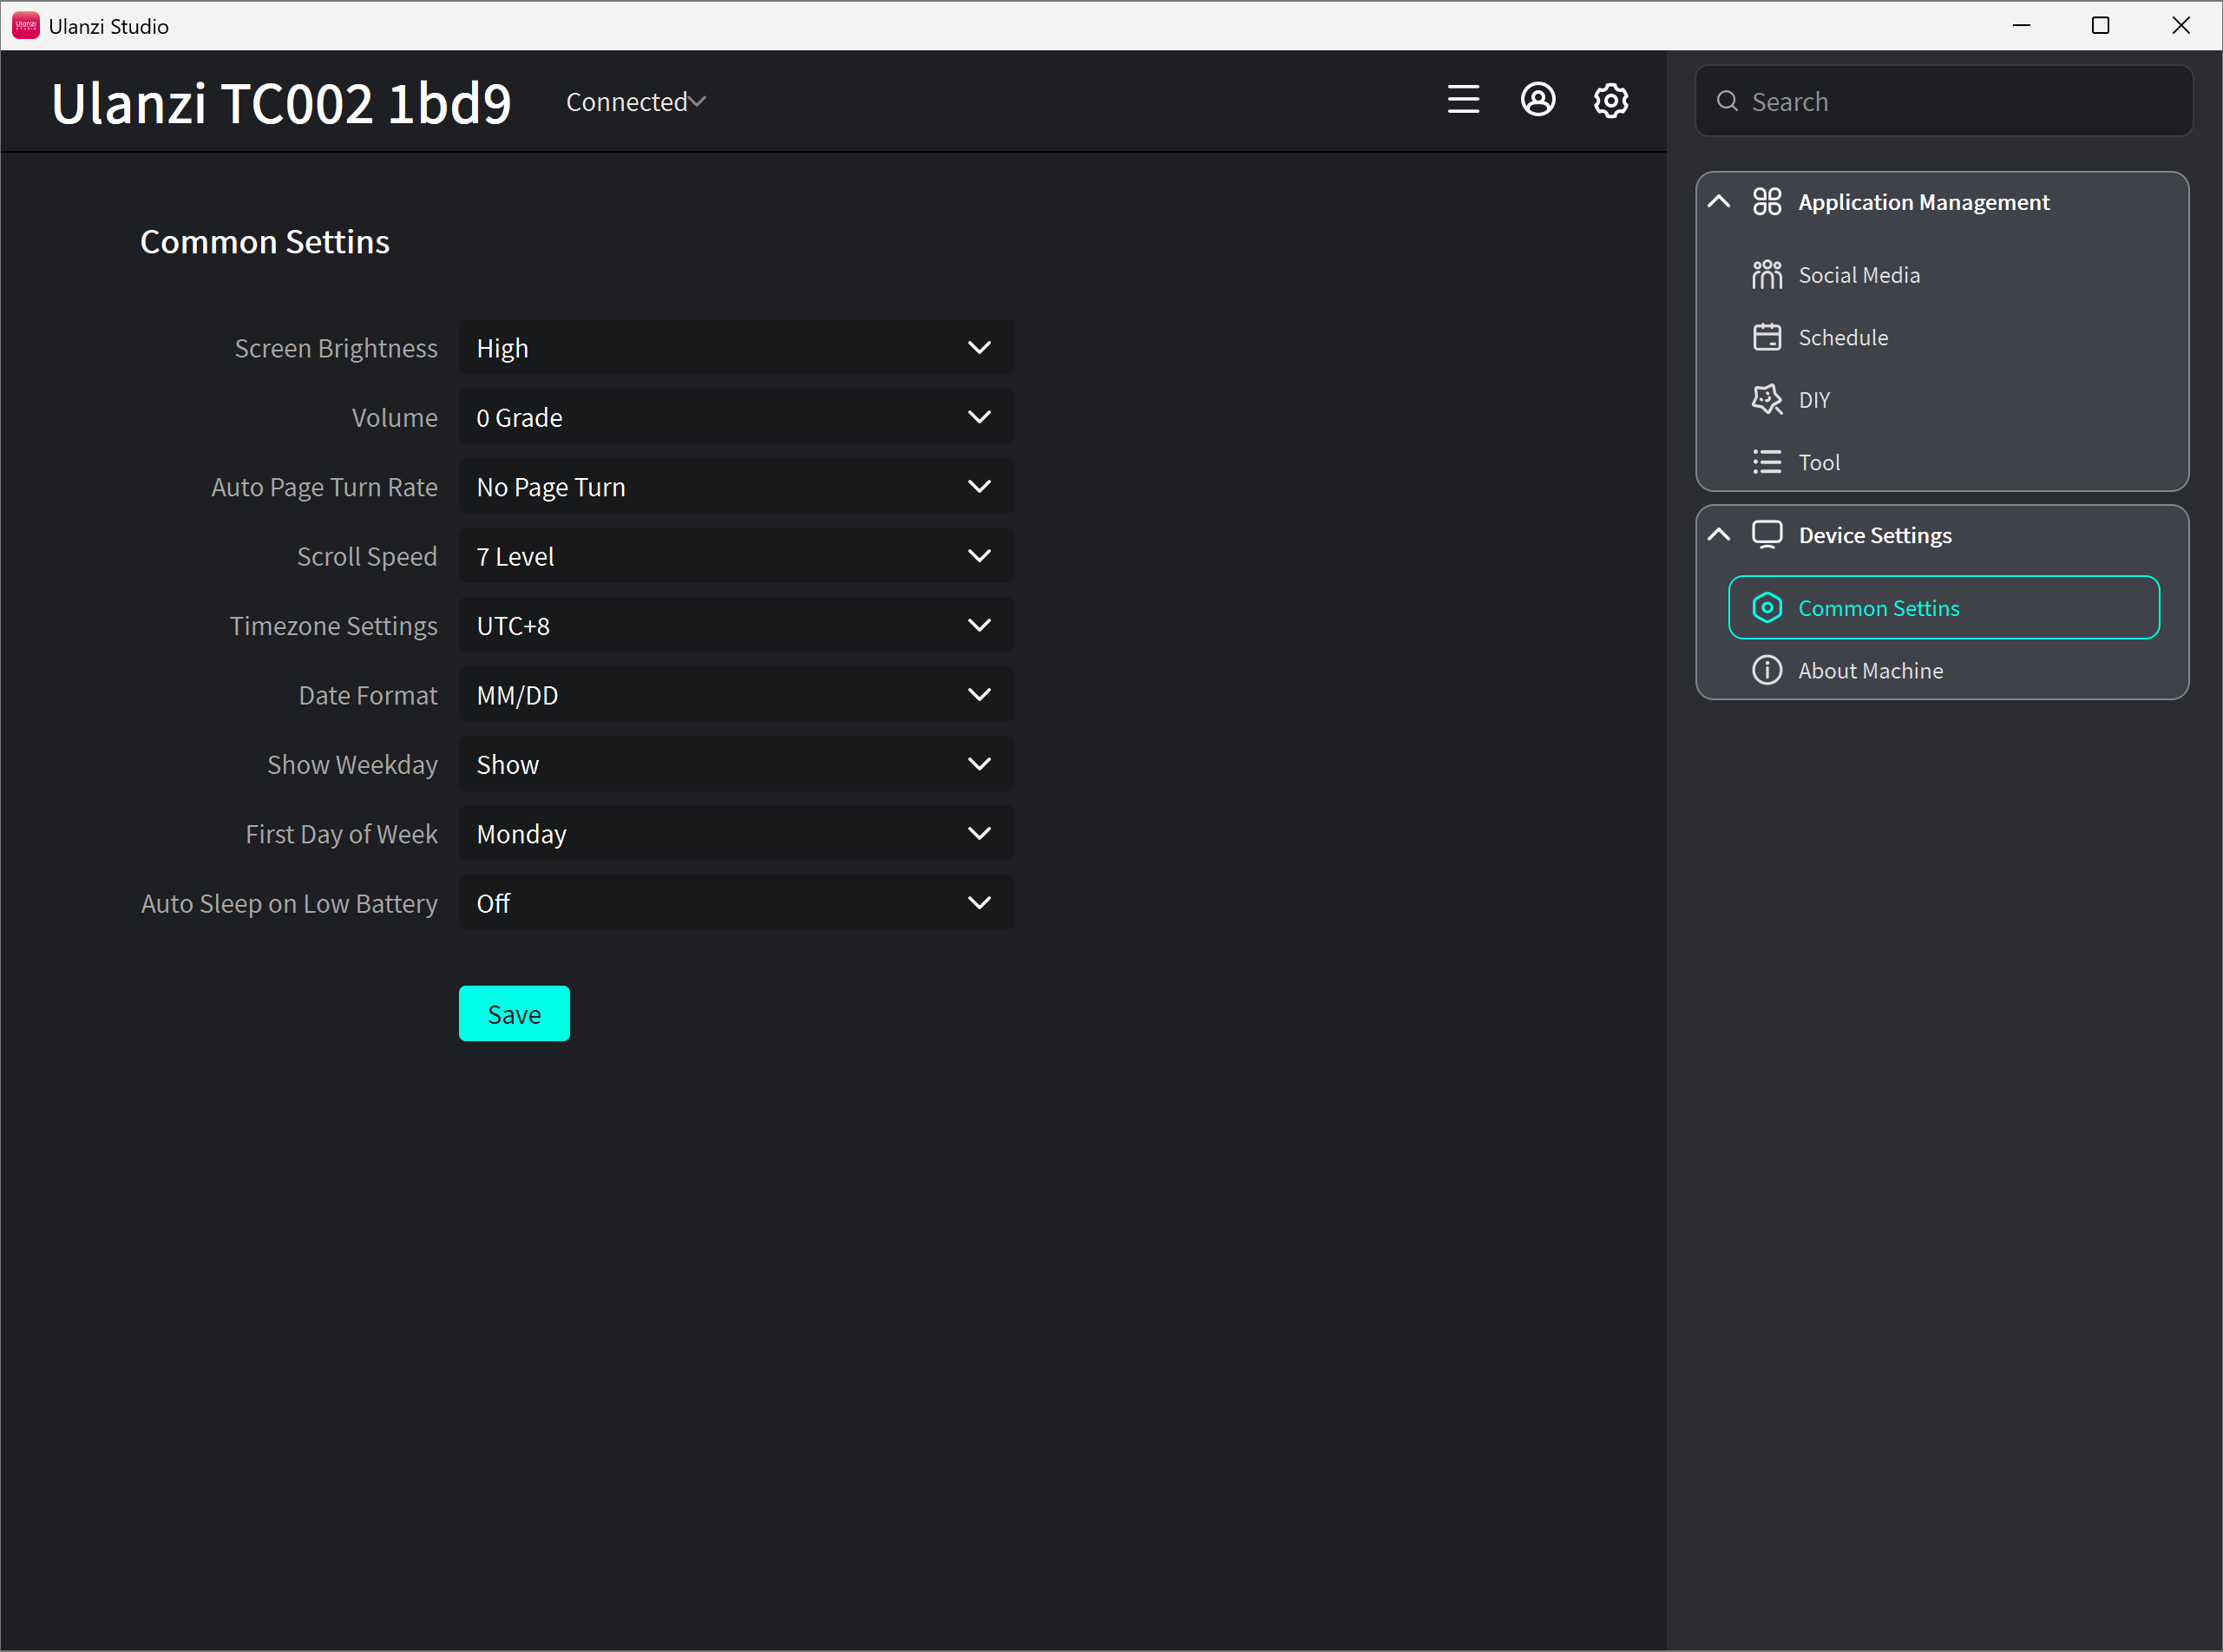
- Brightness: Low, Medium, or High.
- Volume: levels 1 through 4.
- Auto page speed: Off, Slow, Medium, or Fast.
- Scroll speed: seven levels for long text.
- Time zone: controls time-based apps and calendars.
- Date format:
MM/DDorDD/MM. - Show weekday: displays the day of the week.
- First day of week: Sunday or Monday.
- Low-battery sleep: automatically sleeps the device below the battery threshold.
Click Save after making changes so that the settings are synchronized to TC002.
10. About Device
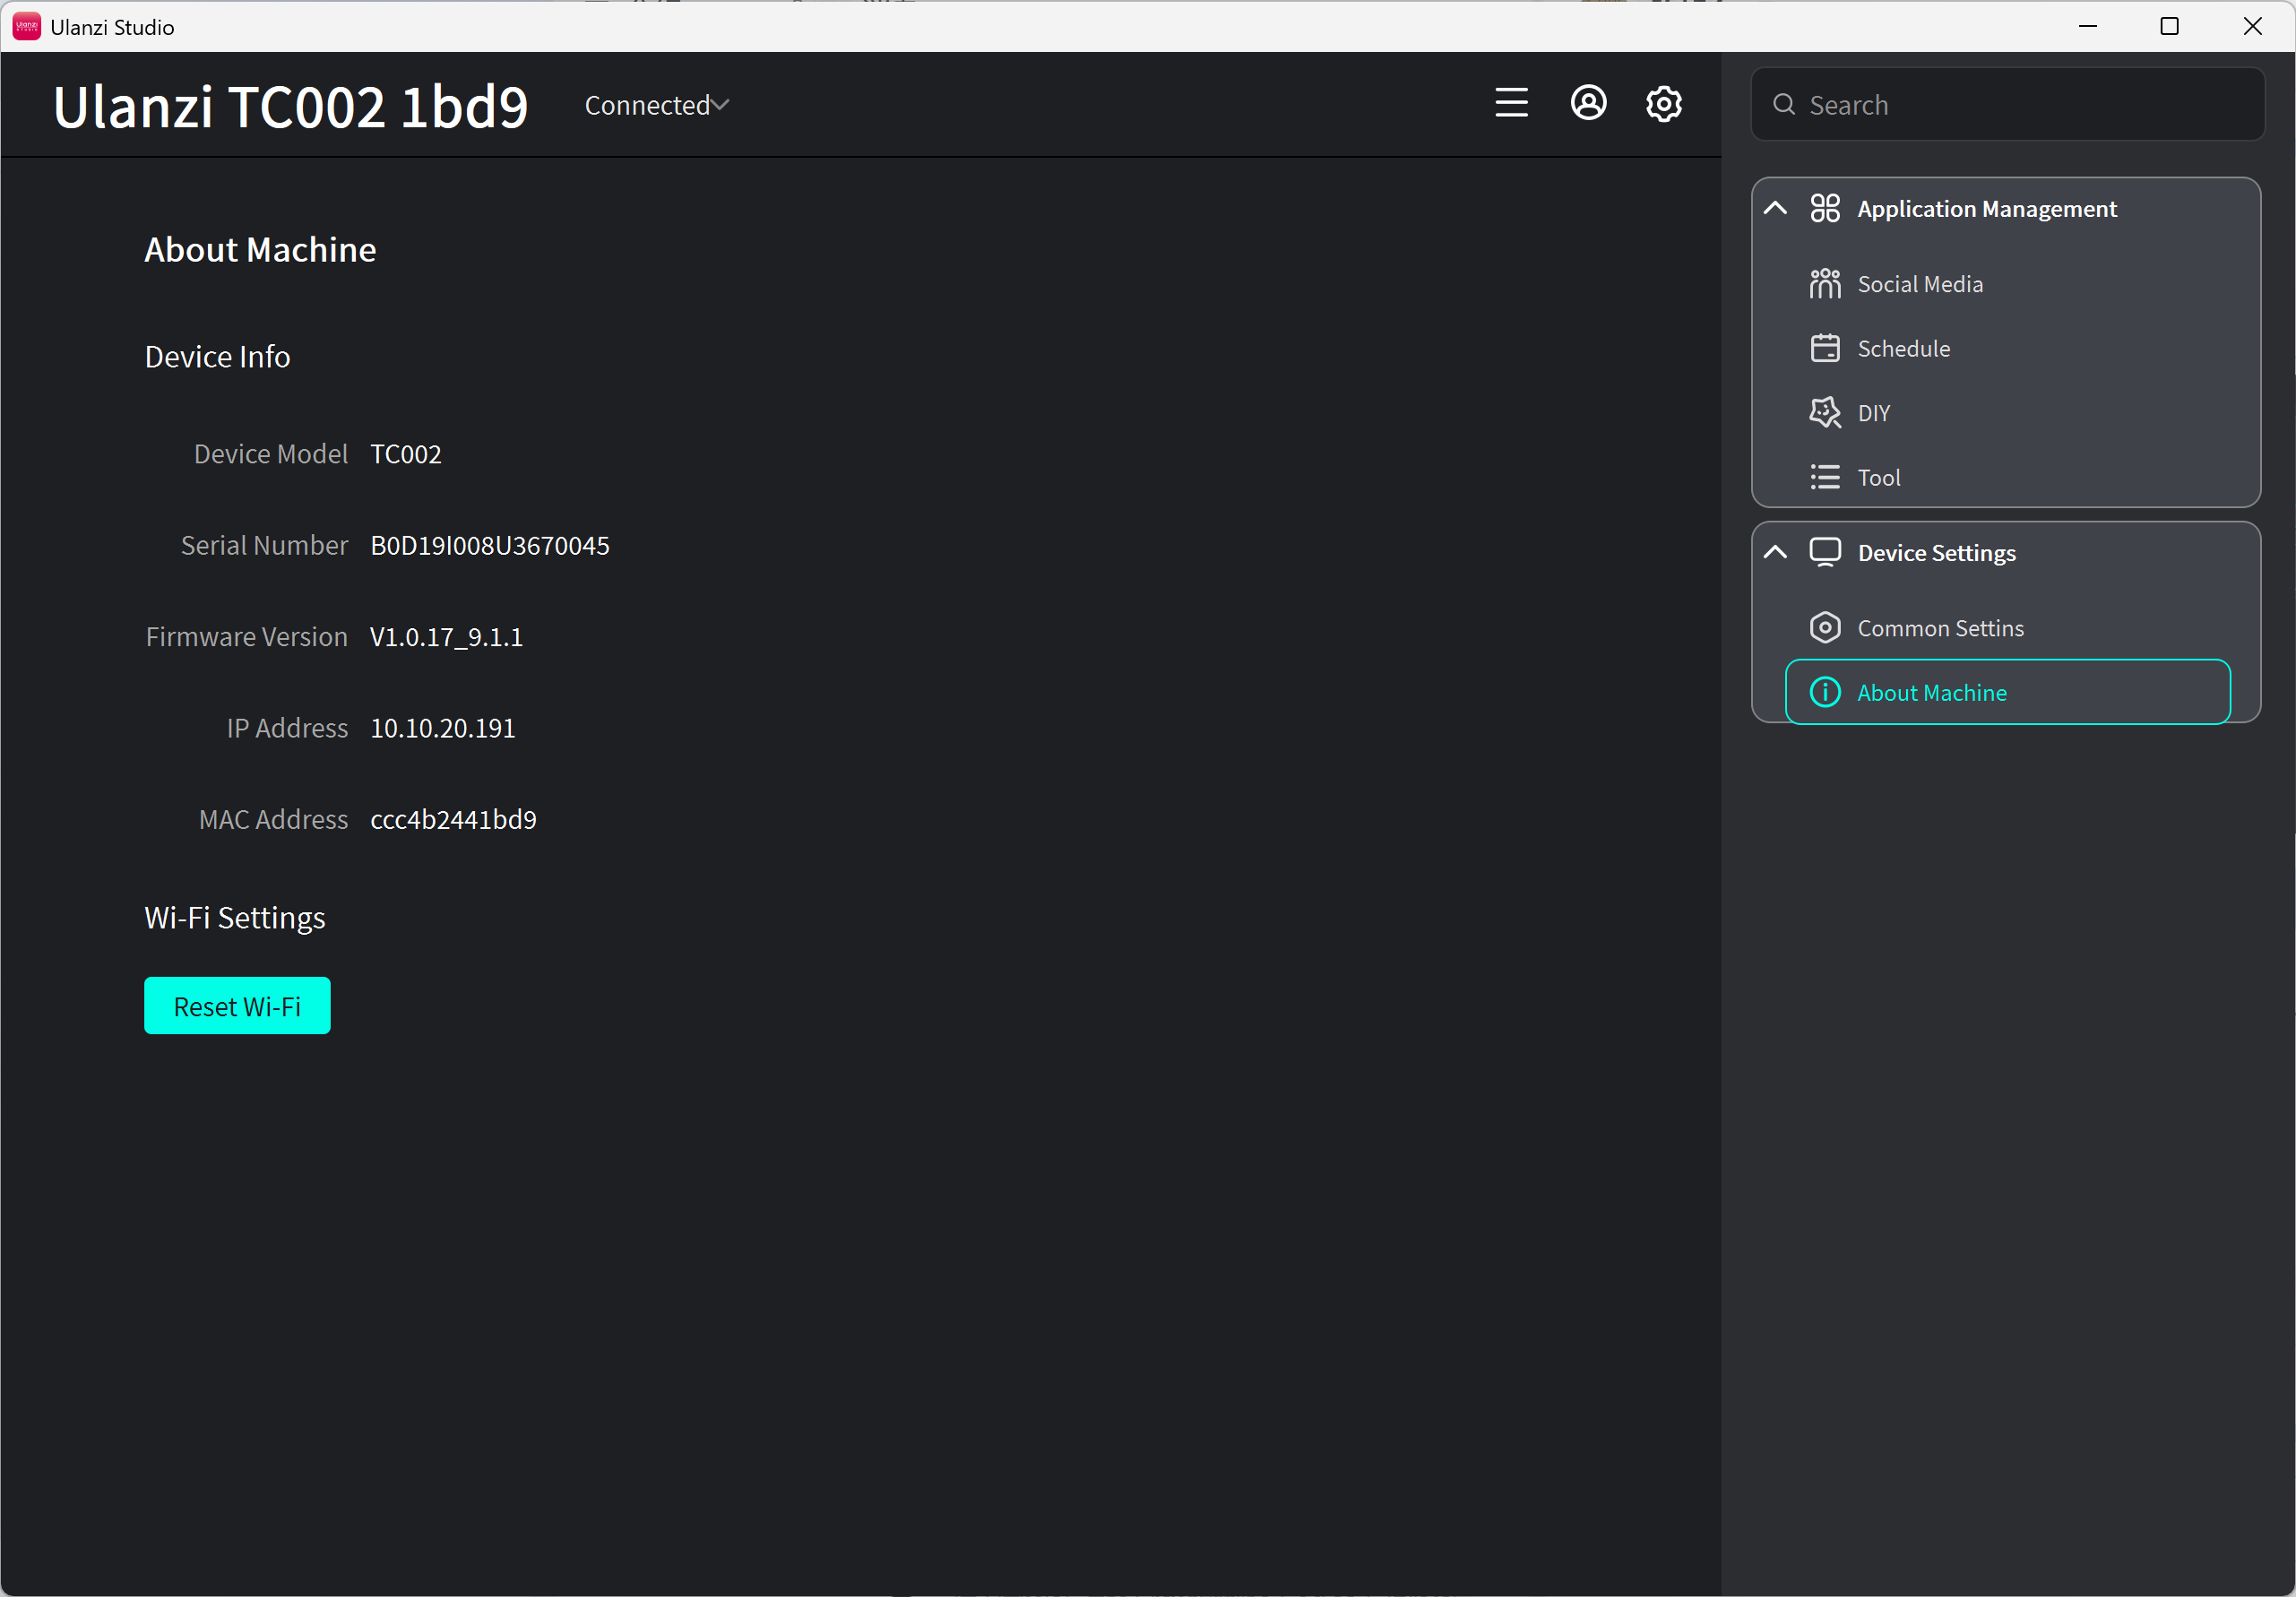
This page shows the device model, serial number, firmware version, IP address, and MAC address. Use Check for Updates to look for new firmware. Use Reset Wi-Fi when changing networks or troubleshooting a connection.
After the first setup or a network change, confirm that TC002 received a valid IP address.
FAQ
See the TC002 FAQ.