Beginner's Guide to DIY Images on TC002
The DIY feature in Ulanzi Studio lets you customize the images shown on TC002, turning it into a personal pixel information display.
This guide explains how to:
- Connect Ulanzi Studio to TC002.
- Find and enable DIY image creation.
- Configure an image and sync it to the device.
Before you begin
Make sure that:
- Ulanzi Studio is installed and running.
- TC002 is visible and connected in Ulanzi Studio.
- Your network connection is working.
Basic setup
- Complete the TC002 Wi-Fi setup in Ulanzi Studio.
- Open the TC002 app settings page.
- Find DIY and select Image Creation.
- Follow the guide to configure an image.
- Save the settings. TC002 automatically downloads and displays the image.
Open DIY Image Creation
Find DIY in the list on the right and click it.
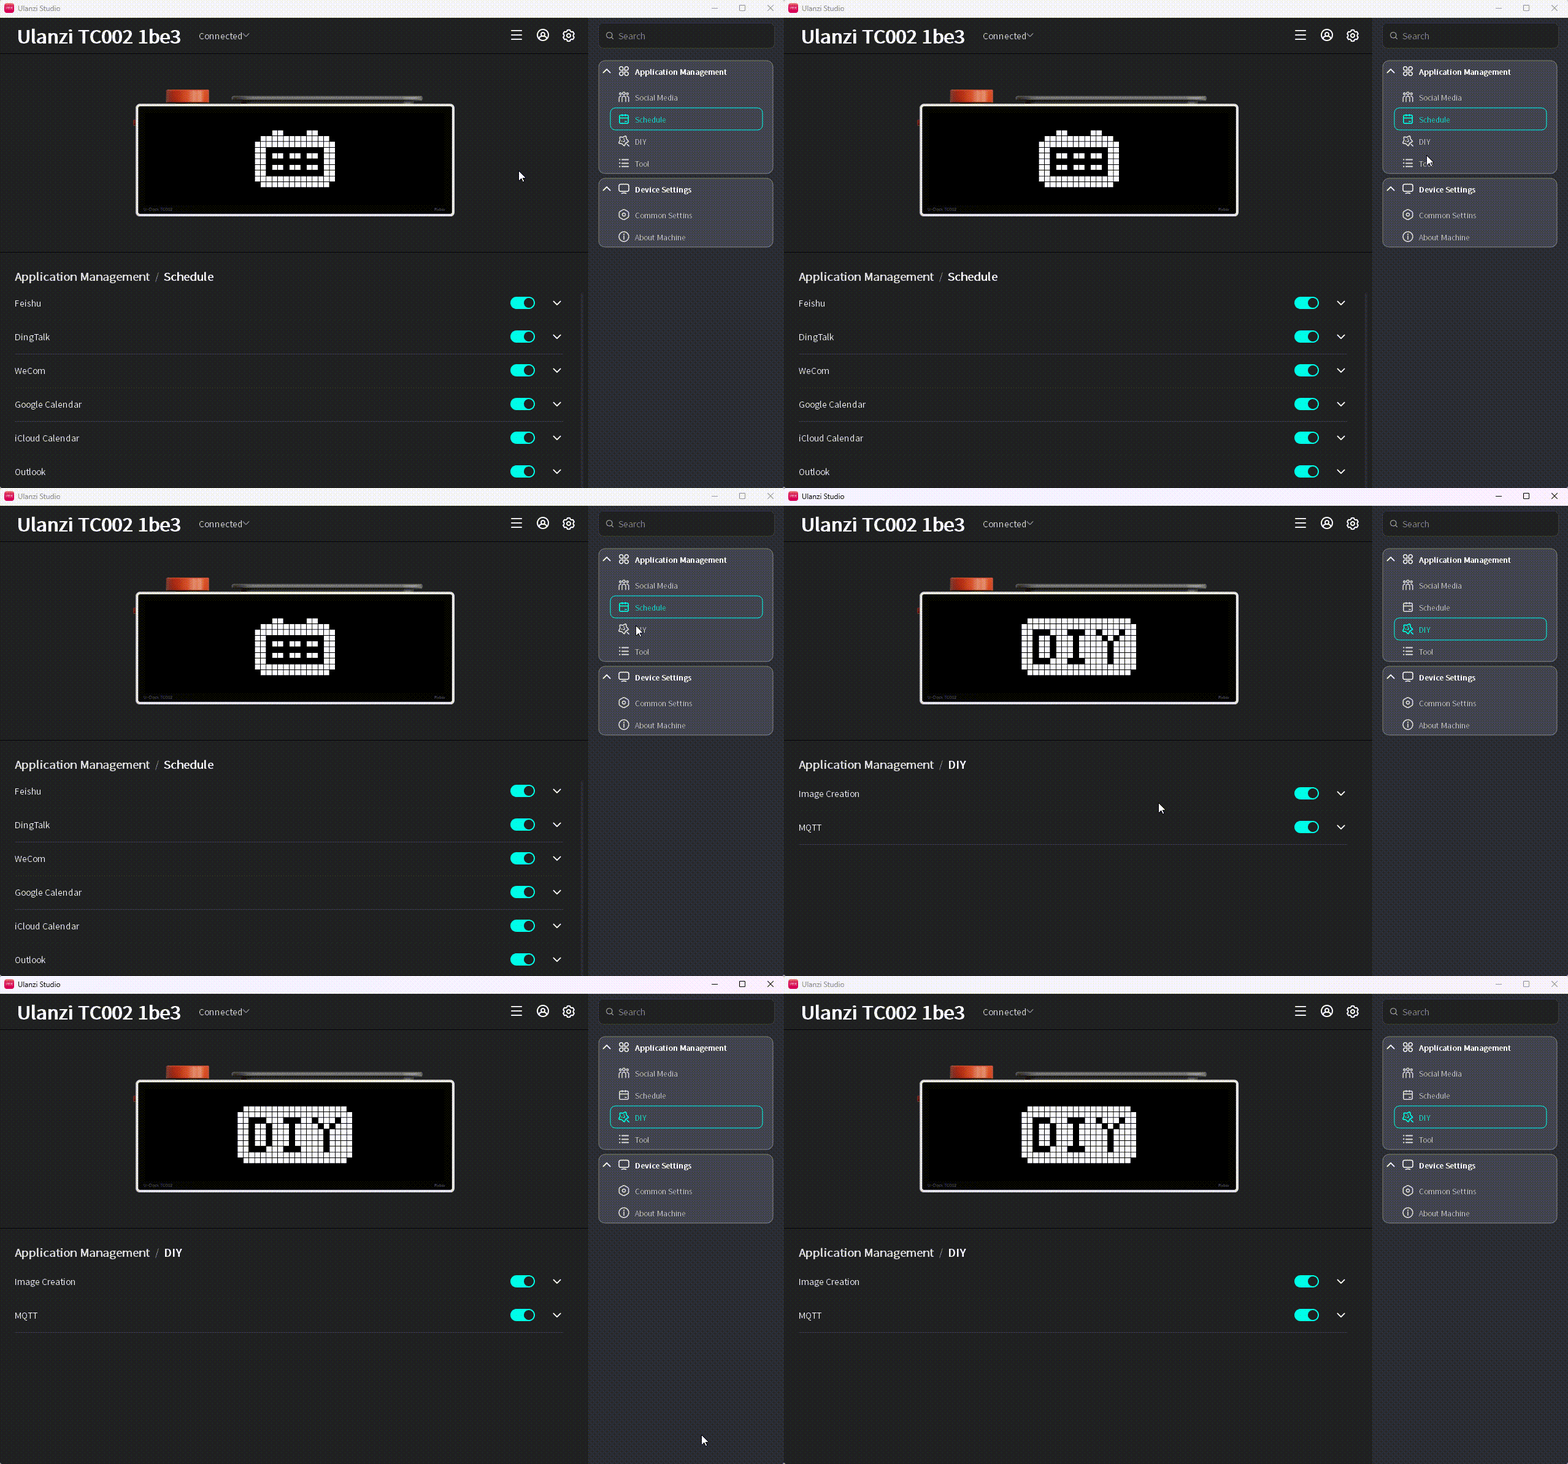
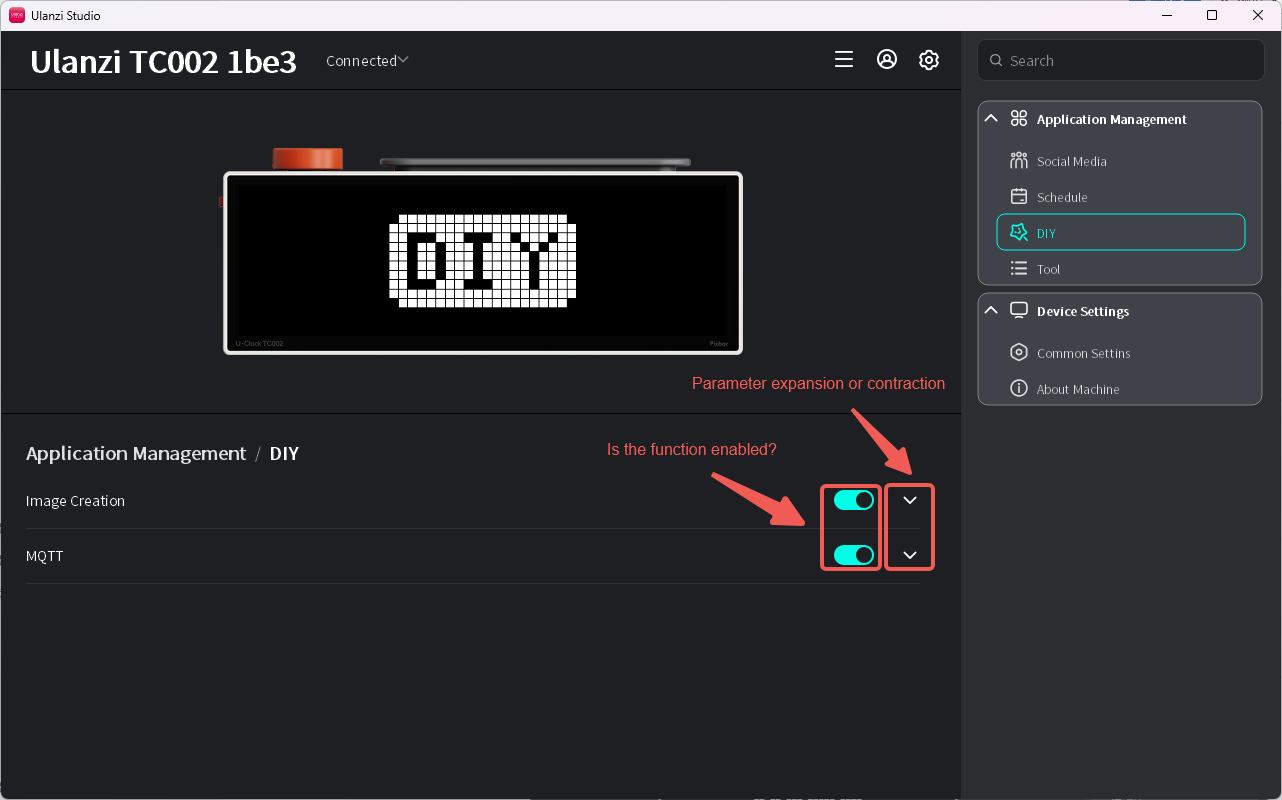
- The enable switch is on by default. When enabled, TC002 displays the configured image. When disabled, TC002 does not display the app and skips it during app switching.
- The parameter control is collapsed by default. It is hidden automatically when an app has no extra settings.
DIY Image Creation
You can save up to six images.
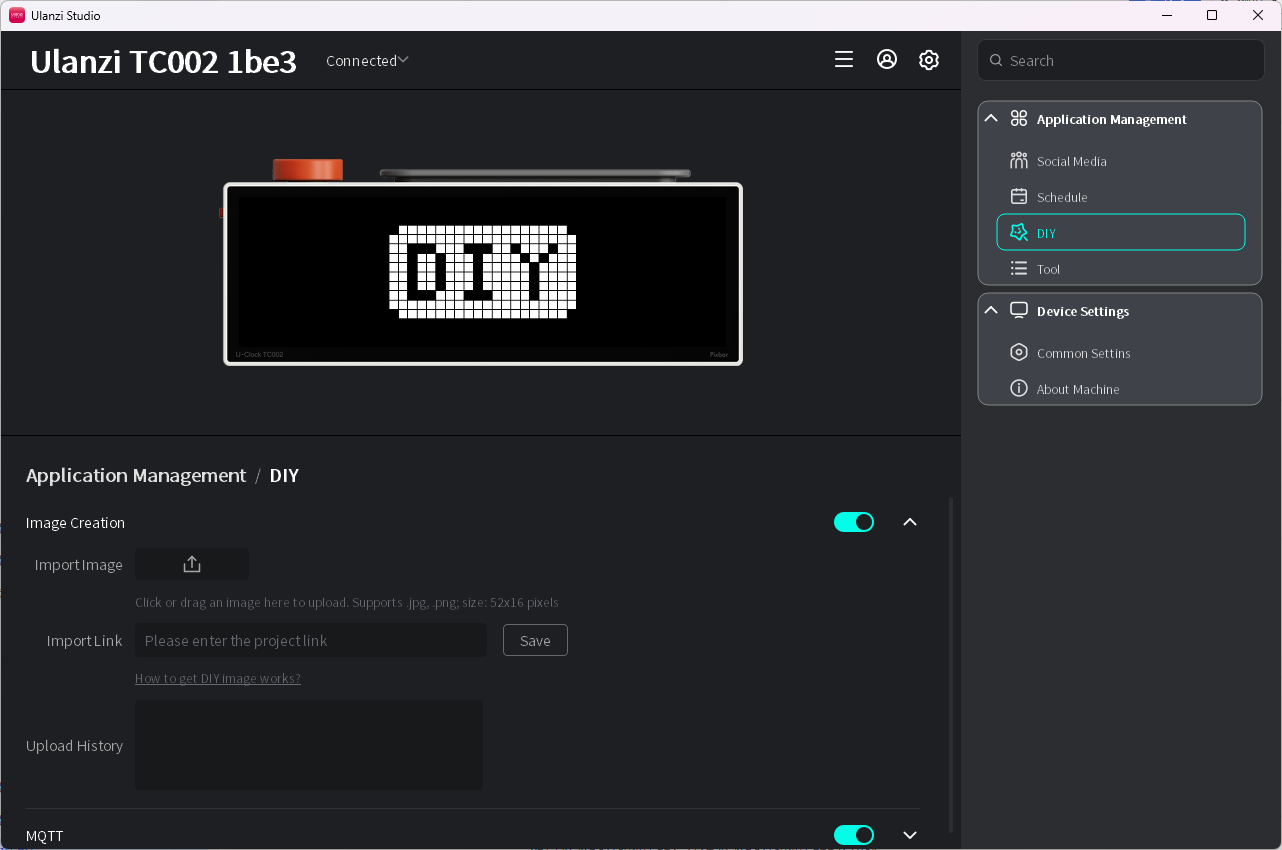
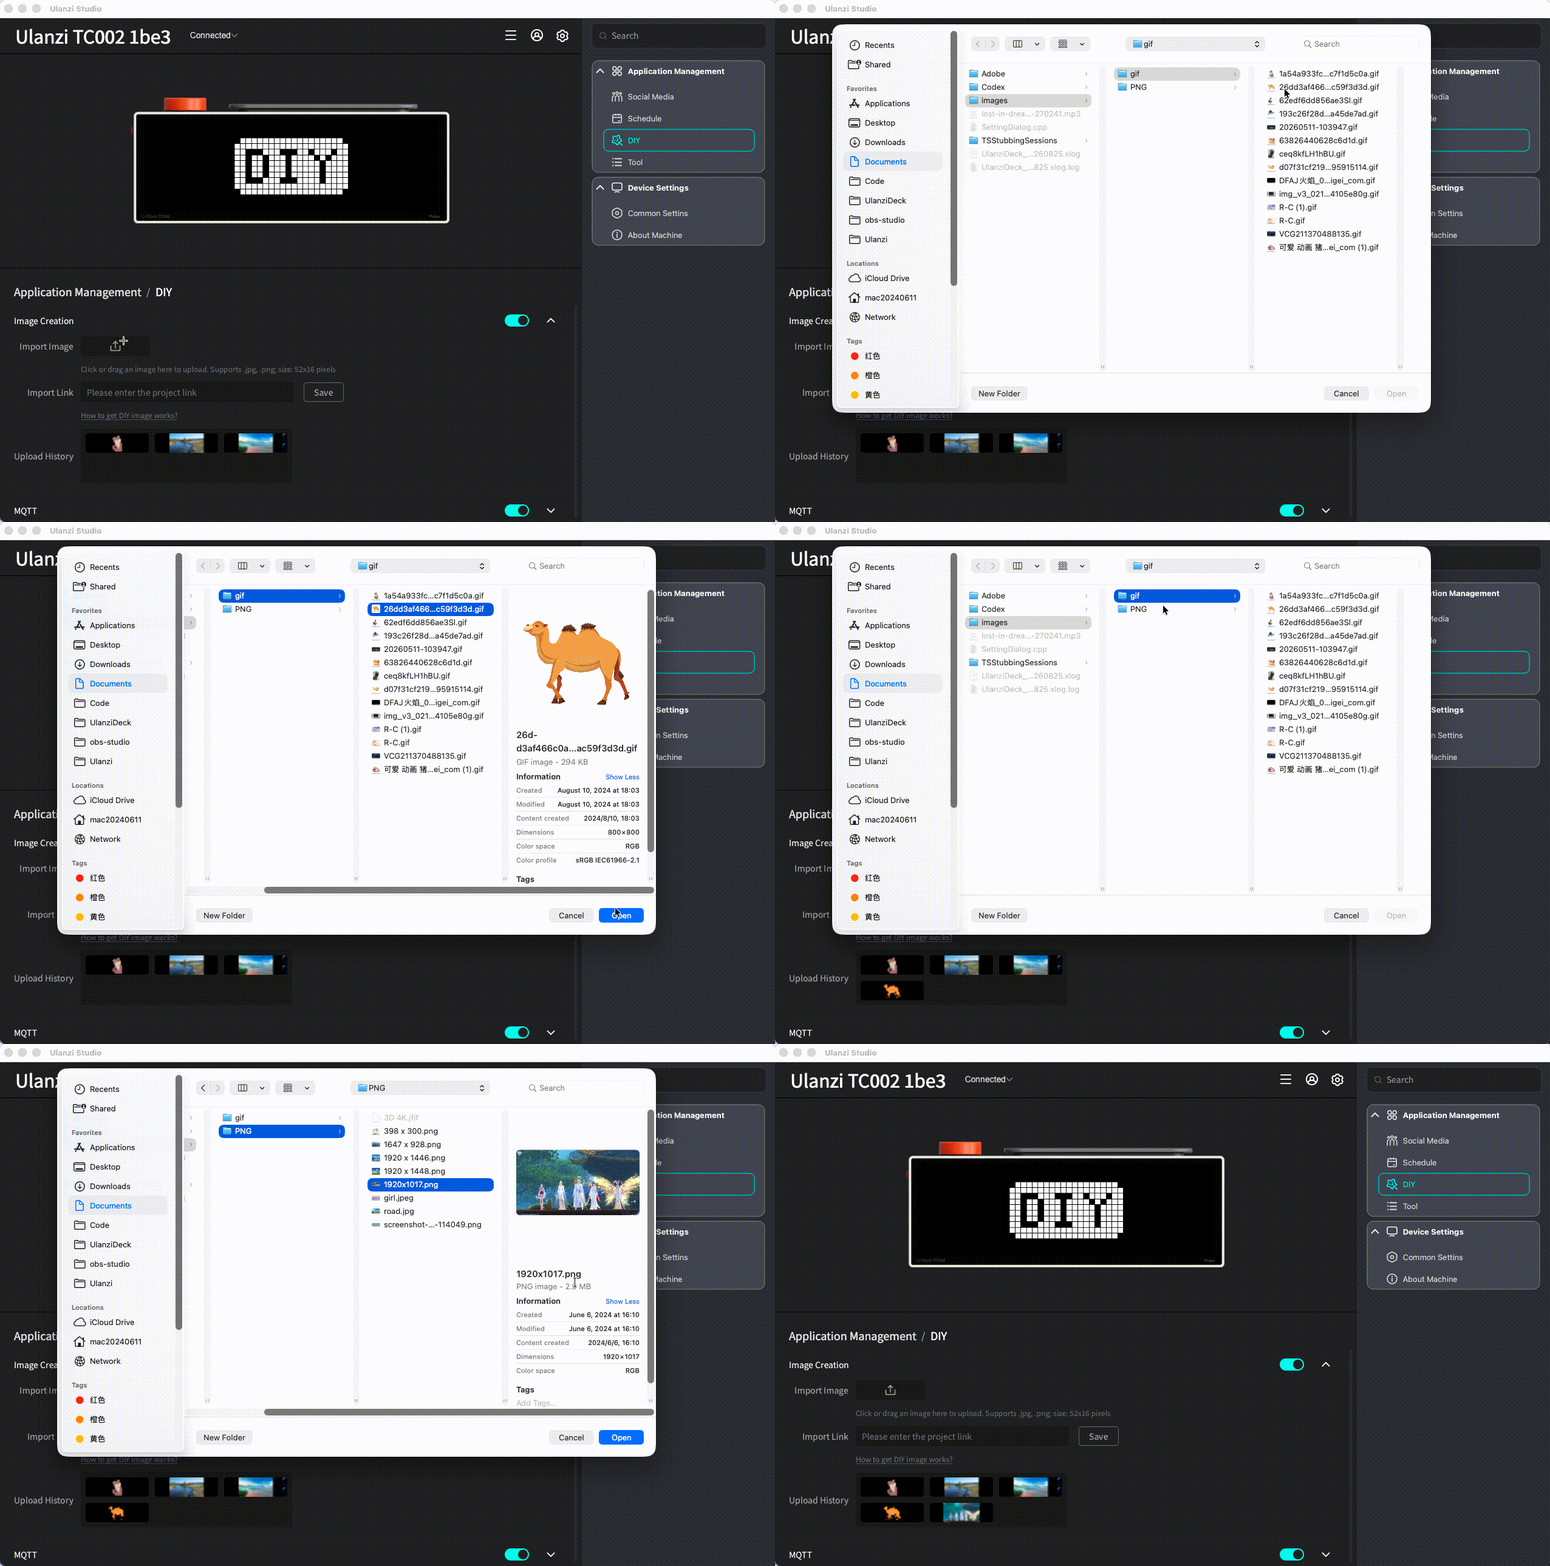
- Import Image: click or drag an image to upload it. JPG, PNG, and GIF are supported.
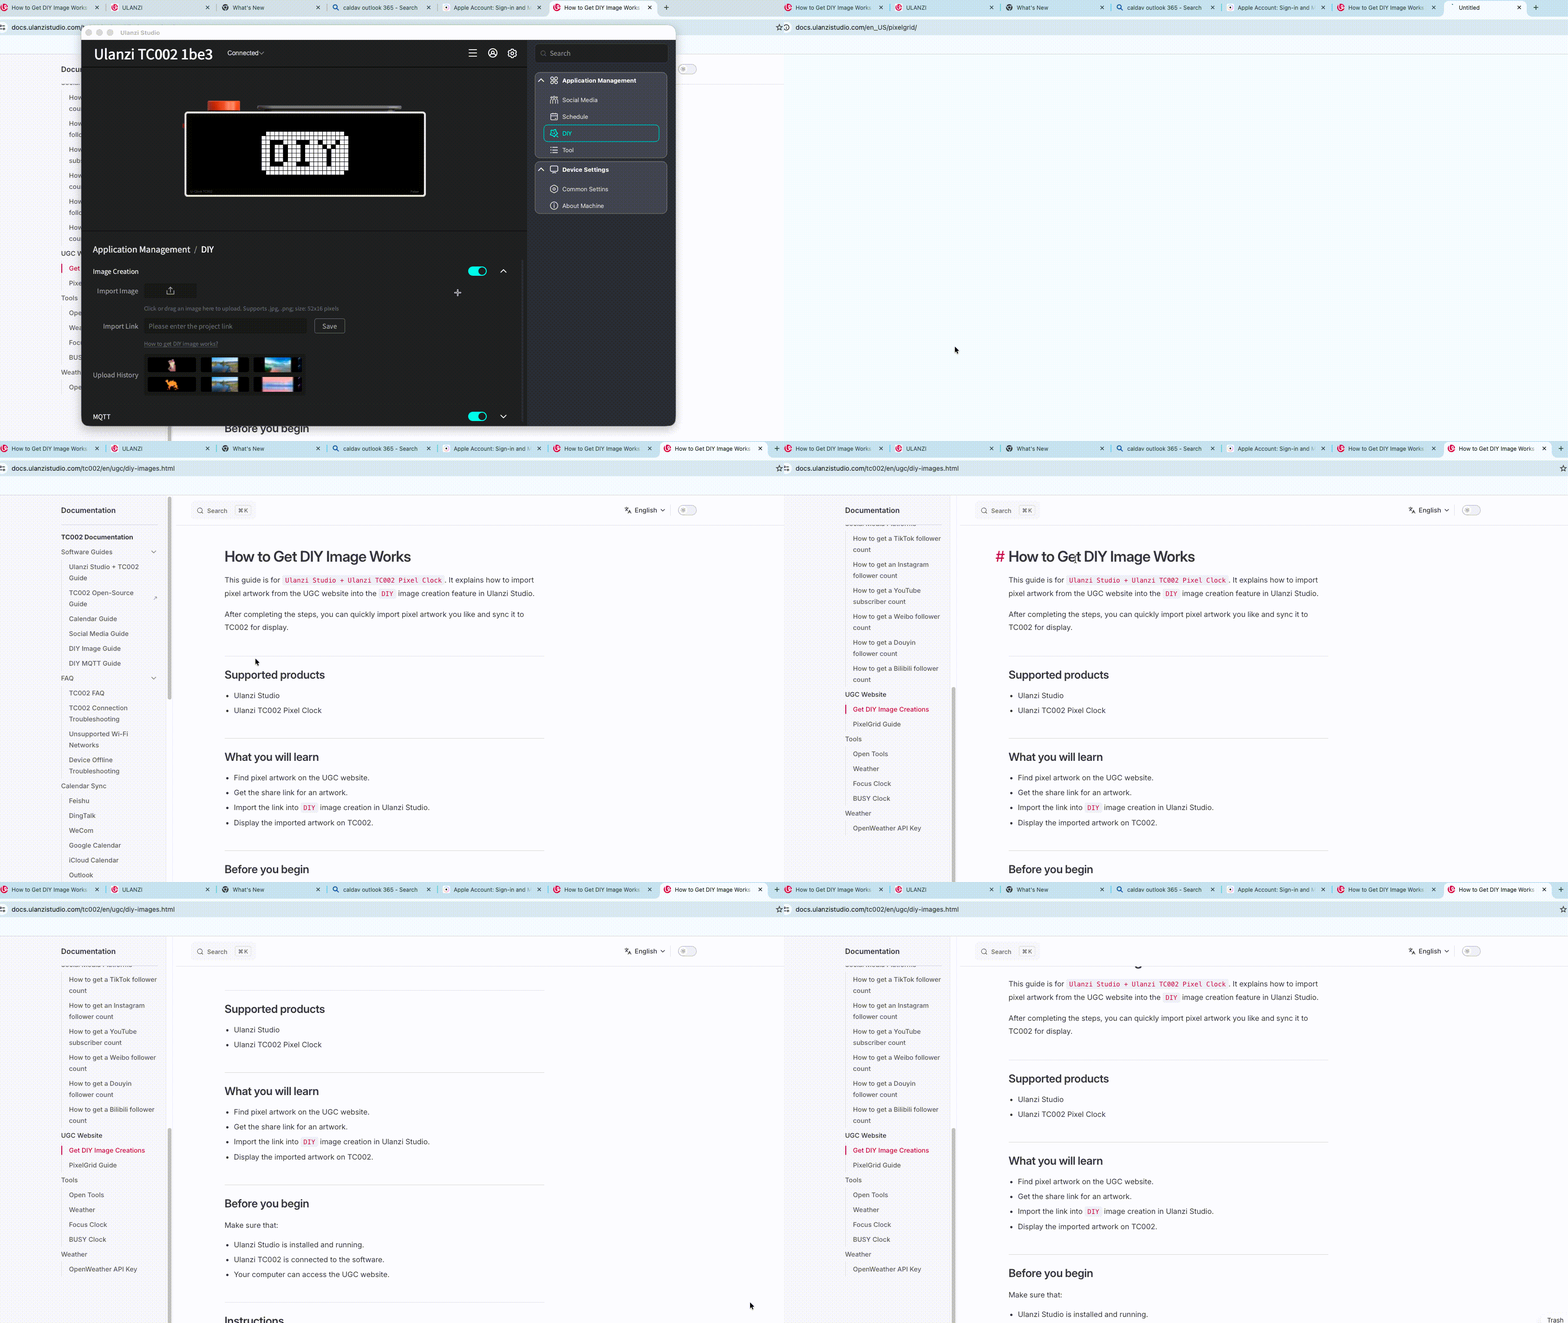
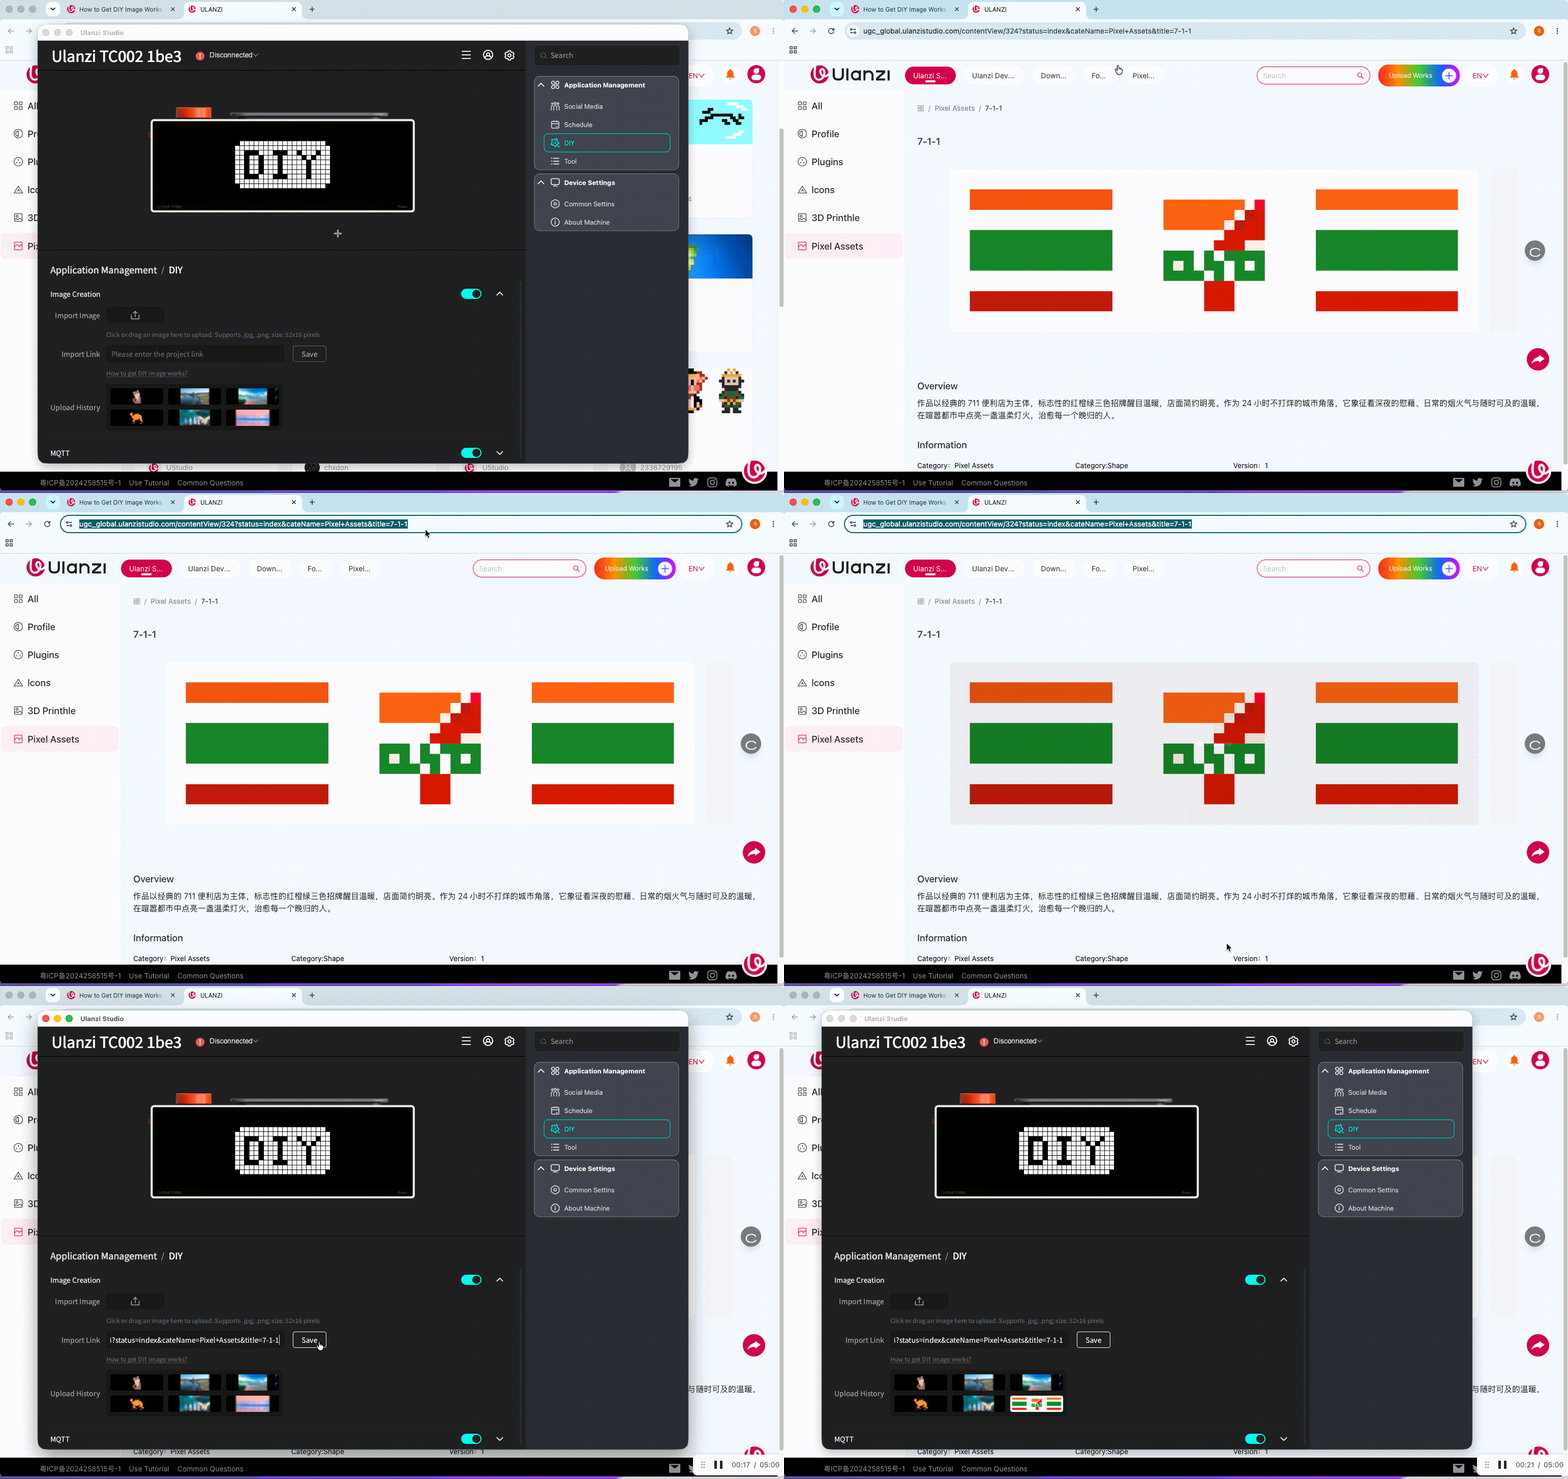
- Import Link: enter the URL of an image.
- Upload History: shows uploaded images and lets you replace or delete them.
- How to Get DIY Image Works: opens the guide for finding compatible artwork.
- Image size:
52 × 16pixels.
1. Import an image
Click to import:
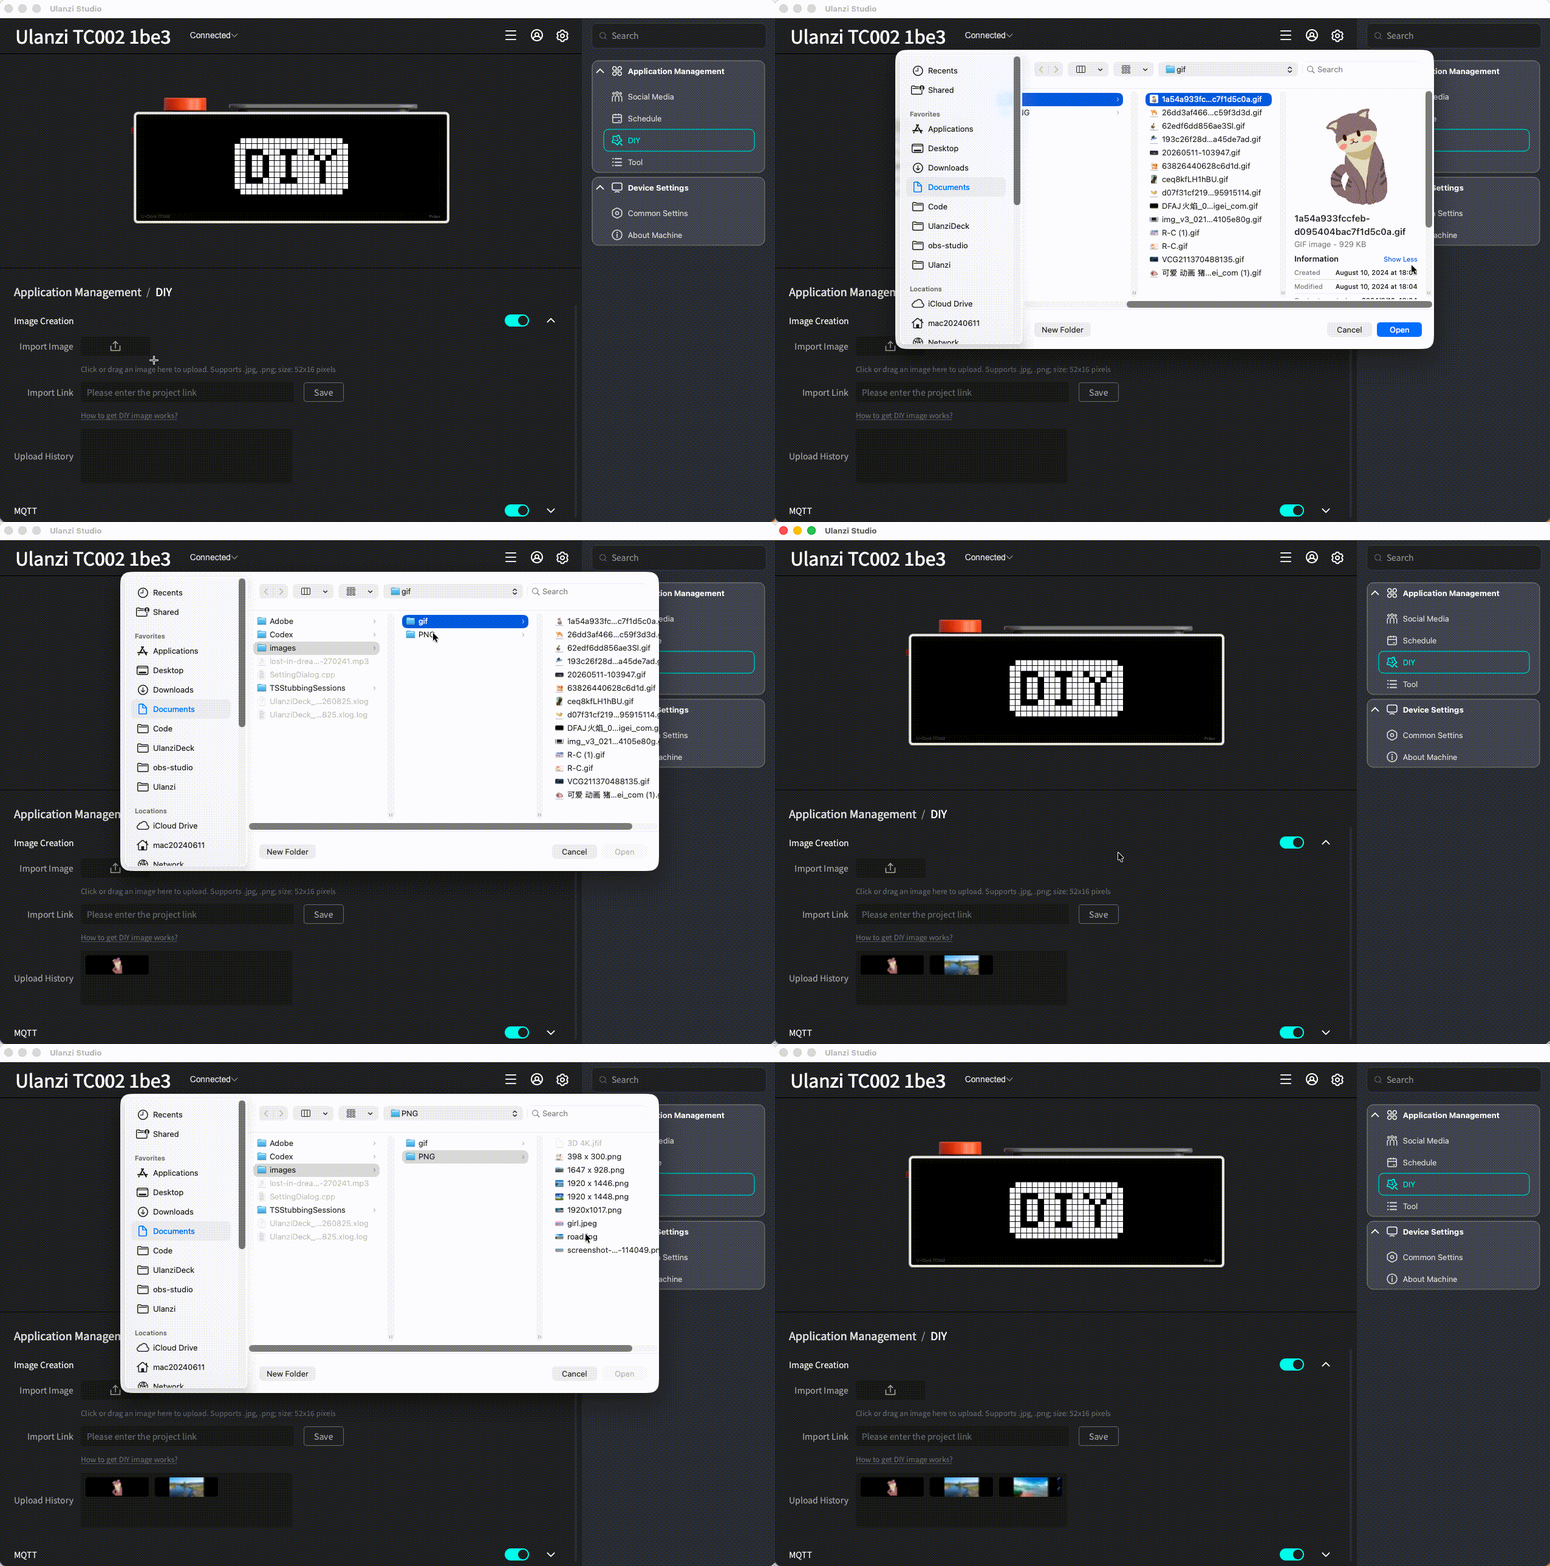
Or drag an image into the upload area:
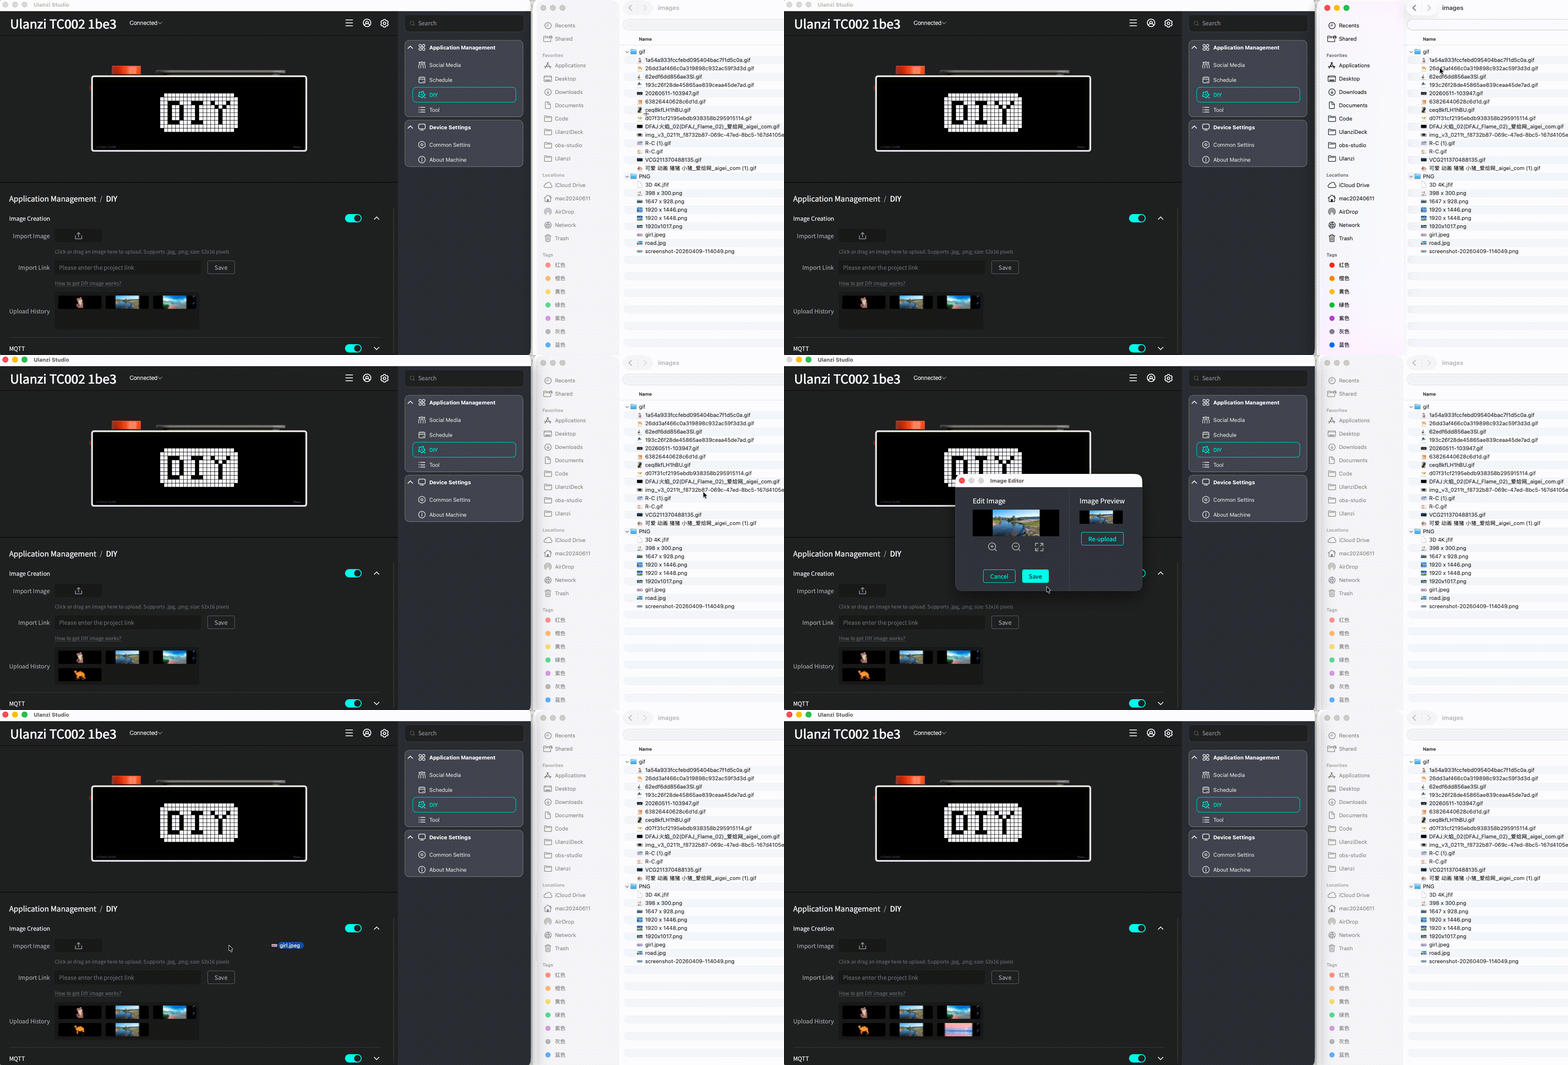
2. Import a link
Click How to Get DIY Image Works? and select PixelGrid to view detailed instructions for finding compatible artwork.
Paste an image link:
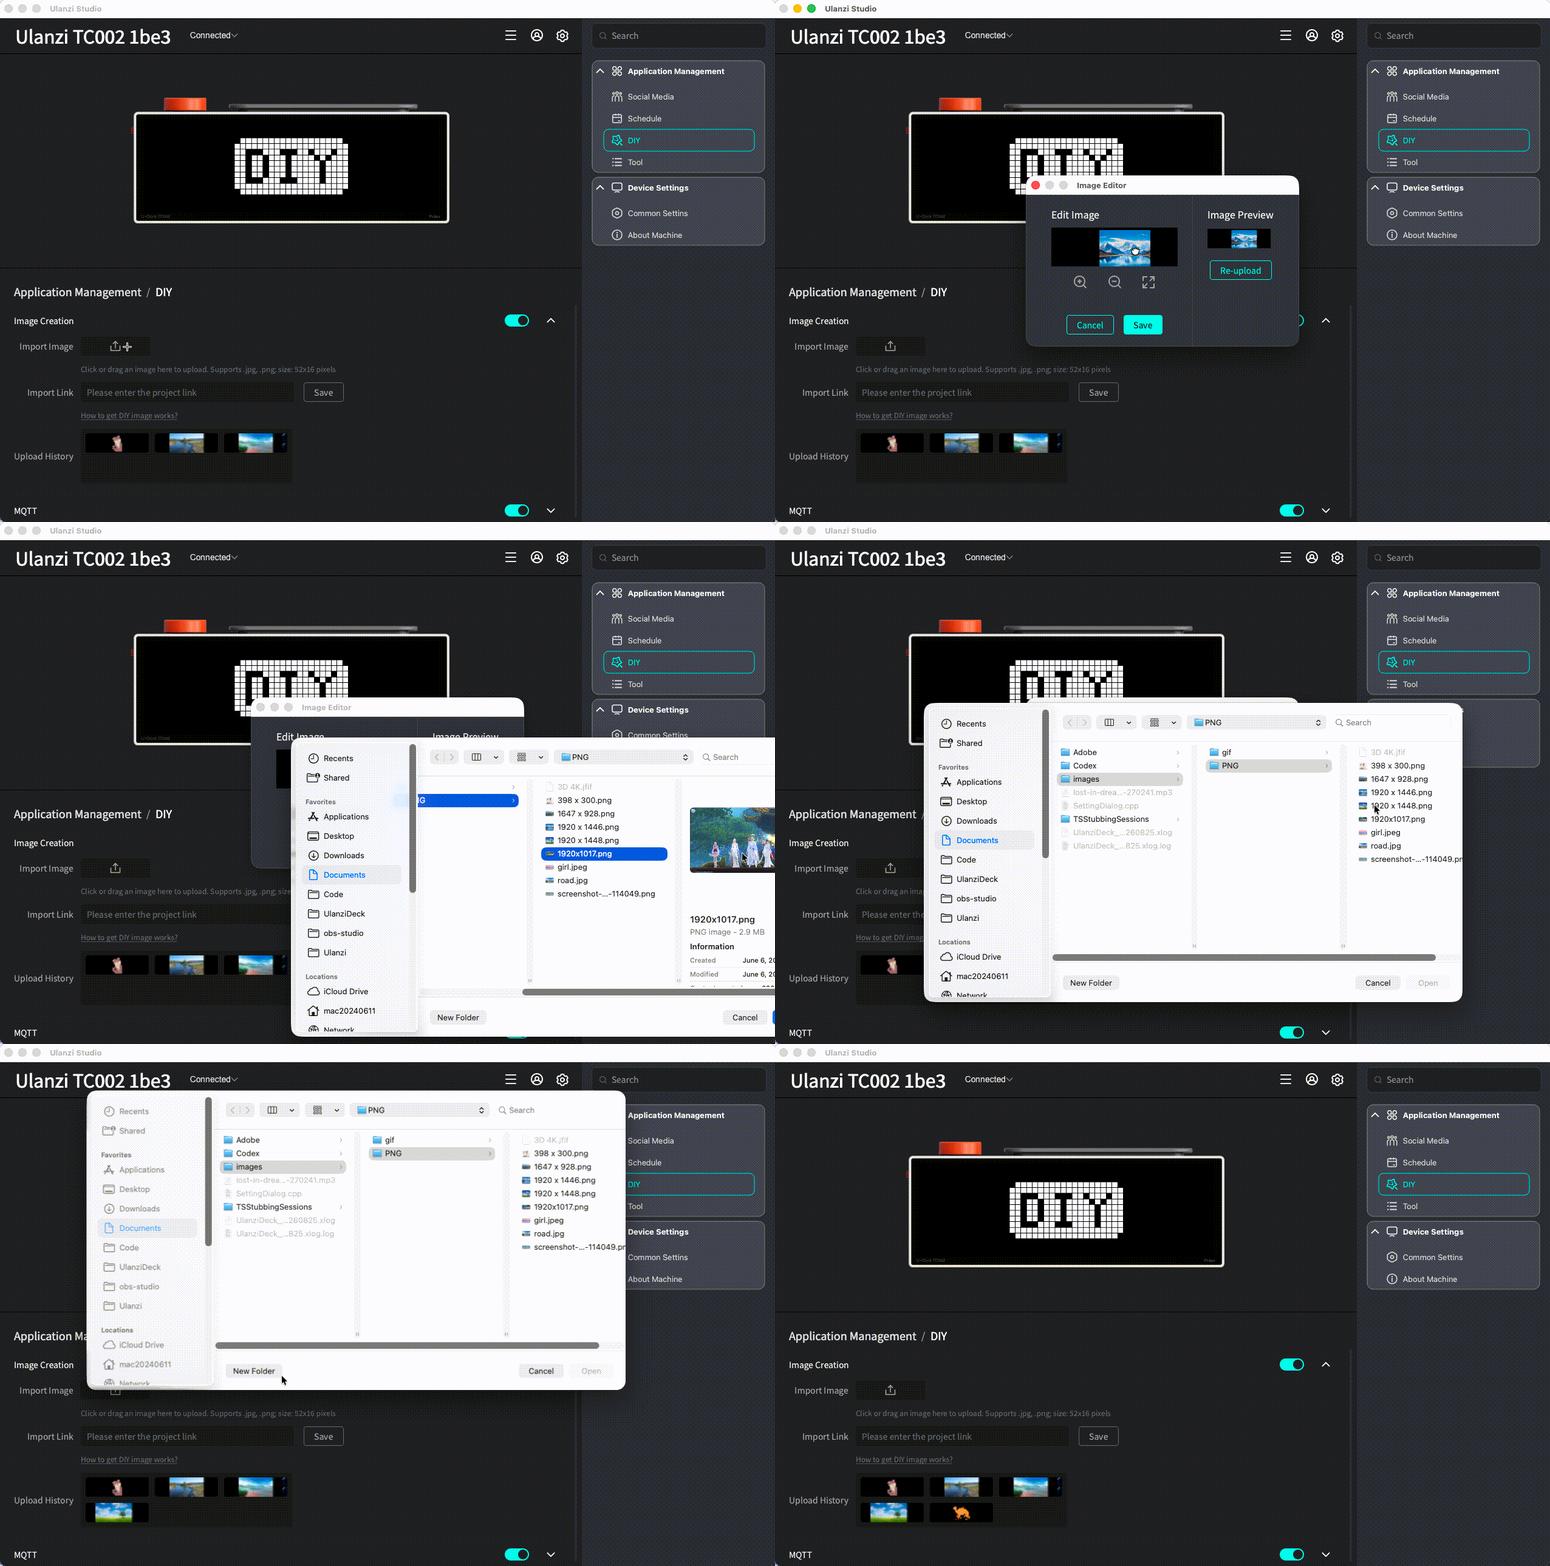
3. Edit an image
After importing an image, the editor opens automatically. Available actions depend on the file type:
- PNG and JPG: resize and reposition the image. Saving scales it to
52 × 16pixels. - GIF: resizing and repositioning are not available. If a GIF is larger than 50 KB, saving scales it and reduces its frames so the result is
52 × 16pixels and no more than 50 KB.
4. Manage Upload History
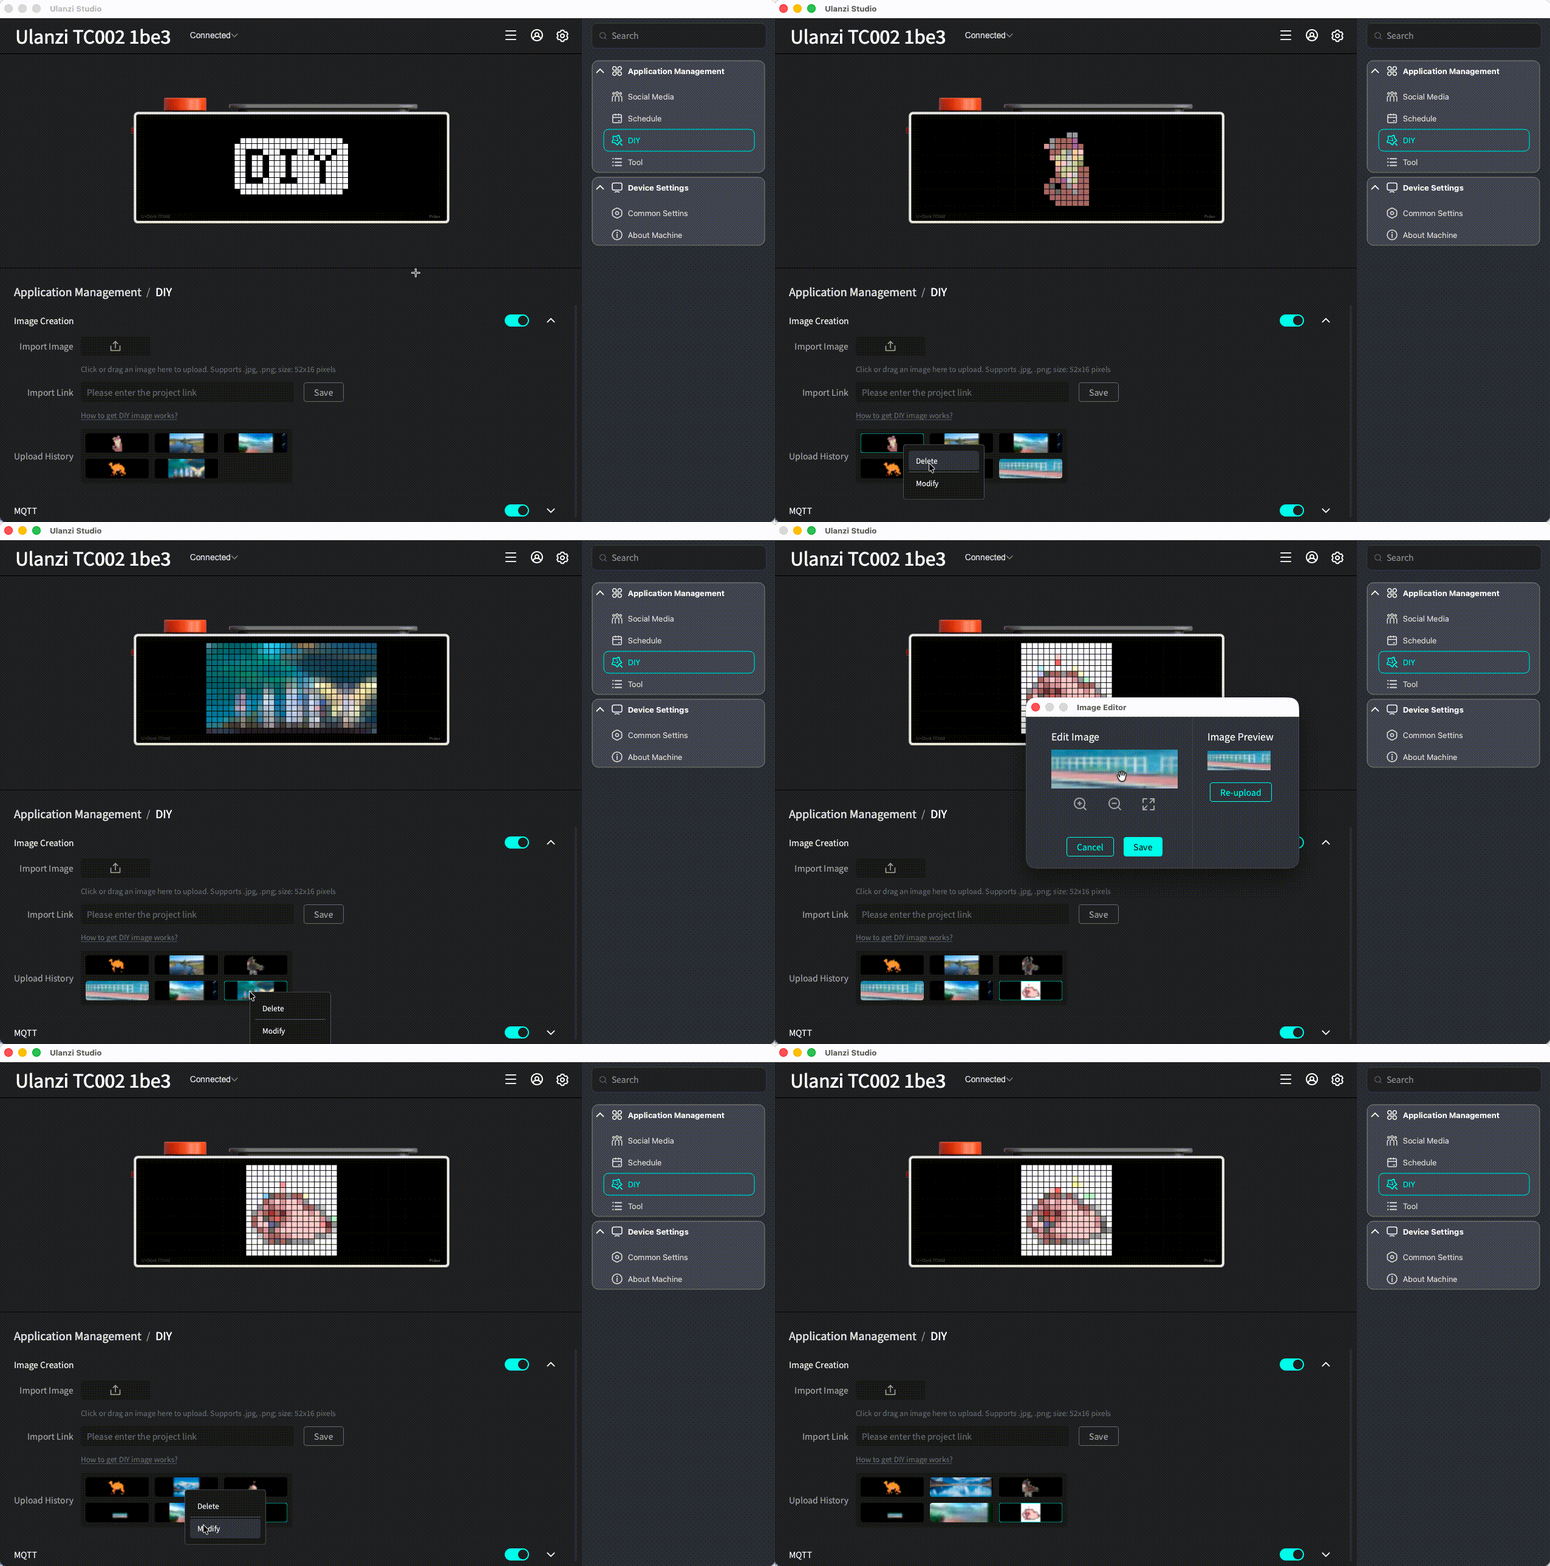
Uploaded images are stored on TC002. When Ulanzi Studio connects to TC002, it reads the saved images and shows them in Upload History.
Right-click an image to choose:
- Delete: removes the image from Upload History and TC002.
- Edit: opens the image editor with the selected image. You can edit it or upload a replacement.
5. Default save behavior
If no image in Upload History is selected, saving adds the edited image to the end of the list. If the list already contains six images, saving replaces the last image.